Osmia Illinoensis- mason bee

I selected Osmia Illinoensis to add to Rumblings when I read


Osmia Illinoensis is a mason wild bee. It is a stingless, solitary bee whose territory was from Illinois to Texas. Over 25% of the 139 native mason bee species in North America are at risk; 14 have not been recorded for decades. There are two things you can do to help restore these tiny creatures that support the world's sustainable food production. Plant native plants 🌺 and grasses 🌾 while minimizing the use of pesticides 💦. Second buy local organic food and products 🥬🍅. buy local organic food and products 🥬🍅. buy local organic food and products 🥬🍅. buy local organic food and products 🥬🍅. buy local organic food and products 🥬🍅.

buy local organic food and products 🥬🍅. buy local organic food and products 🥬🍅. buy local organic food and products 🥬🍅. buy local organic food and products 🥬🍅. buy local organic food and products 🥬🍅. buy local organic food and products 🥬🍅.

Osmia Illinoensis  30” X 44” watercolor monotype.

Osmia Illinoensis
30” X 44” watercolor monotype.

public.jpeg
public.jpeg
public.jpeg
Day two, #2 the ghost

Day two, #2 the ghost

I struggled with my technique capturing O. Illinoensis features, those tiny white hairs were impossible, the magnificent colors of the hard exoskeleton, all the while giving her life, movement and remembering to keep the watery effect that suggests the devastating impact chemicals are having on this tiny creature.

public.jpeg
public.jpeg
public.jpeg
public.jpeg
Day 3 caran d’ ache monotype

Day 3 caran d’ ache monotype

The ghost
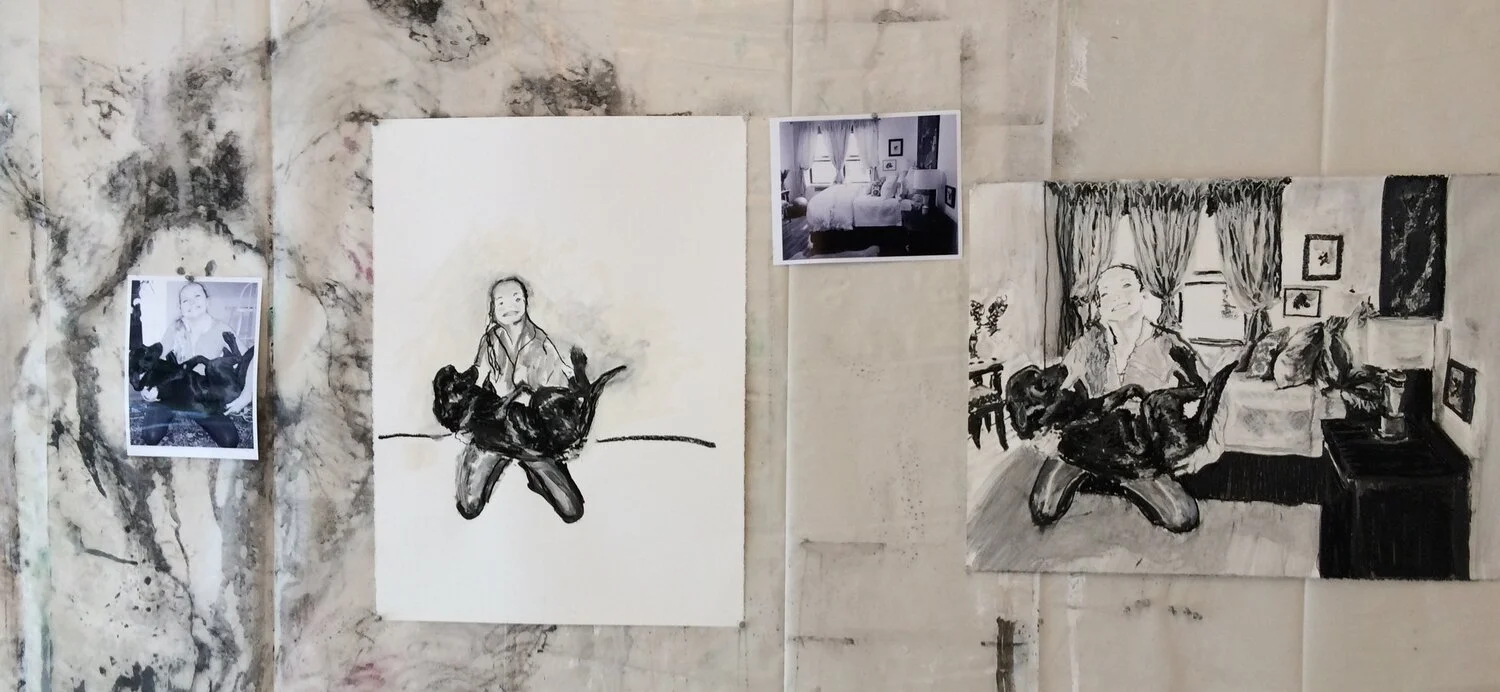
The ghost
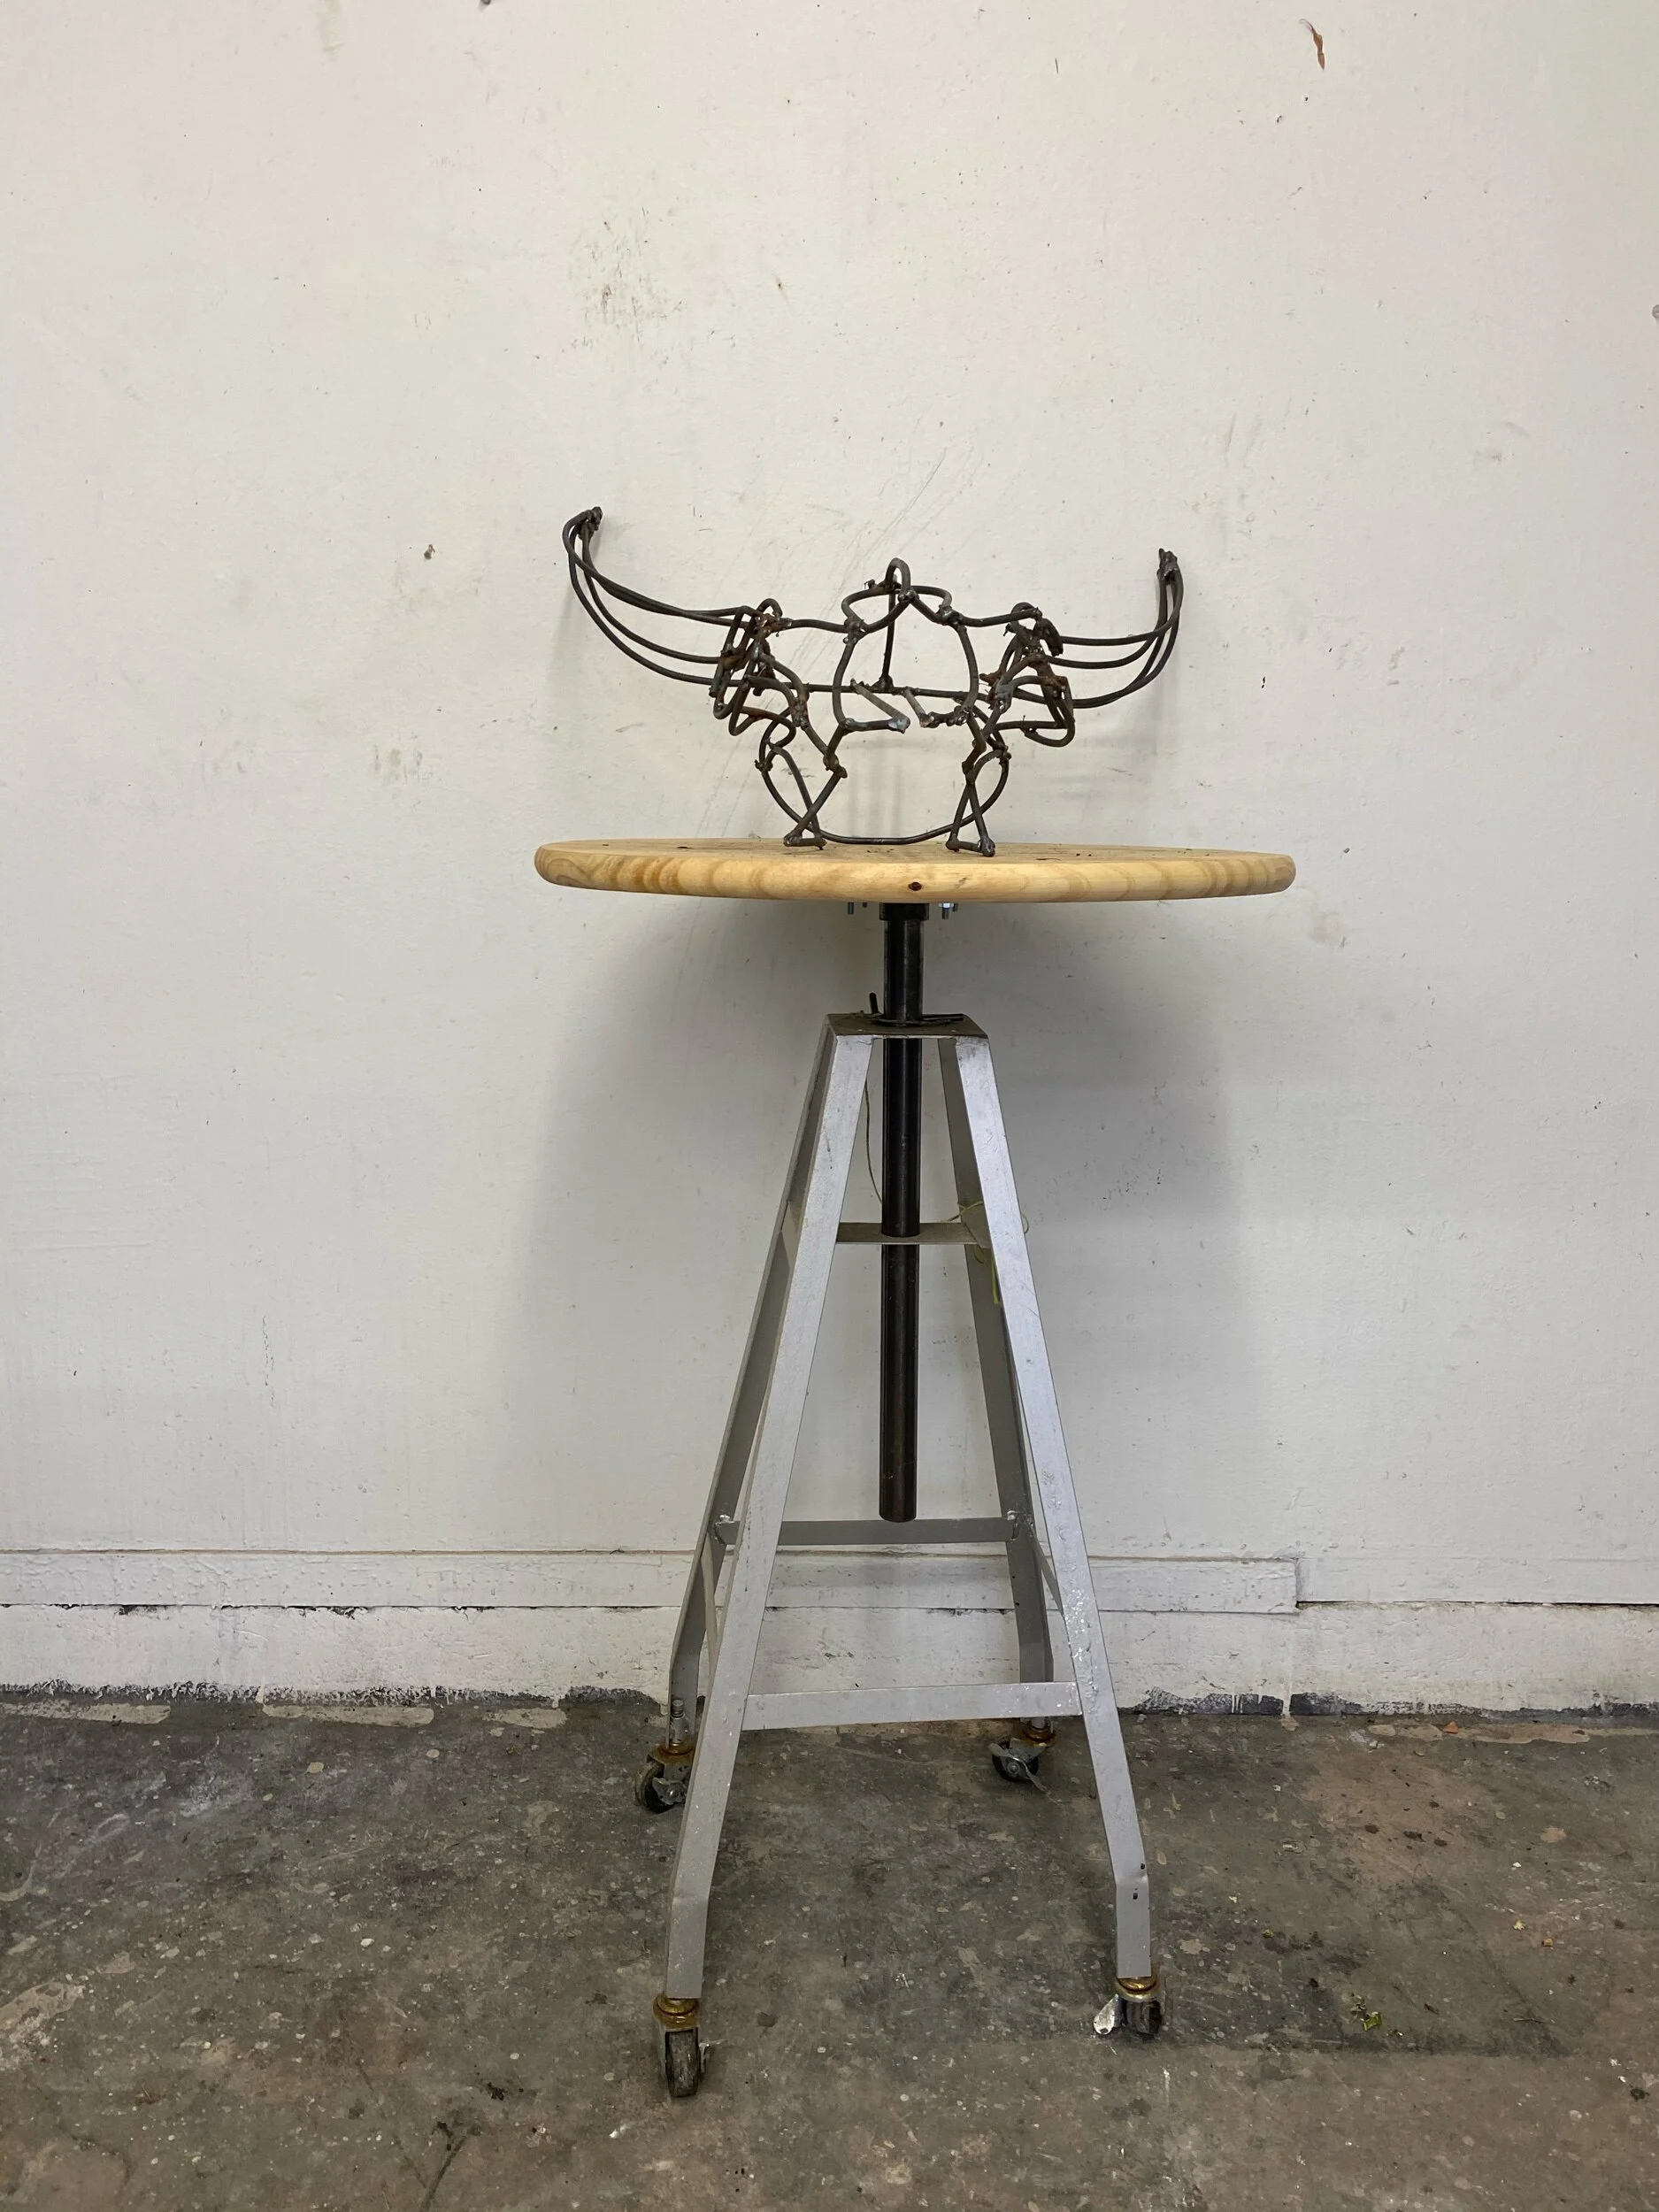
Endangered Knowledge: The Soul of Humus #15

Another day of building the bone structure of the face. The armature is more detailed than the sculpture will be. As I work I remind myself that the armature just needs to support the masses of dried mud and dried grass. It will not be visible under the herbaceous skin. I can’t seem to stop myself. I think it make me feel closer, more connect to the bison.

It also keeps me away from the news- COVID 19.

Today I worked on the lower part of it's cheekbones and then I added a rear jawbone.

Today I worked on the lower part of it's cheekbones and then I added a rear jawbone.

Looking up the mouth and nose of head minus the lower jaw.

Looking up the mouth and nose of head minus the lower jaw.

The old guys face left side

The old guys face left side

Looking through the skull

Looking through the skull

The right profile.

The right profile.

Endangered Knowledge: Soul of Humus #17

I started the lower jaw today. I spent the majority of the day researching the structure of the lower jaw and its movement as the bison chew.

Here is a collection of my reference material.

Here is a collection of my reference material.

Bison grab a tuft of grass with their tongue, then they pinch it off by pressing it between their tongue and their front lower teeth. They do not have top front teeth. They then swallow it whole. That is the beginning of a 24-hour digestive process.

Bison grab a tuft of grass with their tongue, then they pinch it off by pressing it between their tongue and their front lower teeth. They do not have top front teeth. They then swallow it whole. That is the beginning of a 24-hour digestive process.

I love this image, I took it last January at Roam Ranch right before the roundup. I think this is the one they call Poppy. Poppy is very curious and friendly. She is checking me out as she catches rain drops on her tongue.

I love this image, I took it last January at Roam Ranch right before the roundup. I think this is the one they call Poppy. Poppy is very curious and friendly. She is checking me out as she catches rain drops on her tongue.

You can see the lower jaw through the upper jaw here. It is slightly off to the right of the bison. I want him chewing away and want to exaggerate the movement. I will probably bend it a little more askew this weekend.

You can see the lower jaw through the upper jaw here. It is slightly off to the right of the bison. I want him chewing away and want to exaggerate the movement. I will probably bend it a little more askew this weekend.

Here the chewing lower jaw is more obvious.

Here the chewing lower jaw is more obvious.

Adjustments.jpeg
View from the rear or top down.

View from the rear or top down.

Adjustments.jpeg

Friday, I am committing to writing the Lawndale proposal- rewriting and rewriting and rewriting.

Endangered Knowledge: The Soul of Humus #14

I am getting close to finishing the head and upper jaw. The next step will be to create the lower jaw, then I will put the head aside and start building up the piece from the hooves.

More work on the cheekbones and connecting the horns to the eyes.

More work on the cheekbones and connecting the horns to the eyes.

Side view of armature

Side view of armature

Bottom side view

Bottom side view

Bison's left side view

Bison's left side view

Back of head looking down

Back of head looking down

Endangered Knowledge: The Soul of Humus - #11 head

The head is a lot of detail work. Bending small pieces of steel takes time and strength. It is easy to bend large pieces of steel because I can use leverage to bend it. Small parts are too short To get much lecerage. This is the first time in my life strength is an issue., I have not been doing my regular weight lifting due to COVID 19 quarantine. So I have to think of creative ways to make the shapes I need. It takes longer to figure out.

Examining this work I have decided I need to raise the left horn.

Examining this work I have decided I need to raise the left horn.

I have only welded the horn in one location. This will make it easier to correctly position the horn once the head is connected to the body. I can find them if I want, or I can cut the one weld and resend them in the correct position.

I moved the horn and added the front of the upper jaw.

I moved the horn and added the front of the upper jaw.

I added the back of the upper jaw and two pieces to stabilize the head. The stabilizing pieces run through the center of the head, the length of the face to the back If the skull. I used the angle grinder to separate the front and left sides of the …

I added the back of the upper jaw and two pieces to stabilize the head. The stabilizing pieces run through the center of the head, the length of the face to the back If the skull. I used the angle grinder to separate the front and left sides of the front jaw separating the two stabilizing pieces. This will make it easier to make any adjustments in the head structure when it is finished and attached to the body.

The skin and coat of the finished piece is the most crucial part if this piece. This steel armature is purely structural.

Endangered Knowledge: The Soul of Humus - #10 head

I have cut the steel for two sets of horns, the center of the face, top of the scull and part of the nisee. .

I have cut the steel for two sets of horns, the center of the face, top of the scull and part of the nisee. .

Working on the horns

Working on the horns

This bison skull was a Christmas present. From Griffin and Alex my son and daughter in law. They have been unbelievably supportive of my environmental works. They are the best. The skull is proving extremely helpful in figuring out how to build the …

This bison skull was a Christmas present. From Griffin and Alex my son and daughter in law. They have been unbelievably supportive of my environmental works. They are the best. The skull is proving extremely helpful in figuring out how to build the head armature.

Lawndale Art Center - support image

It does not stand to reason that gardens or yards in Texas, Maryland, California, Iowa, and Illinois should all be landscaped with the same selection of plants. The below image from Native Texas Gardens says it all. In a country with great diversity from coast to coast, shouldn’t the sculpture garden landscapes be embedded in plants that define the place?

It will be more interesting to see sculptures in gardens of indigenous plants, plants that define the place, terrains that have attracted its people and impacted its economy. A sculpture of a boat marooned in a desert landscape might imply global warming and the same wooden vessel docked in a sea of woody pines congers up thoughts of concervation. one thing the same boat Sculpture changes across geography. What does sculpture look like in a coastal prairie sculpture garden?

Page xviv of Native Texas Gardens, maximum beauty, minimum upkeep by Sally and Andy Wasowski.

Page xviv of Native Texas Gardens, maximum beauty, minimum upkeep by Sally and Andy Wasowski.

Adjustments.jpeg

Endangered Knowledge: The Soul of Humus - #5 the welding begins

I am starting to design and build the armature (the support structure) of the piece. The structure will be supported with welded rebar and then covered in a steel lath to help hold the mud and dried native plants to the sculpture.

I begin with the hooves It takes a lot of muscle to bend a piece of rebar enough to make a complete hoof side, I will have to piece it.

I did not measure the circumference of a hoof but I do know the ankle is 12” and hoofs are bigger.

I did not measure the circumference of a hoof but I do know the ankle is 12” and hoofs are bigger.

I think best in wire or a material I can shape by hand - by feel. I decided to wrestle up a wire sketch of a hoof to get me started.

I think best in wire or a material I can shape by hand - by feel. I decided to wrestle up a wire sketch of a hoof to get me started.

The front part of a front hoof

The front part of a front hoof

Front hooves started

Front hooves started

Art Activist and City Council Woman

It was never my intent to become an environmental activist – I am beginning to wonder if that is what I am. Since the below email I have had one meeting with Sally Alcorn and her assistant Hannah Cobb. They are on board with my thoughts and want to help. We decided the first step is to look at the citi’s present landscape ordinance, and then Coronavirus 19 hit Houston.

I guess even in a pandemic certain things have to continue, such as city budget planning. I received an Instagram message from Sally April 27th at about 11:00 pm regarding a video of the City Council meeting and the City Parks budget. I will make another blog post summing up the results of that meeting. Maybe this pandemic will open some doors that normally would not budge.


TO:  Sally Alcorn salliealcorn@comcast.net

Dec 27, 2019, 10:14 AM

RE: Houston’s impact on bees.

Sally,

It was great to run into you at the mother-daughter Christmas party. I appreciate your interest in positioning Houston to become the leading city in the U.S., addressing the native bee environmental issue. You have a lot on your plate with your new elected position, so I thought I would recap a few of the important topics we discussed.

Scientists predict that without pollinators, human life can only continue for four years. In 2017, the U.S. Fish and Wildlife Service listed the Rusty Patch Bumble Bee on the endangered species list. The campaign to list a species as endangered is lengthy and complicated. With this system, it is difficult to gauge how many species are actually endangered. 


Bees are responsible for pollinating 75% of the world's flowering plants; they are crucial for the production of most fruits, nuts, and berries – our agriculture depends on pollination by bees. 

Rural areas are highly impacted by the unanticipated consequences of our industrial agriculture’s dependence on chemicals that weaken bee’s immune systems. Urban bee populations can be more diverse than in rural areas. Researchers are finding in cities such as Chicago, Berlin, Berkley, and Melbourne that have reimagined their parks, neighborhoods, city centers, vacant lots, street medians, and rooftops planted with native flowers, grasses, and fruit, and vegetables support healthy, vibrant wild native bee populations.

In the US, there are four thousand native bee species. They pollinate over three hundred times more effectively than honey bees. For example, A single female Leafcutter Bee visits 100,000 plus blossoms per day whereas a honey bee visits 50-1000. 

Unlike the honey bee, Native bees do not swarm, are not aggressive. Native bees are perfect for urban population centers. 

Houston covers 600 square miles of land and has one of the longest growing seasons in the U.S. As it continues to sprawl across Texas, its gardens must increasingly become a refuge for native plants and animals. With 2.3 million people living in the most vital economic, cultural center of the south, we can become the most critical urban native bee habitat in the United States. 

I have spent the last year and a half studying the bee situation as it pertains to my art and my interest in regenerative agriculture. I am determined to take this knowledge and save the bee in urban settings.

With Houston's land size, population, and location in the Sunbelt like it or not-we are impacting the bee population. 
I realize we will have to start with baby steps. Let's put our creative minds together, save the native bees, and build a better energy capital. This is a great opportunity for our new city council. 

I am very flexible are weekdays or weekends better for you to get together?

Best,

Cindee


P.S.

If Cuba can create urban gardens to feed it’s poor can you imagine what we can do.

https://www.usnews.com/news/cities/articles/2019-02-13/urban-agriculture-what-us-cities-can-learn-from-cuba

Falling through the bee looking glass #1

In the past years, blogging about my art practice was something I did every day. It is how I document my work. Then I started focusing on bees. At first, it was bees and the weed killer Glyphosphate.

Adjustments.jpeg
Adjustments.jpeg
Adjustments.jpeg

The above pieces we're done in response to learning that Glyphosphate does not kill bees but impacts their immune system. With compromised immune systems bees subcome to disease. Glyphosphate is also now well known for causing cancer. I then made a five flip lenticular from these three images.

SITE Gallery- Sculpture Month Houston - Installing the work - my pregame plan

With lots of time spent preparing to install my work, installing it went by quickly.

During the days prior to the installation, I imagined trying multiple compositions of the pre-assembled sections, spending lots of time looking at it, adjusting it, and tweaking it and then adding smaller elements to tie the work together... and repeating the same process over and over until I was satisfied it was finished. That was my pre-game mental plan.

Once the support structure was in place, secure, and painted, it was time to install the work. First, I hung the two pieces I knew would be part of this work. I then looked at the way the shadows were falling on the concave surface of the wall and hung the two end pieces. It was then late in the day, and I decided to call it a day and decide what the next step was with fresh eyes in the morning.

The next day I showed up early in the day ready to sit, look and make changes that would be best for the work on the concave wall of a silo. I was excited to see the curator, Volker Eisele, in the parking lot when I arrived. I invited him to come take a look at my progress. 

Smiling he said, "You are done, it is finished." I was really happy that he was pleased, really happy. I was also surprised. Finishing this early was not my game plan. Yikes! It isn’t easy for me to mentally change my game plan. I think Volker could see this in my face, and as he walked away, he said, "You know my name is on this too, it is good." I completely understood and reminded myself how lucky I was that he liked it.

A good problem.🙂

ps. I now have the equivalent of another silo full of work in my studio………. bursting at the seems. Anyone need a keystone animal environmental installation?

public.jpeg
public.jpeg

SITE Gallery- Sculpture Month Houston - Building the support system

Finally, I feel like I can make some progress. Step one is to make a structure that I can hang my sculptures from. The gallery owners are trying to preserve the space in its original condition, and ask the artists to deface the silo as little as possible when installing our work. Normally I use acrylic hangers that I designed to hold the pieces. Each bracket takes four anchors. I feel like that is too much destruction to the silo. Instead, I decide to buy some black 14 gauge wire fencing, 20 feet X 36”. The silo funnel has metal bands tack welded to it. The middle metal band is 31” from the wall. I cut the fencing in 31” pieces. I cut one end in a concave shape and the other end convex. The convex end will rest on top of the metal band and the concave end will be supported by two screws in the cinderblock wall. This is 19‘ high, and I feel pretty good that my screw holes will only be minimally defacing the silo.

Close up of support system

Close up of support system

public.jpeg

The moment I got off the scissor lift and looked up at my support system, I realized I had made a big mistake. I should have painted them white. The black stood out too much on the white walls. I could not sleep that night trying to decide if I should repaint them... It was not easy, but I spent the next half day painting the system 19’ in the air white.

I think it was worth it, the support system is much less intrusive.

I think it was worth it, the support system is much less intrusive.

I hung from the support system 8 fishing tackle swivels with 25 lb filament attached to each swivel. Four of the swivels are 36” apart 18” from the wall. At these distances the pieces will not touch each other or the wall. Everything should move independently. These are for the big pieces. The other swivels are for smaller pieces and are spaced randomly. I am guesstimating where I want these. Tomorrow I will start hanging work.

My new best friend’s name is Scissor Lift- Another day setting up my silo to work.

I am so grateful to not have to deal with that 19’ tall scaffold. It was very difficult to maneuver in the space with the mouth of the funnel hanging in the center of the space. Aztec picked up the awkward scaffold today, and they delivered my new best friend, scissor lift. Getting the scissor lift in my silo was not a simple processes. Electrical conduit hangs below the door frames of the silos between my silo and the delivery door. As a result the delivery man had to drive the scissor lift through 8 other silos to get to mine. It fit in the door of my silo exactly with not a pinch to spare. The scissor lift rubbed the top of the opening.

public.jpeg
public.jpeg
My safety engineer and the most supportive husband anyone could ask for. He is affectionately known as Mr.Safety. 🤗

My safety engineer and the most supportive husband anyone could ask for. He is affectionately known as Mr.Safety. 🤗

The view of my silo workspace from the scissor lift.

The view of my silo workspace from the scissor lift.

public.jpeg
Detail of grid system.

Detail of grid system.

7 days left

7 days left to rip and wrangle rusted wire cloth, then delicately stitch the wire fragments into biospheres of frail and vulnerable abstract wild bees and organic shapes. Then coat hydro stone and cast shadows, to kinetically unveil the unintended consequences of forcing natural processes into an industrial model. Then pack, transport, unpack, install for 21 days, and open........ find more locations to install......... rinse and repeat.

public.jpeg
public.jpeg
public.jpeg

Tomato cage sculpture material

I ran to Southland hardware to purchase more wire cloth for my installation and spied some tomato cages. Wondering if they could add to my palette of materials I took home a few to play with.

Tomato cages

Tomato cages

Squish, squash, twist, turn, fold, pull, cut repeat

Squish, squash, twist, turn, fold, pull, cut repeat

Throw on a rip of charged screen for garnish

Throw on a rip of charged screen for garnish

public.jpeg
Play some more.

Play some more.

I ran out of time today but I feel like it might have some potential.

Bombus and the blueberry

This is a continuation of an earlier post that documented my intuitive process to embrace and abstract the bee that was listed on the endangered species list January 11, 2017.

The posting was titled Embracing Bombus Affinis. Here is one more experiment.

In the experimental piece below I focused on the transparency of the wings.Through the wings you can see the bees hairs on the back of his abdomen. You can also see the flora in the background and through his wings. FYI- a favorite of the Rusty Patch bumble bee is blueberries. Blueberries are one of my favorites too. There is always a box of blueberries in our refrigerator. I hate the thought of my blueberries being pollinated in a lab.

Bombus Affinis VI30” X 44”

Bombus Affinis VI

30” X 44”

I am not sure if showing the transparency is necessary or if it bogs down the energy with too much information.

If you want to help insure our food remains pollinated as nature intended see below-

Limit the use of pesticides and chemical fertilizers whenever possible or avoid them entirely. Pesticides cause lethal and sublethal effects to bees and other pollinators.


https://www.fws.gov/midwest/endangered/insects/rpbb/factsheetrpbb.html

The ghost print

The ghost print

Embracing Bombus Affinis

I have decided to make a large monotype of the first bee in the US to be listed on the endangered species list. I was looking online for a photo that would accurately depict the Bombus Affinis. Searching, I came across the USGS site. The United States Geological Survey (USGS) is a science bureau within the US Department of the Interior. The USGS provides science about the natural hazards that threaten lives and livelihoods; the water, energy, minerals, and other natural resources we rely on; the health of our ecosystems and environment; and the impacts of climate and land-use change. It is a great resource. They have developed a Native Bee Inventory and Monitoring Program. Part of the program is to develop identification tools for native bee species. Taking and collecting accurate and detailed photos of the native bees. The over 4,000 images are freely available for the public to use. Looking at these up close detailed photos I was amazed to see how beautiful these tiny beings are. Their beauty rivals that of any creature on the planet. I looked at bees for an hour, in awe at their stunning uniqueness. The opportunity to work from such close up photos is exciting. It will also be challenging, I normally work from bad photos. I like poor quality photos because I don’t want to get bogged down by the details. My work is about the physical or emotional energy. These photos are works of art already. I have in my head what I want my abstraction to look like. I am just not exactly sure I know how I am going to achieve it. Step one is to experiment with my process and technique and develop a mark making that captures the elegance, majesty and energy of these tiny busy beasts.

Below are the first four days of experimenting. It has been a struggle to loosen up and not get bogged down by the details. The last one I like the most, I was just making marks and not worrying about if it resembled Bombus Affinis. That works best for me.

Bombus Affinis I30” X 44” watercolor monotype

Bombus Affinis I

30” X 44” watercolor monotype

Day 1-

When working in color, the ink looks much darker and muted on the plate than when printed on paper. My first impression of Bombus Affinis I was that the paint was too heavy, too bright just  too much all the way around. The ghost was too light. I want my Bombus to express the lightness, fragility and majesty  of the bee. 

Wing detail from Bombus Affinis I

Wing detail from Bombus Affinis I

Bombus Affinis I ghost30” X 44” watercolor monotype

Bombus Affinis I ghost

30” X 44” watercolor monotype

Day 2-

I like the big black brush strokes, the antennae, but I do not like that both wings have the same weight. I want the back wing to be in more motion and fainter. When I look back at the work from day one, I am feeling better about parts of it. I like the wings and the last sections of his abdomen. Below are some close up shots of the parts I like of both days’ experiments.

Bombus Affinis II 30” X 44” watercolor monotype

Bombus Affinis II 30” X 44” watercolor monotype

Day 2 antenna

Day 2 antenna

Day 3 - layering the different processes. I am closer to what I want but I am not there yet.

public.jpeg
Bombus Affinis III

Bombus Affinis III

A favorite moment in Bomus Affinis IIIa tail, leg and two wings

A favorite moment in Bomus Affinis III

a tail, leg and two wings

public.jpeg
Bombus Affinis III ghost
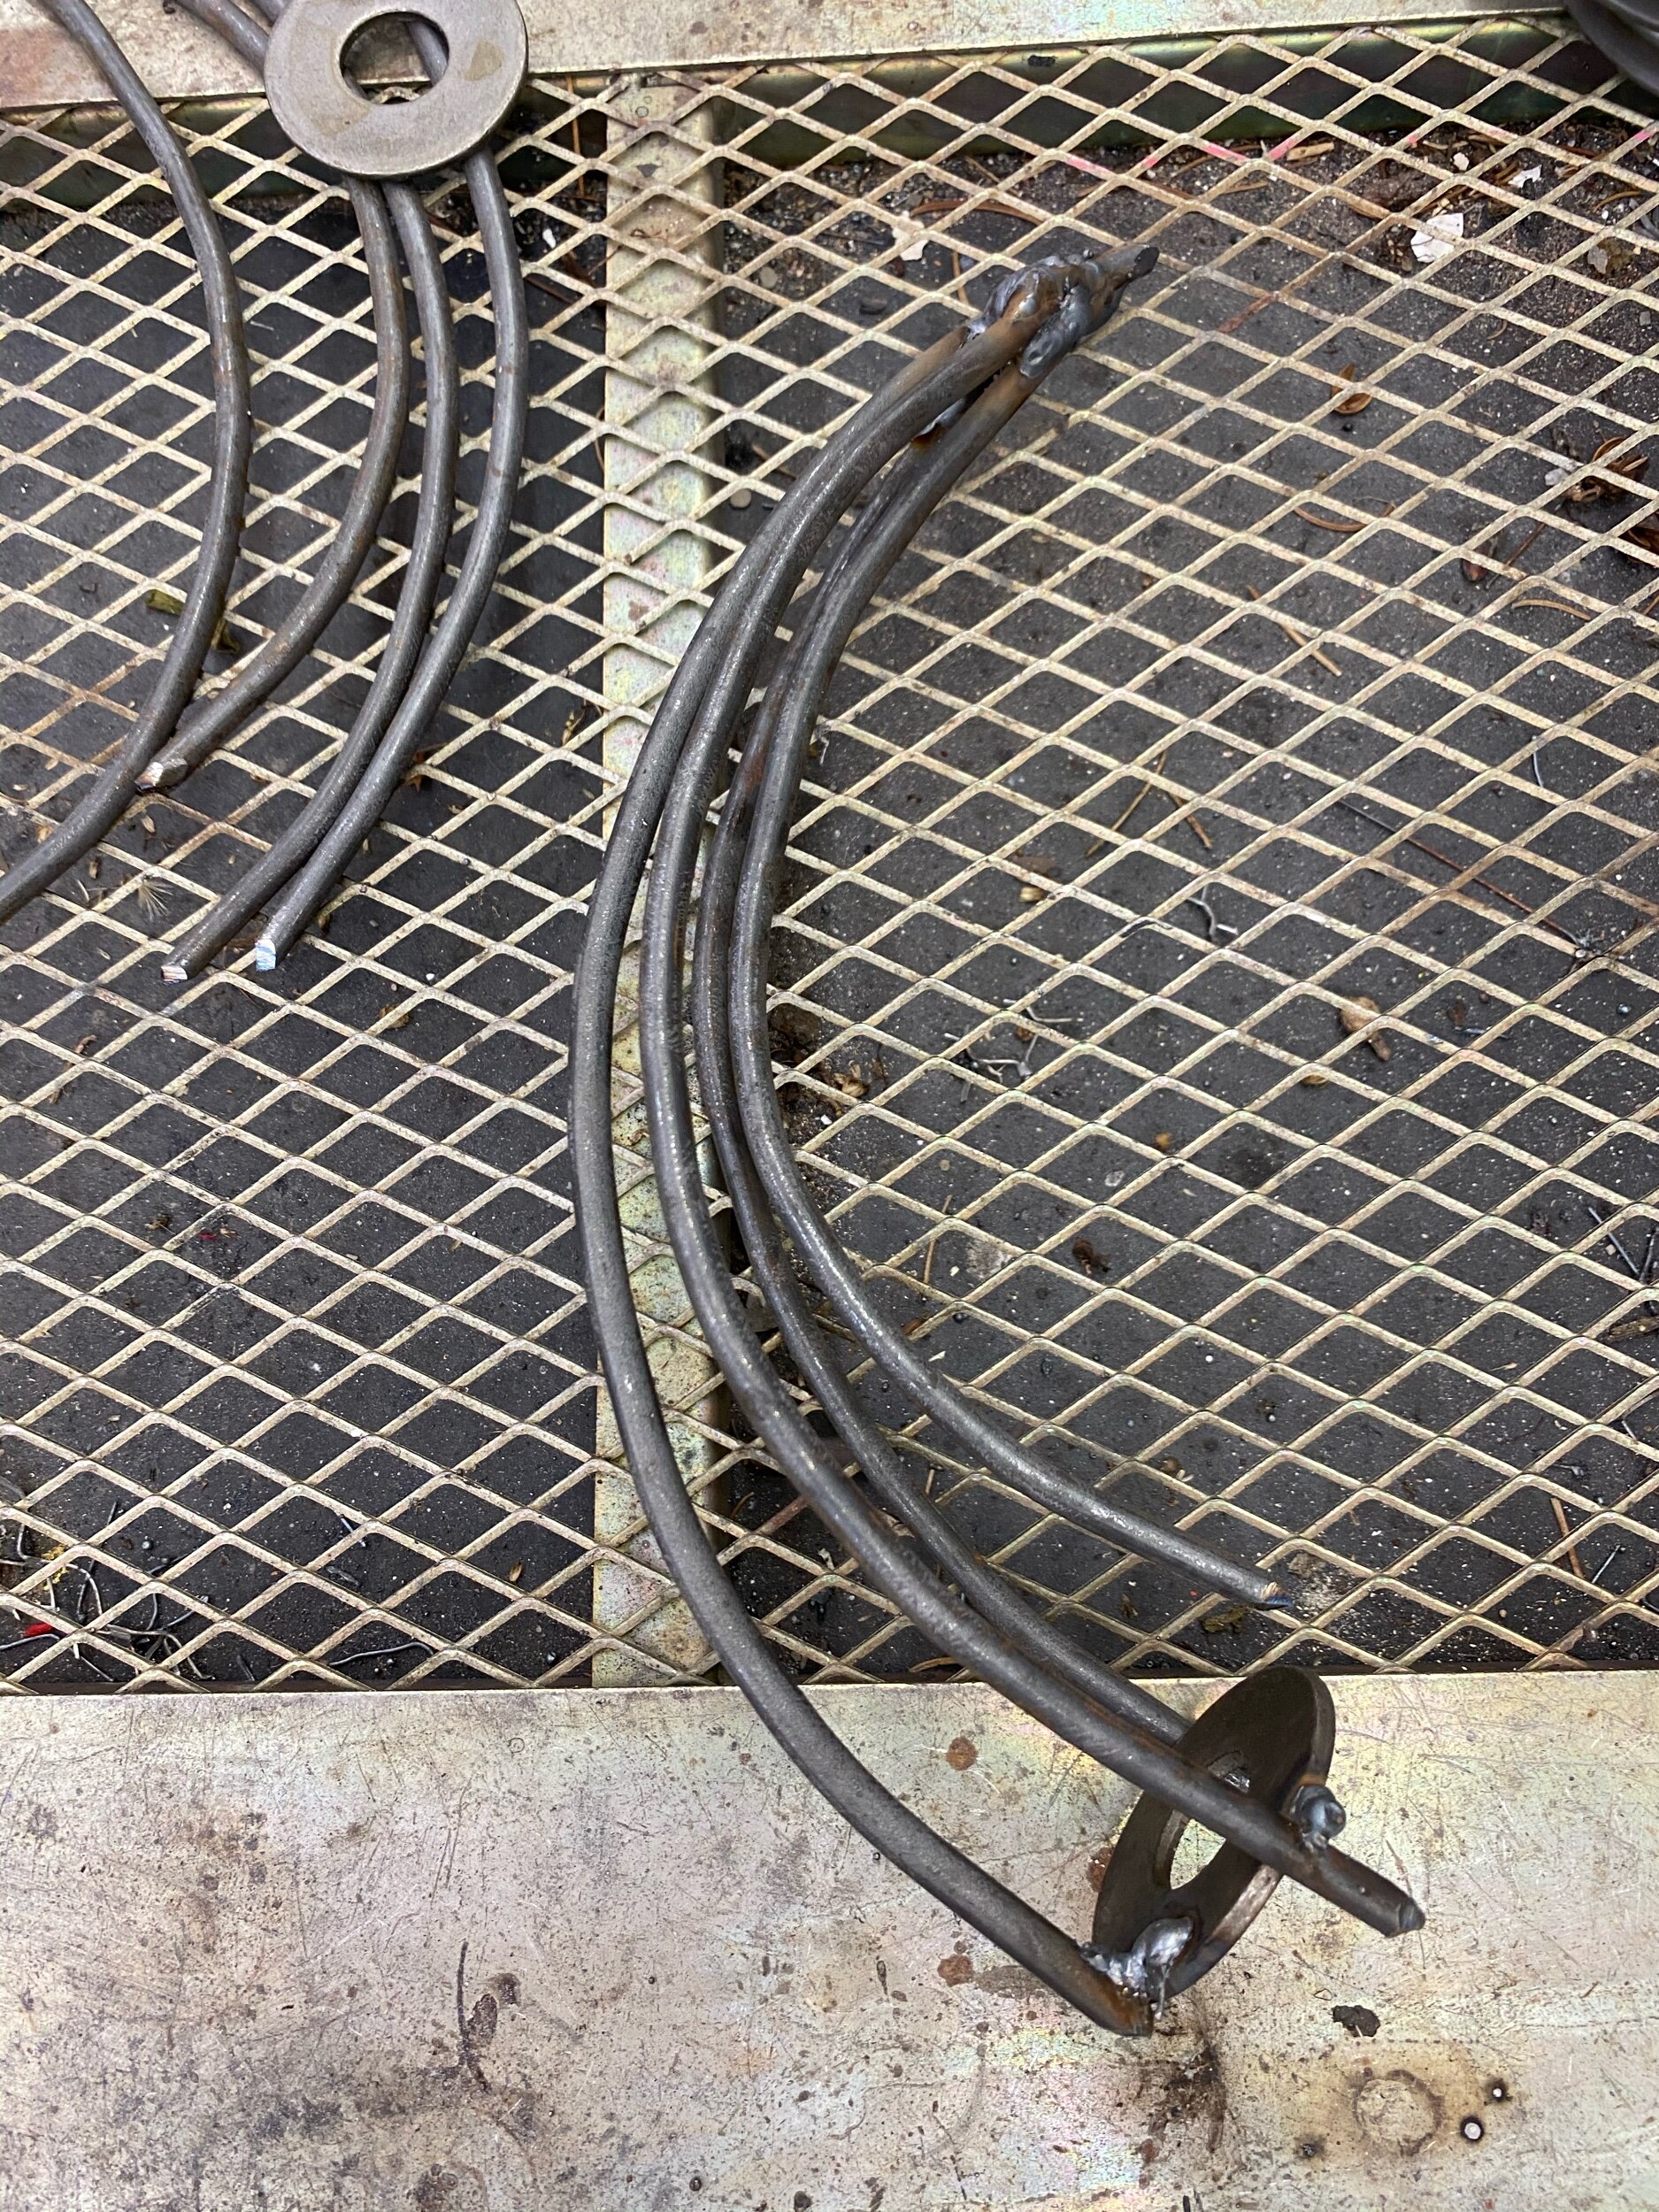
Bombus Affinis III ghost

Bombus Affinis IV

Bombus Affinis IV

public.jpeg
Bombus Affinis V

Bombus Affinis V

public.jpeg

Day 4

Below are some moments I especially like. Today anyway.

Finally I am loosening up. I want an image of the bee’s energy - I want the life, movement and energy of a fuzzy pollinator even if he is endangered. I do not want a drawing of a bee.

Top of Head and thorax

Top of Head and thorax

Mauvish/brown/black bee eye and thorax

Mauvish/brown/black bee eye and thorax

The fuzzy tail and two delicate wings

The fuzzy tail and two delicate wings

My work space

My work space

Leftover ink in the trey- Inspiration for a bee wing.

Leftover ink in the trey- Inspiration for a bee wing.

Technique experiment for endangered bees.

Bee technique experiment

Bombus Affinis - listed on the Endangered list 2017

Bombus Affinis - listed on the Endangered list 2017

Detail of head with a big white eye, thorax antenna and leg

Detail of head with a big white eye, thorax antenna and leg

Th ghost of Bombus Affinis

Th ghost of Bombus Affinis

One is to heavy and ones too light. That is how they look to me wet. It is too soon to judge.