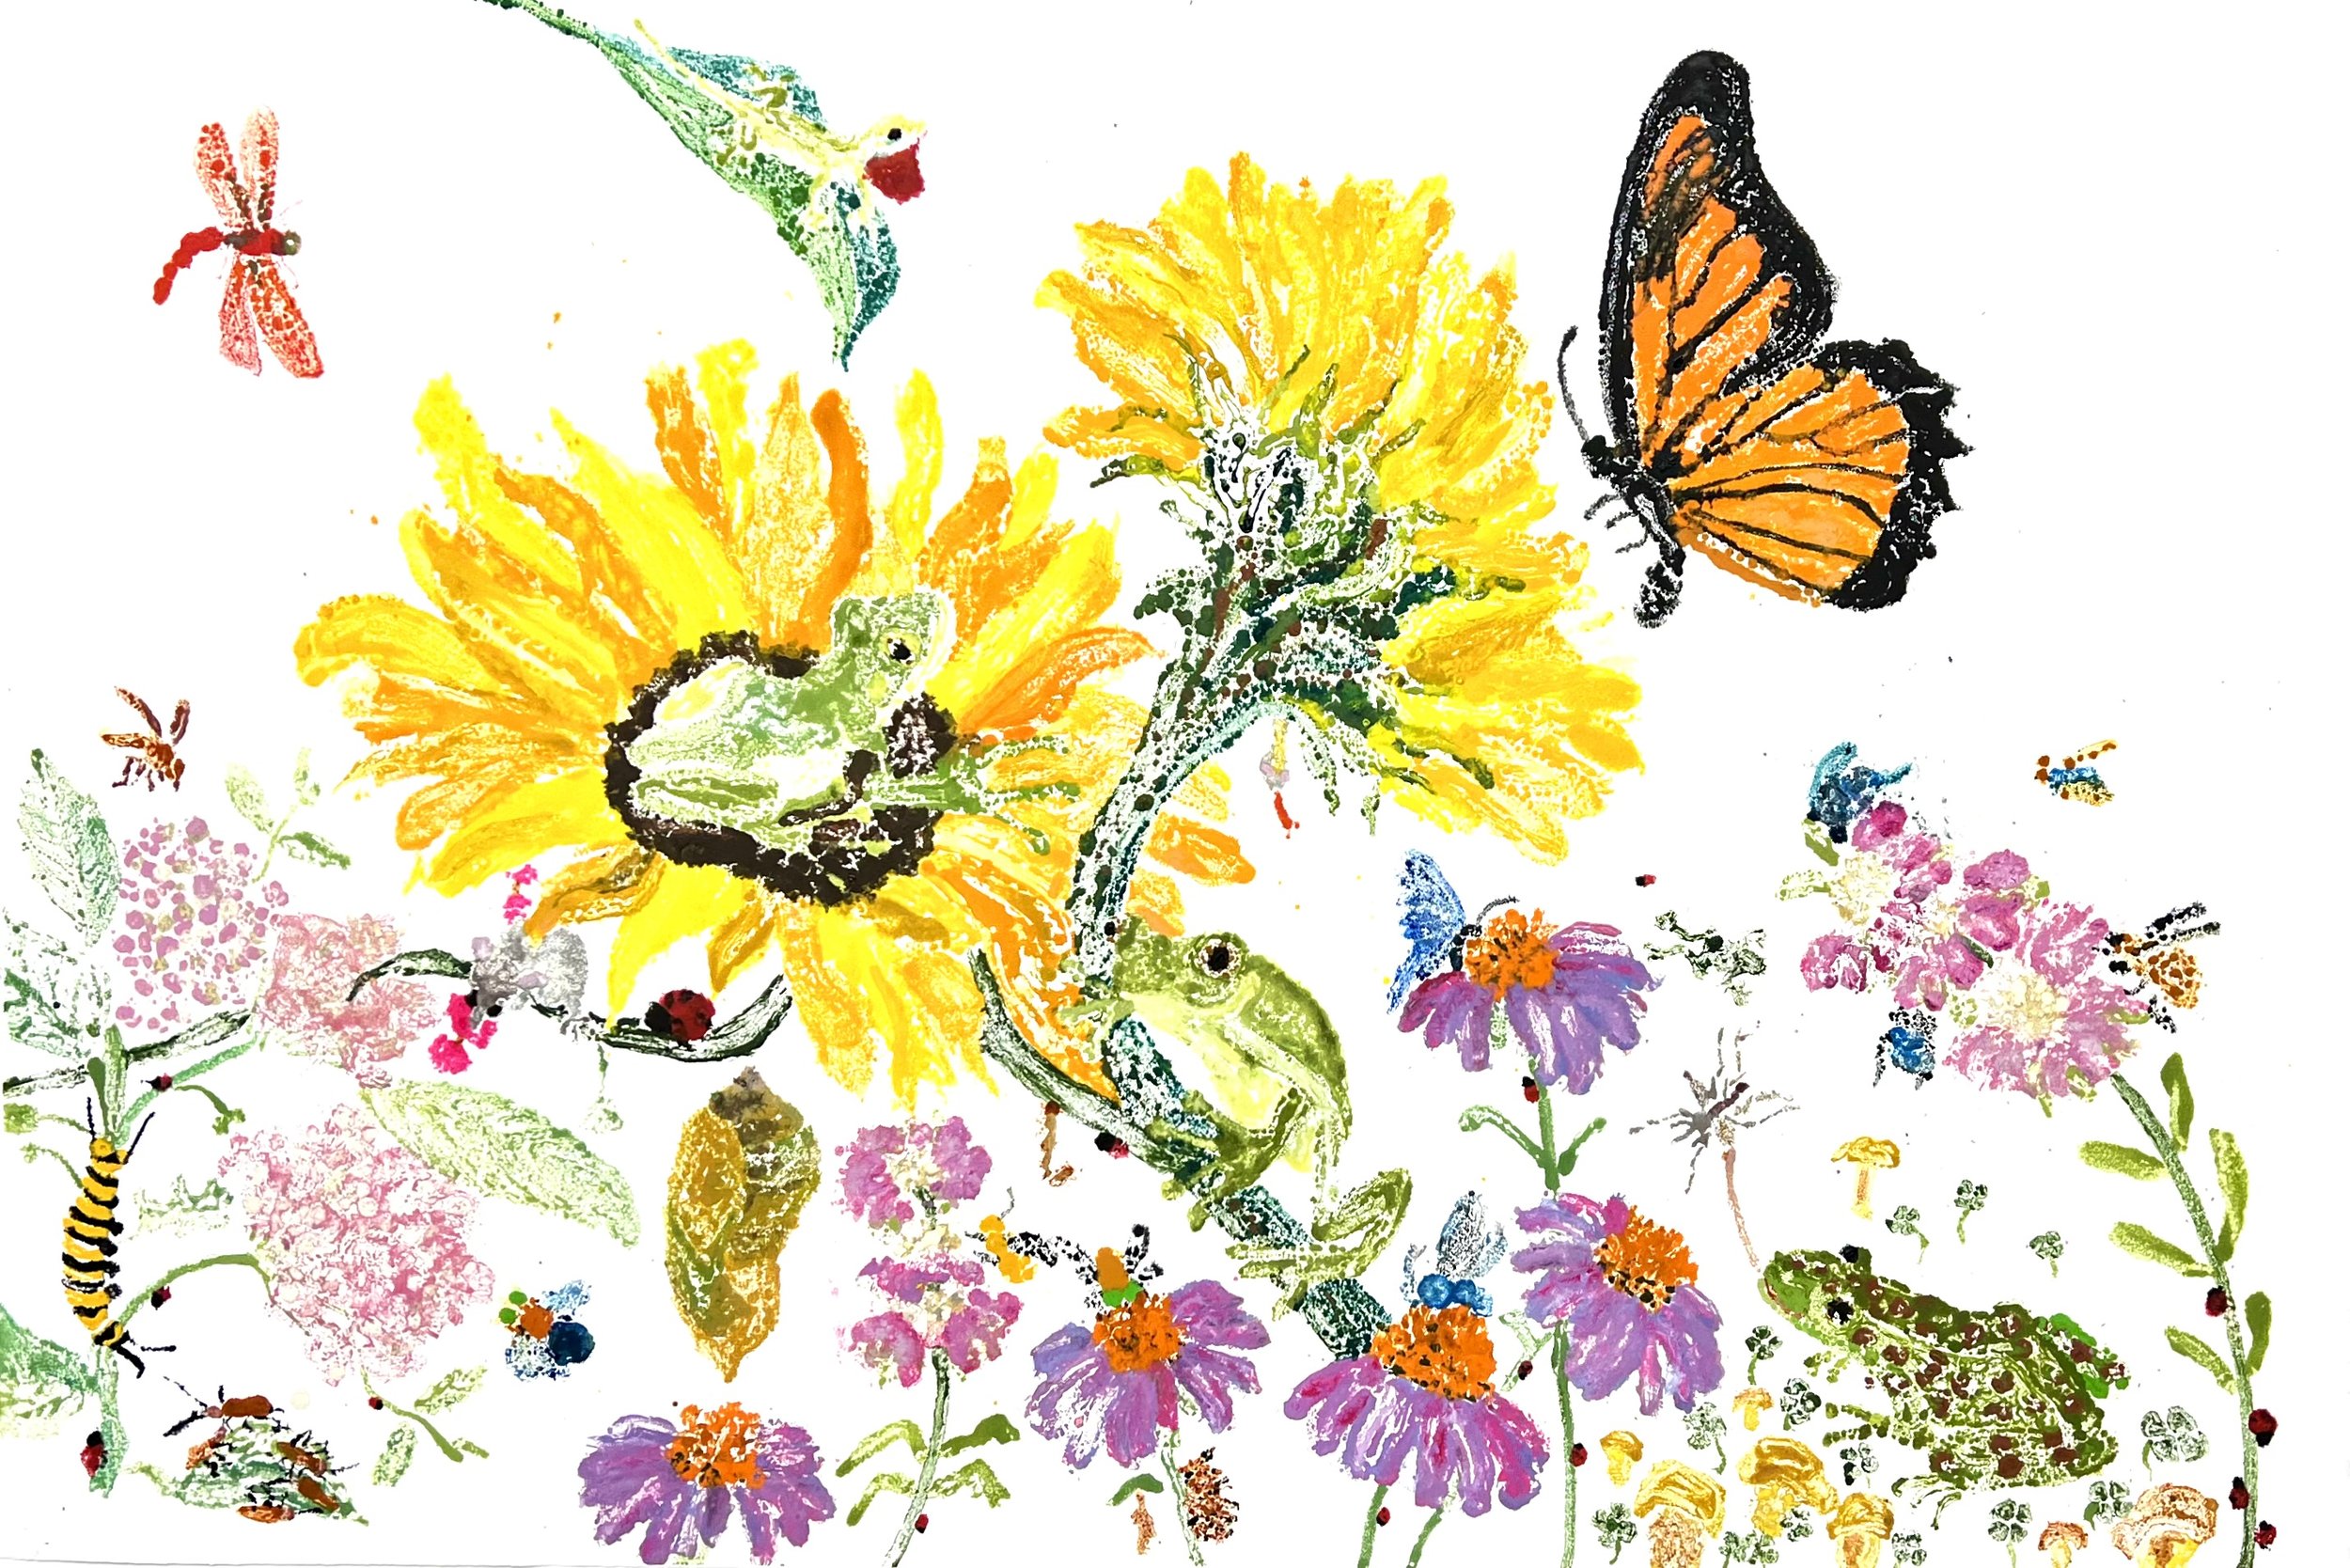
Bombus melanopygus - Black tailed bumble bee.

How the bumble bee got its stripes https://www.eurekalert.org/news-releases/600078

Bombus melanopygu, a captivating bumblebee species that I recently began studying for my body of work, “Rumblings”. As an artist, my process begins with thorough research, delving into the intriguing world of each unique species. Despite the limited information available, I find myself captivated by Bombus melanopygus and its enchanting research qualities.

Incredible breakthroughs have been made by researchers in understanding the color differences within bumblebee species. A recent study, conducted by experts at Penn State, has revealed the presence of a specific gene that drives these variations in color patterns. This discovery not only sheds light on the astonishing diversity among bumblebees, but also provides insights into the evolution of mimicry, where individuals adopt similar color patterns within a given area. The gene resides in a highly conserved region of the genome, which serves as the blueprint for segmentation. This groundbreaking research was published in the renowned journal Proceedings of the National Academy of Sciences on April 29, 2019. -

Heat Dome

“What I propose, therefore, is very simple: it is nothing more than to think what we are doing.”

-Hannah Arendt, The Human Condition

Heat Dome

Watercolor monotype

30" X44"

Bare ground, concrete, asphalt, and astroturf emit 4X radiant heat. Great masses of radiant heat create heat domes. Heat domes prohibit weather from moving across the land. In contrast, surfaces covered in thick layers of plants indigenous to the region store water in the soil. When the day warms, the plants transpire, releasing bacteria with the moisture to form clouds that provide shade and then rain. We each need to carry our ecological weight. We can start by considering new ways to surface our city scapes to cool the planet.

Heat Dome ghost

A Turn of Events: My Dream Installation on hold.

This summer, I was presented with an incredible opportunity. A curator asked me to propose my dream installation, a chance to showcase something meaningful. The site owner was willing to support and fund the work.

After much contemplation, I decided on a proposal that filled me with passion and urgency. However, last week, it all came to a halt.

I am sincerely grateful for the curator’s interest in my work and the site owner’s support. Their initial inquiry inspired this proposal, and I cannot thank them enough for that. I believe that everything happens for a reason, I have an idea and I am hopeful that I will find the project a site and funding.

First a little background. While at Indiana University, I became aware that integrating ecological recovery with natural systems is a new academic direction and numerous educational institutions are interested in this area. After all, universities and school systems are the largest landowners in any city and having research students involved would be a great asset. Transforming the proposed installation into an art/environmental science installation would significantly enhance the social sculpture’s reach and benefit a university and society.

Below is my proposal.

Introduction-

Global warming, food security, drought/flooding, wildlife habitats, economic instability, and health – these problems are not new to humankind. The archeology of ancient civilizations has recorded connections between the longevity of civilizations and the health of their soil. The United Nations reported in 2014 that the world's topsoil would only last 60 more growing seasons. Soil scientists around the globe agree that solutions to these issues are rooted in our treatment of soil—the skin that covers our planet. 

In a moment of global uncertainty, I ask myself, what materials and forms would I use to create the greatest impact on society and the environment? As I think of ancient civilizations' architecture, art, and spiritual practices, pillars and vessels played an important role in shaping their understanding of the world. Much of my previous work has been about conservation issues, looking specifically at Earth’s natural systems of bees, at waterways, at bison, at native plants, at recovery from Hurricane Harvey, and now at the underground systems of Earth. And so, I would use roots as my material and pillars as my vessel.

standingGROUND

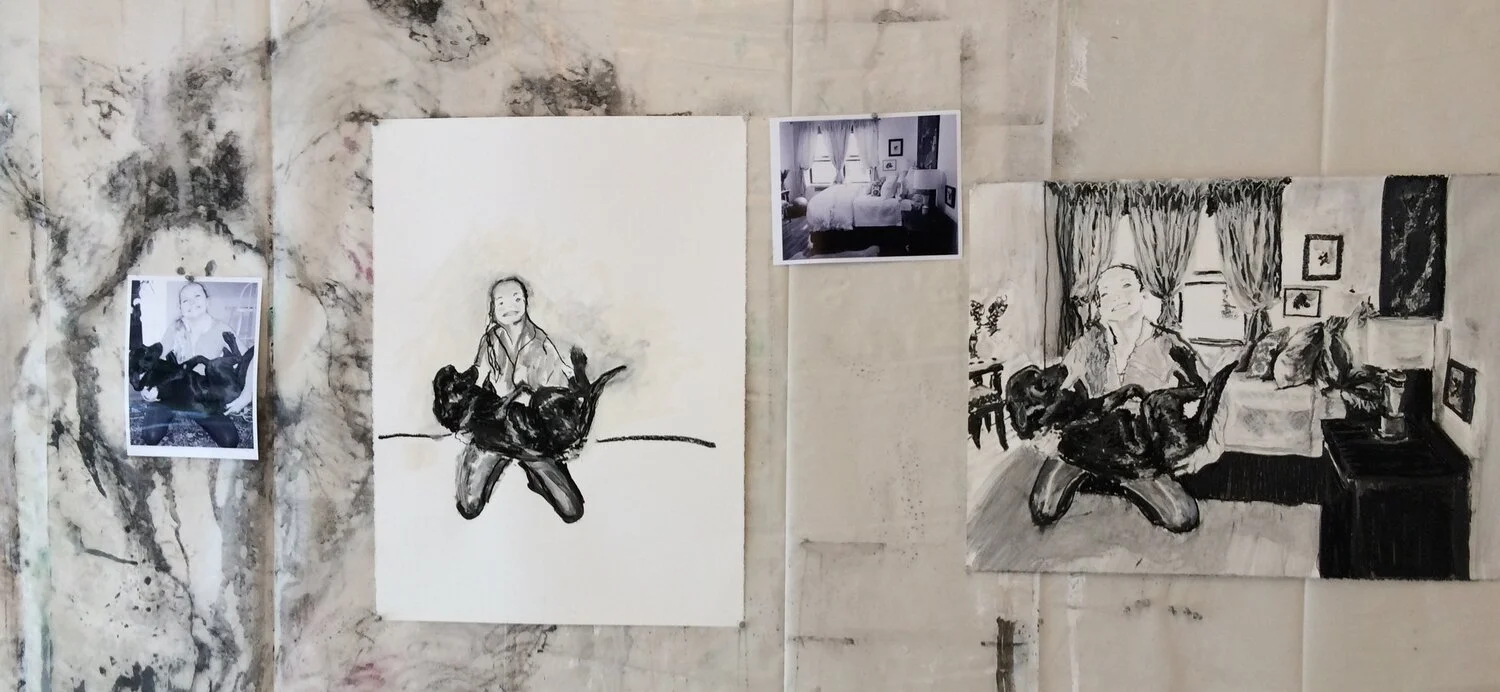
In standingGROUND, I propose a four-stage installation of 5’-10’ tall pillars of various shapes grown from the roots of long-rooted prairie plants.

These pillars will be created by stacking various shapes of clay vessels commonly purchased from home and garden stores. The vessels with the bottoms removed will be stacked and centered on a steel pole cemented in the earth with a small footing for stability. The pots will be filled with a leaf-mold compost and seeded with native grasses and plants known for their root depth. They are to be nurtured and watered for approximately twelve months or until the plants are rootbound in the clay pillars. The clay will then be delicately broken away and the above-ground plant material removed, leaving freestanding pillars of delicately intertwined roots bound in the shapes of the stacked vessels. The root pillars will stand erect on the hidden steel posts.

Drawing inspiration from the rhizomatic root structures of native grasses that give structure to Earht’s underground life, these sculptures, woven by natural systems, standing above ground, will bridge the gap between sky, earth, water, and modern humanity. These pillars offer a glimpse into the intricate workings of an underground prairie ecosystem, the upside-down rainforest for carbon sequestration of North America.

Four Stages

The first phase of standingGROUND will focus on the sculptural aesthetics of the work. I will carefully build the pillars composed of ready-mades to be strong sculptural elements on their own. Once a site is selected, I will choose a paint color that harmonizes with the surroundings and emphasizes the sculptural qualities of the pillars. Lighting will play a crucial role in showcasing the sculptures in relation to their environment. I will paint the pots before the installation, touch them up, and paint the joints afterward. Information on the site will discuss the ecological and social aspects not yet revealed.

The second phase will be to install the pillars into an immersive experience. The towering yet human-like pillars will be positioned strategically to create an intimate and inviting space for viewers. Within this space, a stone or stump will be placed as a reflective seat, provoking thoughts on how our actions impact climate and biodiversity and how humanity can find harmony within natural systems.

The third phase of standingGROUND is when I physically chisel the ceramic vessels away to reveal the social sculpture aspect, the delicate white lace-like intertwined roots bound in the shapes of the stacked ready-mades bridging the gap between sky, earth, water, and humanity.

The fourth phase encapsulates the cycle of life, decay, and regeneration. This crucial phase is essential for ensuring life on Earth. The root sculptures will gradually erode and disintegrate when exposed to the elements. Once the installation has reached the end of its visual lifespan, I will carefully remove the root sculptures. The poles and footings will be relocated from the site. This stripping away of the remnants will leave behind a cavity in the ground previously occupied by the footings. Remarkably, this void will serve as a space where the roots can be placed to rest-regenerate and give birth to new life.

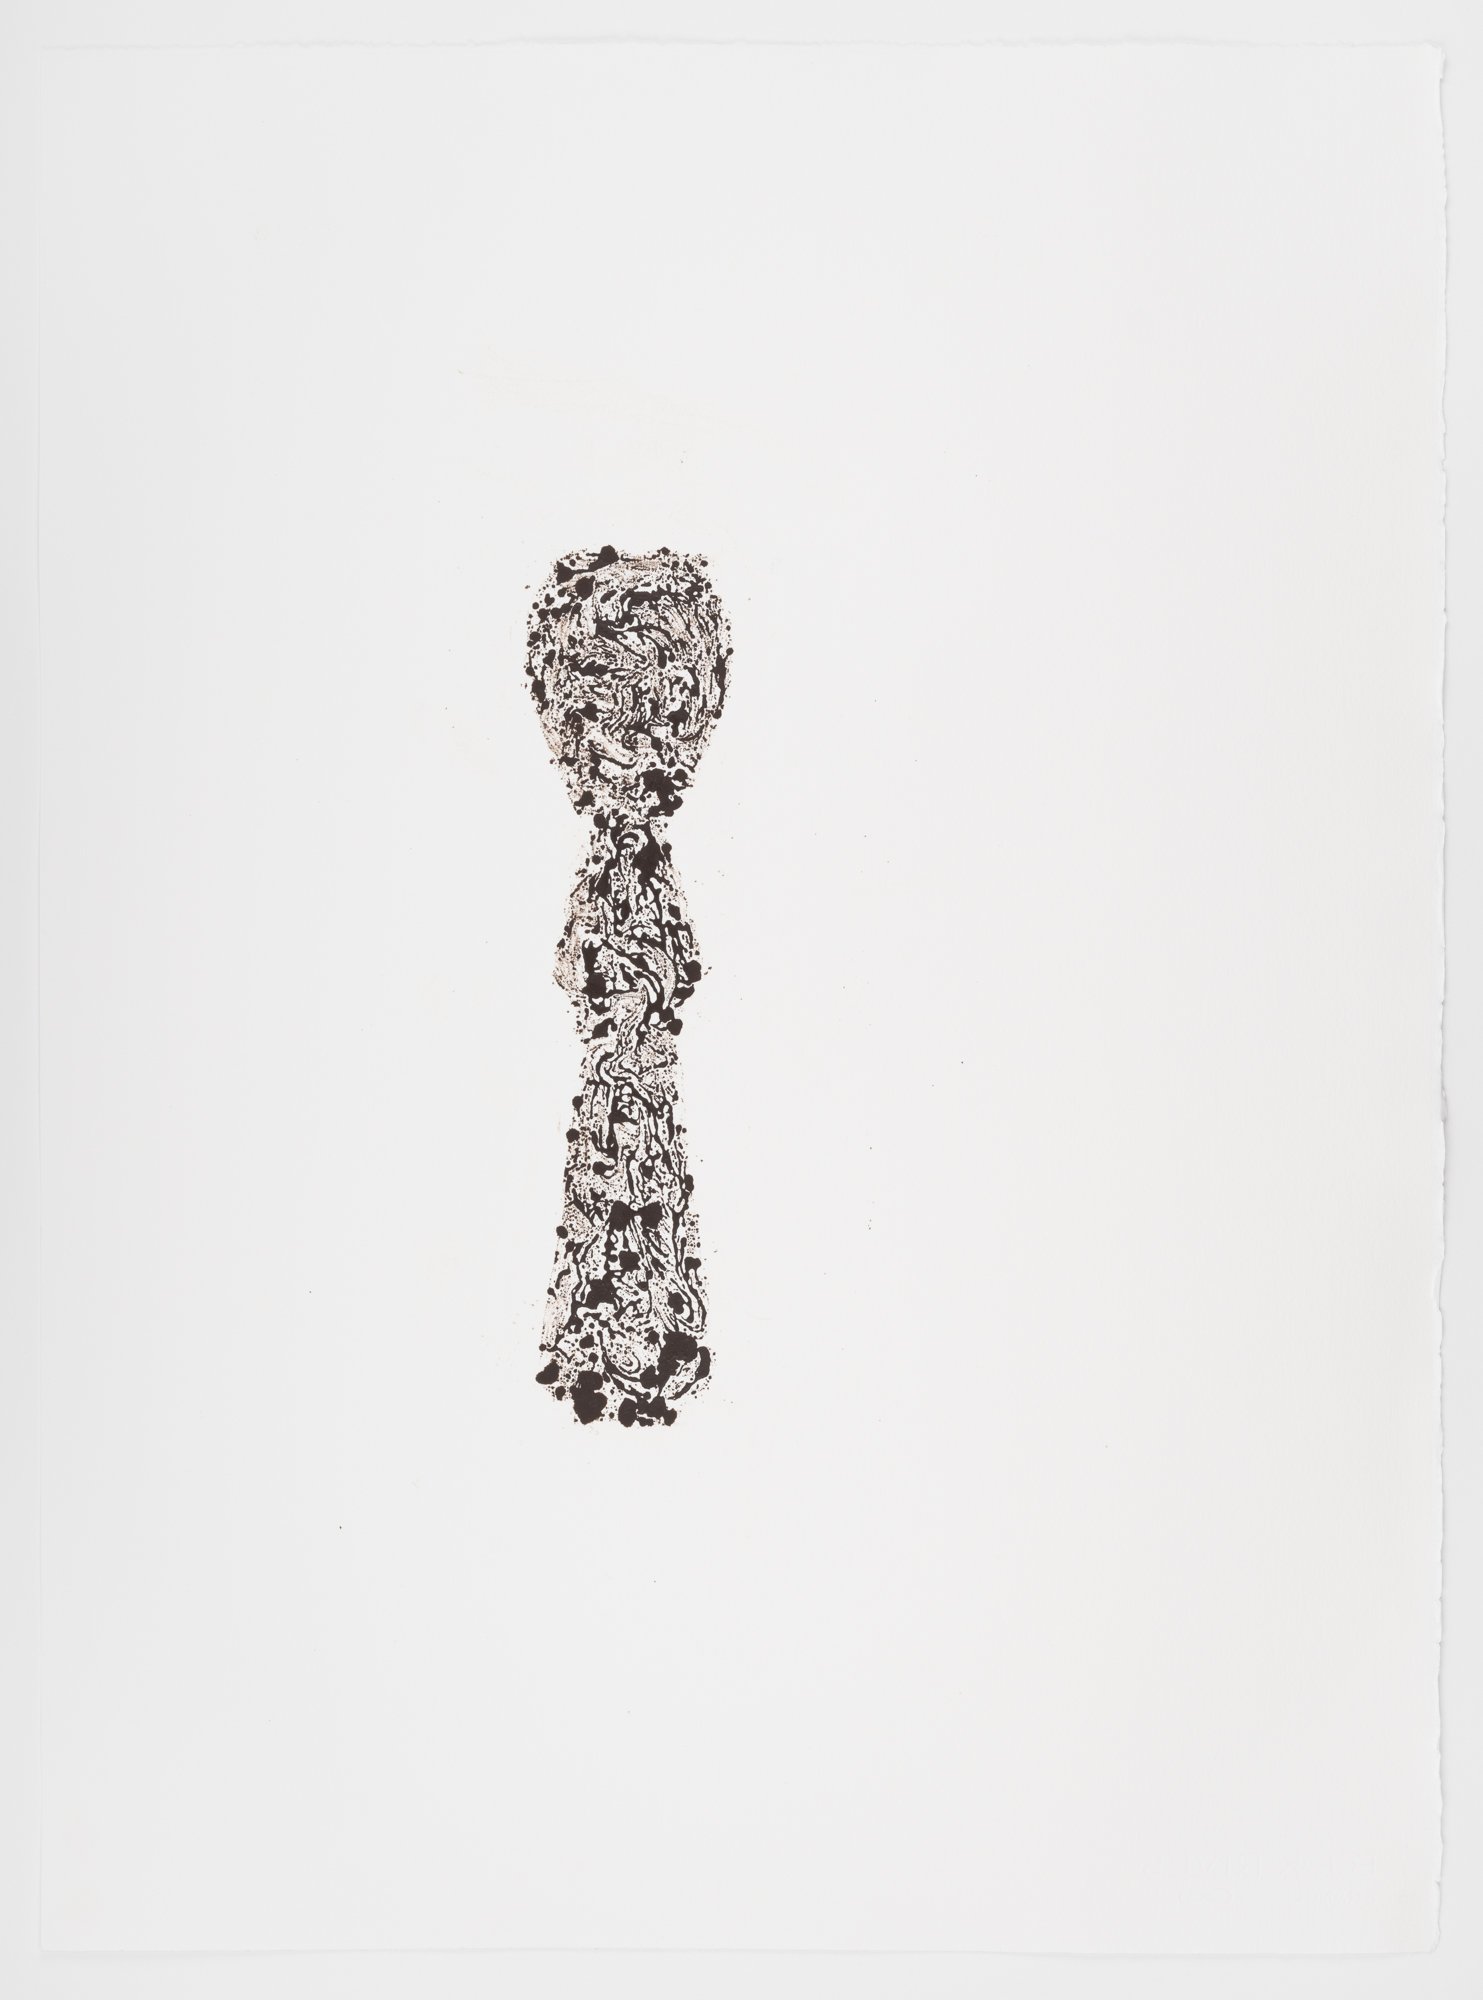
I started experimenting with the shapes in their root form last week. I initially created six sketches in the form of watercolor monotypes. Then, I researched more pot shapes with larger mouths and created four more in round 2. The images of these sketches are below. I will continue experimenting with these shapes as I work on a site.
standingGROUND II

Watercolor monotype

30” X22”

StandingGROUND VI

Watercolor monotype

30” X22”

standingGROUND round 2 #1

Watercolor monotype

30” X22”

standingGROUND IV

Watercolor monotype

30” X22”

StandingGROUND round 2 #4

Watercolor monotype

30” X22”

StandingGROUND round 2 #3

Watercolor monotype

30” X22”

StandingGROUND round 2 #2

Watercolor monotype

30” X22”

standingGROUND V

Watercolor monotype

30” X22”

standingGROUND III

Watercolor monotype

30” X22”

standingGROUND I

Watercolor monotype

30” X22”

To Leave

The ephemeral beauty of nature lies not just in living organisms but also in their inevitable decay.

This morning, while examining “deeper than that” a private living sculpture art installation featuring indigenous plants, I was struck by the fading loveliness of the Rosinweed leaves as they withered. Contemplating the homophones “leaf”, “leave” and “leaves”, I pondered how societies historically understood the ecological value of allowing foliage to persist even after senescence. Is that why we call these objects a verb?

Leaves that have left a plant continue to nourish the soil and its microbial inhabitants even in death. Their decaying forms hold moisture, shade the living organisms in the ground, and provide nutrients as they return to earth, building a balanced ecology that sustains urban landscapes. They are an important material natures uses in its engineering of the water table.

Though a single leaf may seem a small, ephemeral thing, in aggregate and over time, the leaves left behind establish and uphold the very foundations of life.

Their decay is not an end but rather a beginning - a quiet, essential recycling of energy and matter that allows new growth to emerge.

In both the noun and the verb there are layers of beauty, and layers of ecological purpose, in the leaves left to molder where they fall. An ecosystem thrives on this gift of decay, using the ephemeral to fuel the eternal. Such is the profound, poignant cycle that the installation’s Rosinweed specimens, even as they bend and brown, help perpetuate. Out of seeming loss, abundance; out of death, life.

Leave your leaves and be grateful for their beauty as nouns and as verbs.

The American Beaver - research

In her book Beaver Land, How One Weird Rodent Made America, Leila Philip spends a chapter on Lewis H. Morgan's (America’s first Anthropologist) documentation of The American Beaver written in 1868. Lucky me, I have found a copy. I am wondering how this read may impact my work.

During a captivating walking tour of Buffalo Bayou in the early 2000s, led by an esteemed Master Naturalist, my fascination with beavers was sparked. It all started when we stumbled upon a tree stump adorned with telltale markings of these industrious creatures. Surprisingly, our knowledgeable guide harbored a deep dislike for beavers, prompting me to question their significance within the ecosystem. Alas, our Master Naturalist was left speechless, unable to provide an answer. As an artist documenting my practice, this encounter left me pondering the enigmatic role of the beaver, and the profound impact it holds within our natural world.

Just as bison’s behaviors shape our land ecosystems, beavers are the architects of thriving water and marsh ecosystems. Considering that water is the key to cooling our planet. To truly comprehend nature’s cooling mechanisms, I recognized the need to understand the Beaver and how their work may connect with the bisons and how humans can mimic these systems in urban landscapes.

As someone devoted to capturing the wonders of natural history and integrating them into our human-made structures, I’ve been amassing a collection of historical writings on natural history. I am looking forward to learning from this new addition to my collection.

In Morgan’s book, he delves beyond the surface-level characteristics that most naturalists focus on, offering a profound perspective.

Leila Philip‘s book is a thorough overview and introduction to a contemporary view of the Beaver. I will probably rerread Philip’s book overtime.

I want to know about the Beaver before the Railroad and what beavers think and how they work, what inspires these creatures to do what they do. Morgan’s book is that and more.

Living Llabyrinth- Building the grid

Building a Large Grid for Installing a Labyrinth: My Process. One reason I write these blog posts is to record my process. The other is to share information.

Constructing a labyrinth grid of this magnitude may seem like a daunting task. And it is for me. With the right strategy, it can be accomplished efficiently. As I embarked on this venture, I took the time to experiment and optimize my methods. Here's a breakdown of the process that was the most efficient.

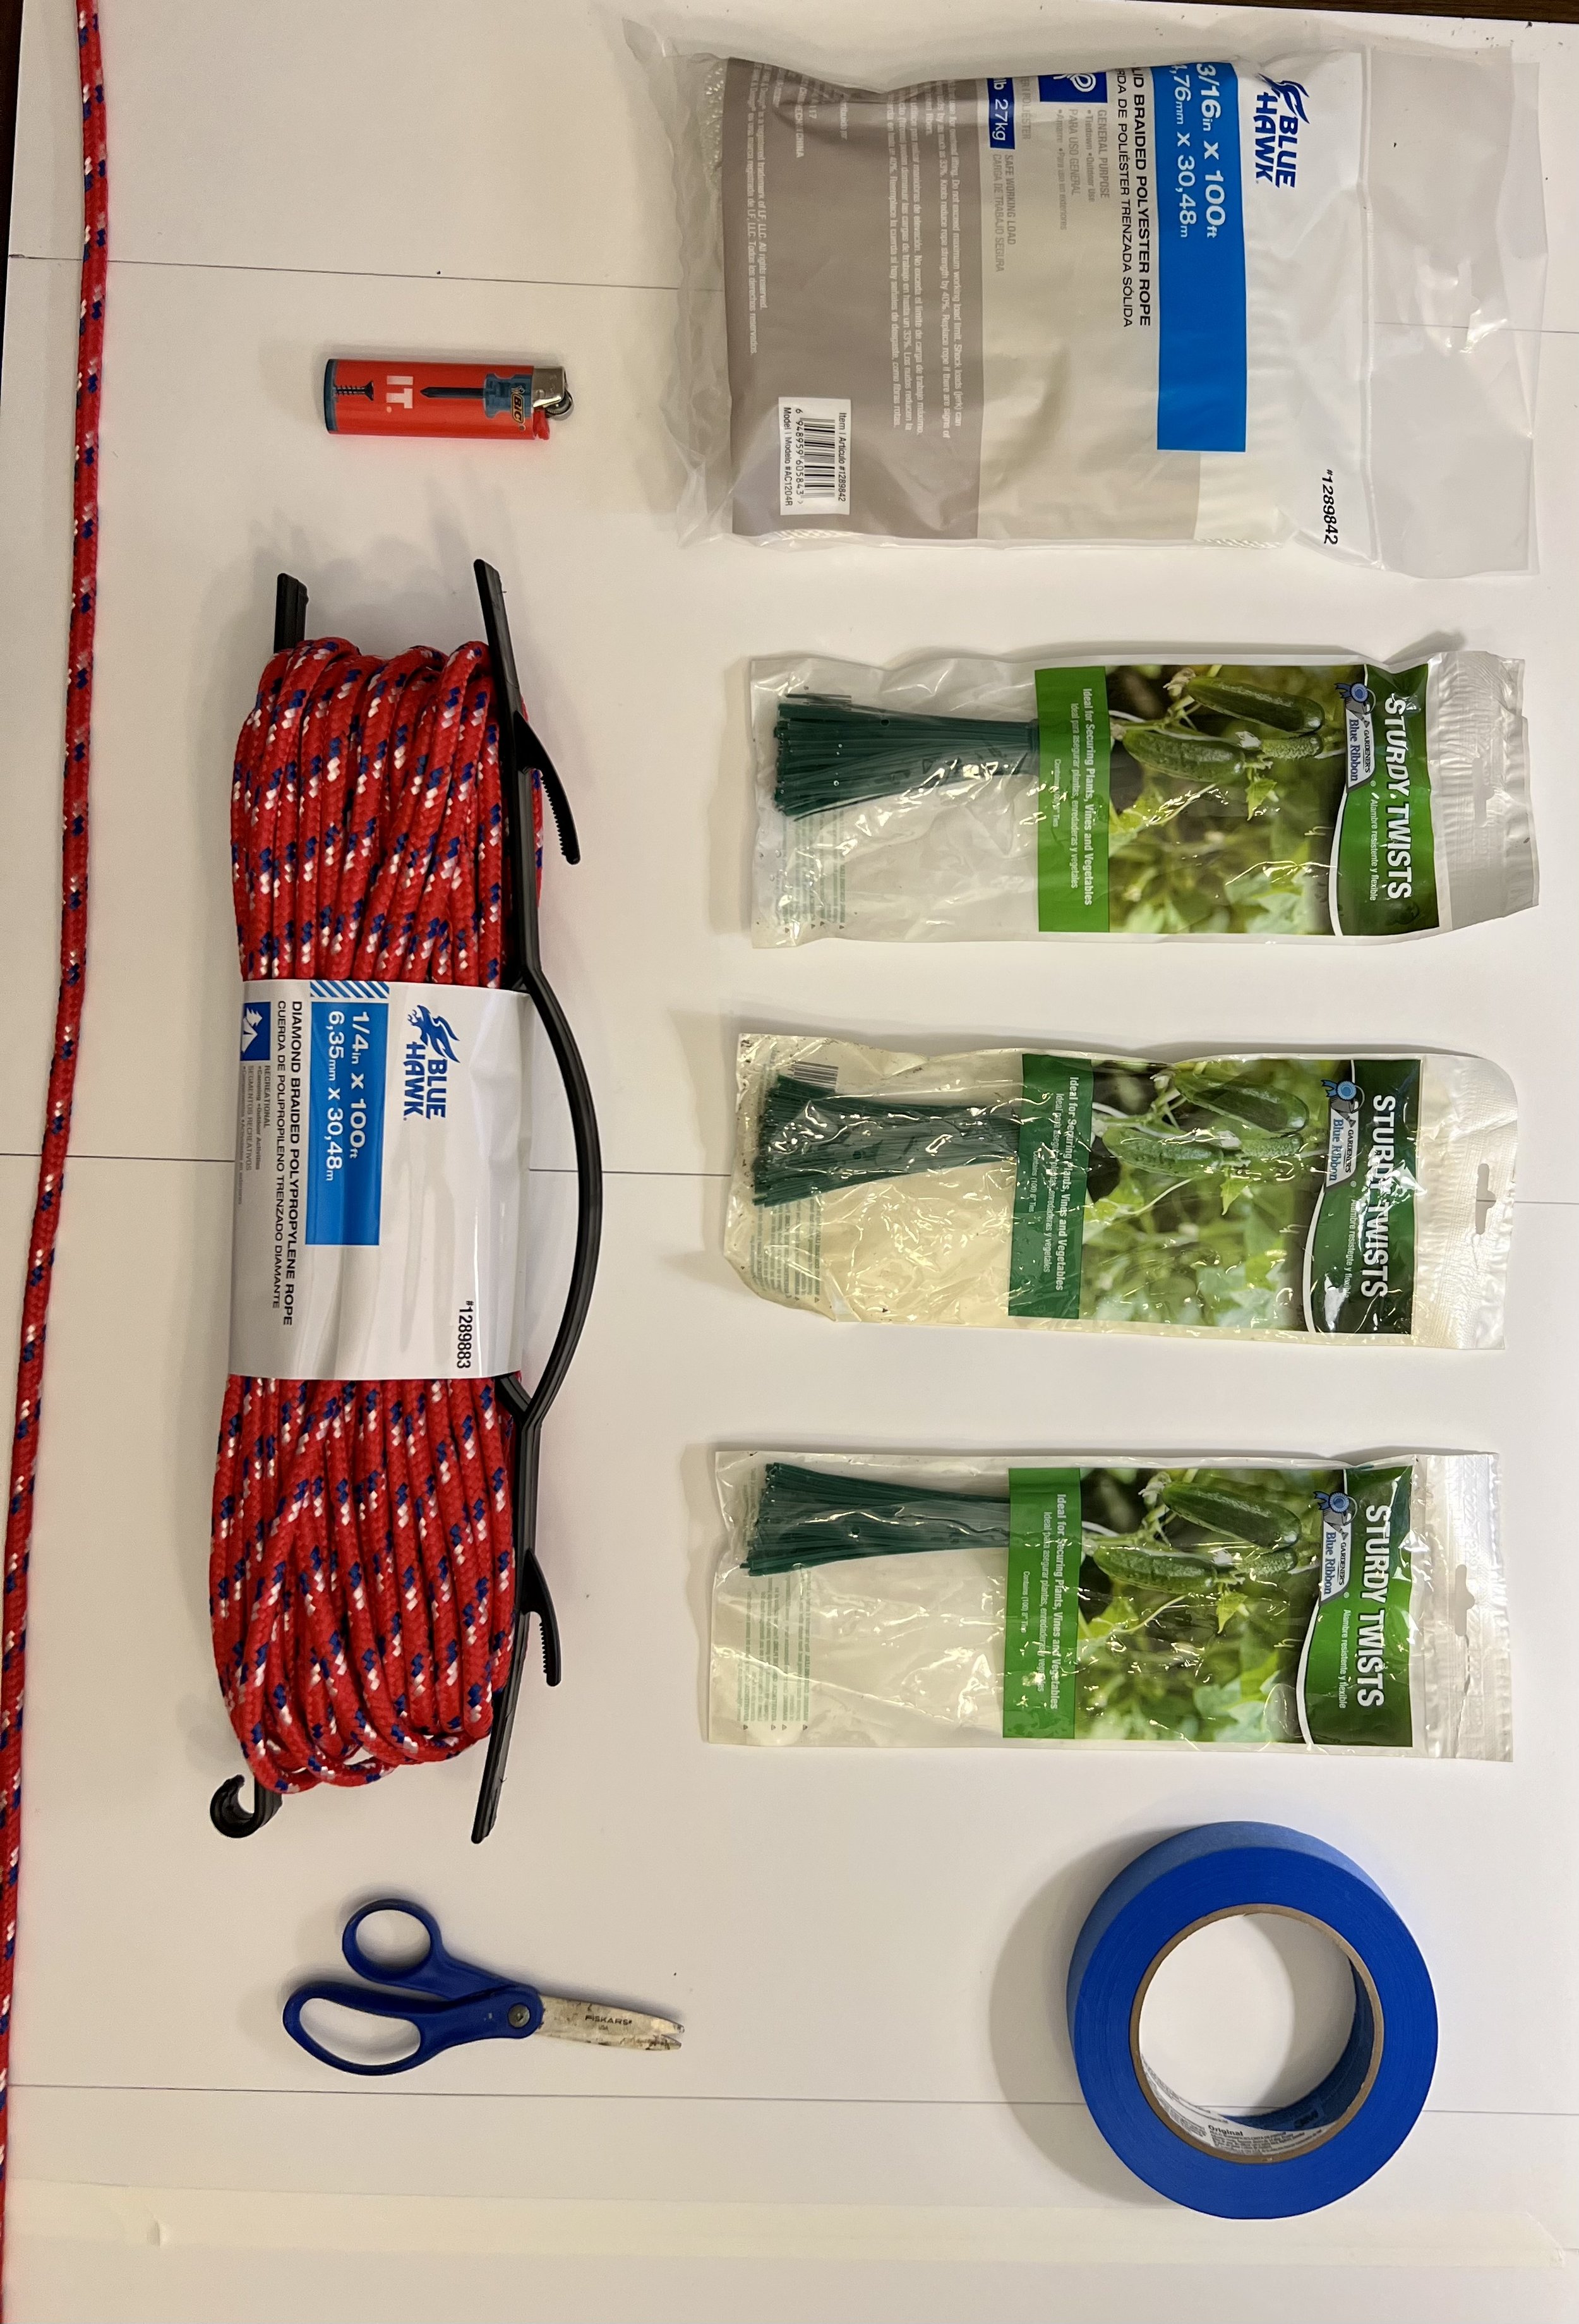
To begin, gather the necessary materials: X-axis cords measuring 53 at 54' and Y-axis cords measuring 33 at 88' lengths. Keep in mind that the cords come in 100-foot lengths.

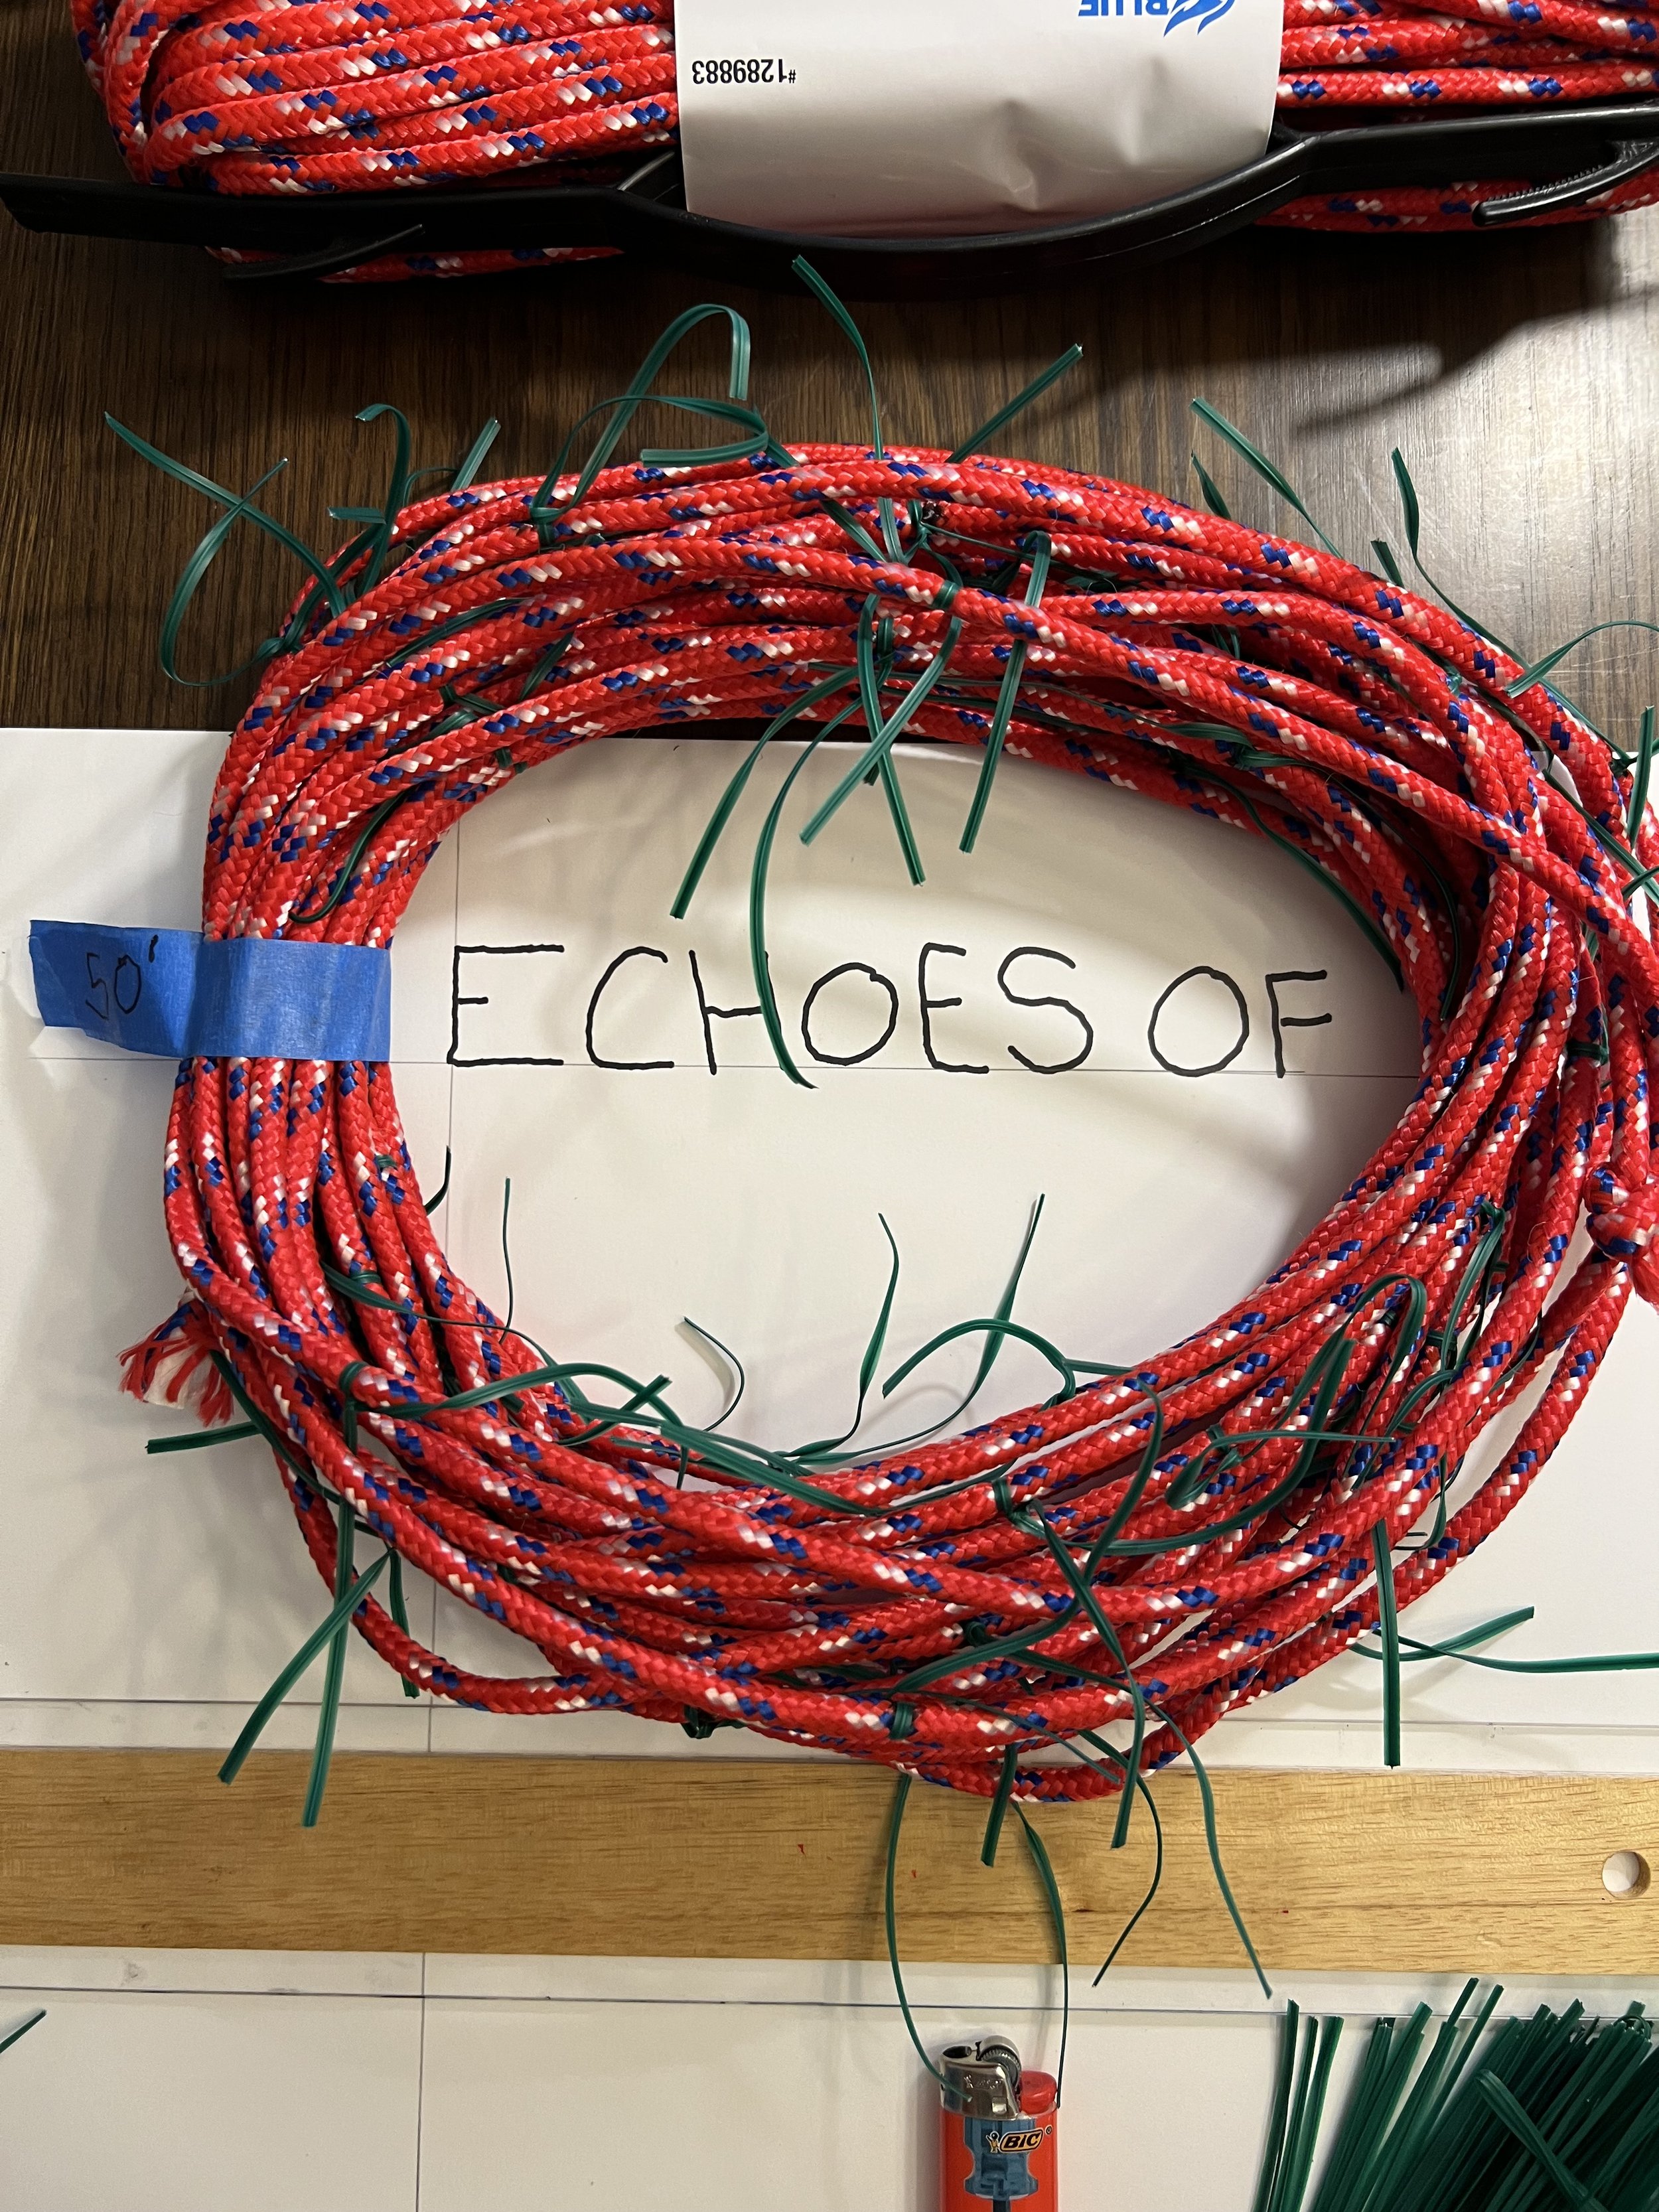
I wish I had of planned at 50’ by 100’ bison. The lighter is for singing the ends so they will not ravel. The tape is for tapeing the measured and twist-tied ropes for the installation.

I am making each cord that is a multiple of 5 a white cord. I think this will helpful the day of the installation.

1. X-axis cords: Start by unwinding the hundred-foot cord carefully, ensuring it doesn't become tangled. Here's a handy tip: tie a knot at one end and secure a twist tie next to it. Place the knotted end in a doorway and shut the door on it. This will hold it in place. Then, stick your arm through the middle of the looped cord and slowly unwind it, walking away from the door until it's completely straight.

2. Measure and cut the cord, leaving a few inches to knot and singe the ends to prevent unraveling. Tie another twist tie at the 54' mark. This will serve as the reference cord for measuring all other X-axis cords. Keep this cord secured in the door.

3. Take the leftover cord singe the end and knot it and tightly tie a twist tie inside the knot. Shut in the door with the reference length cord. Measure it against the reference cord and splice it with a piece of the next 100' wound-up cord to measure the 54' length accurately. Now you have a cord to start marking the grid on.

To mark the grid on the first cord—

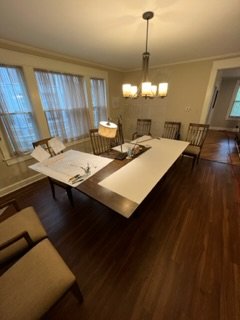
The dining has been my studio work space. First I covered the 8’ table in a thick paper to protect it. Next I marked every 20” from end to end.

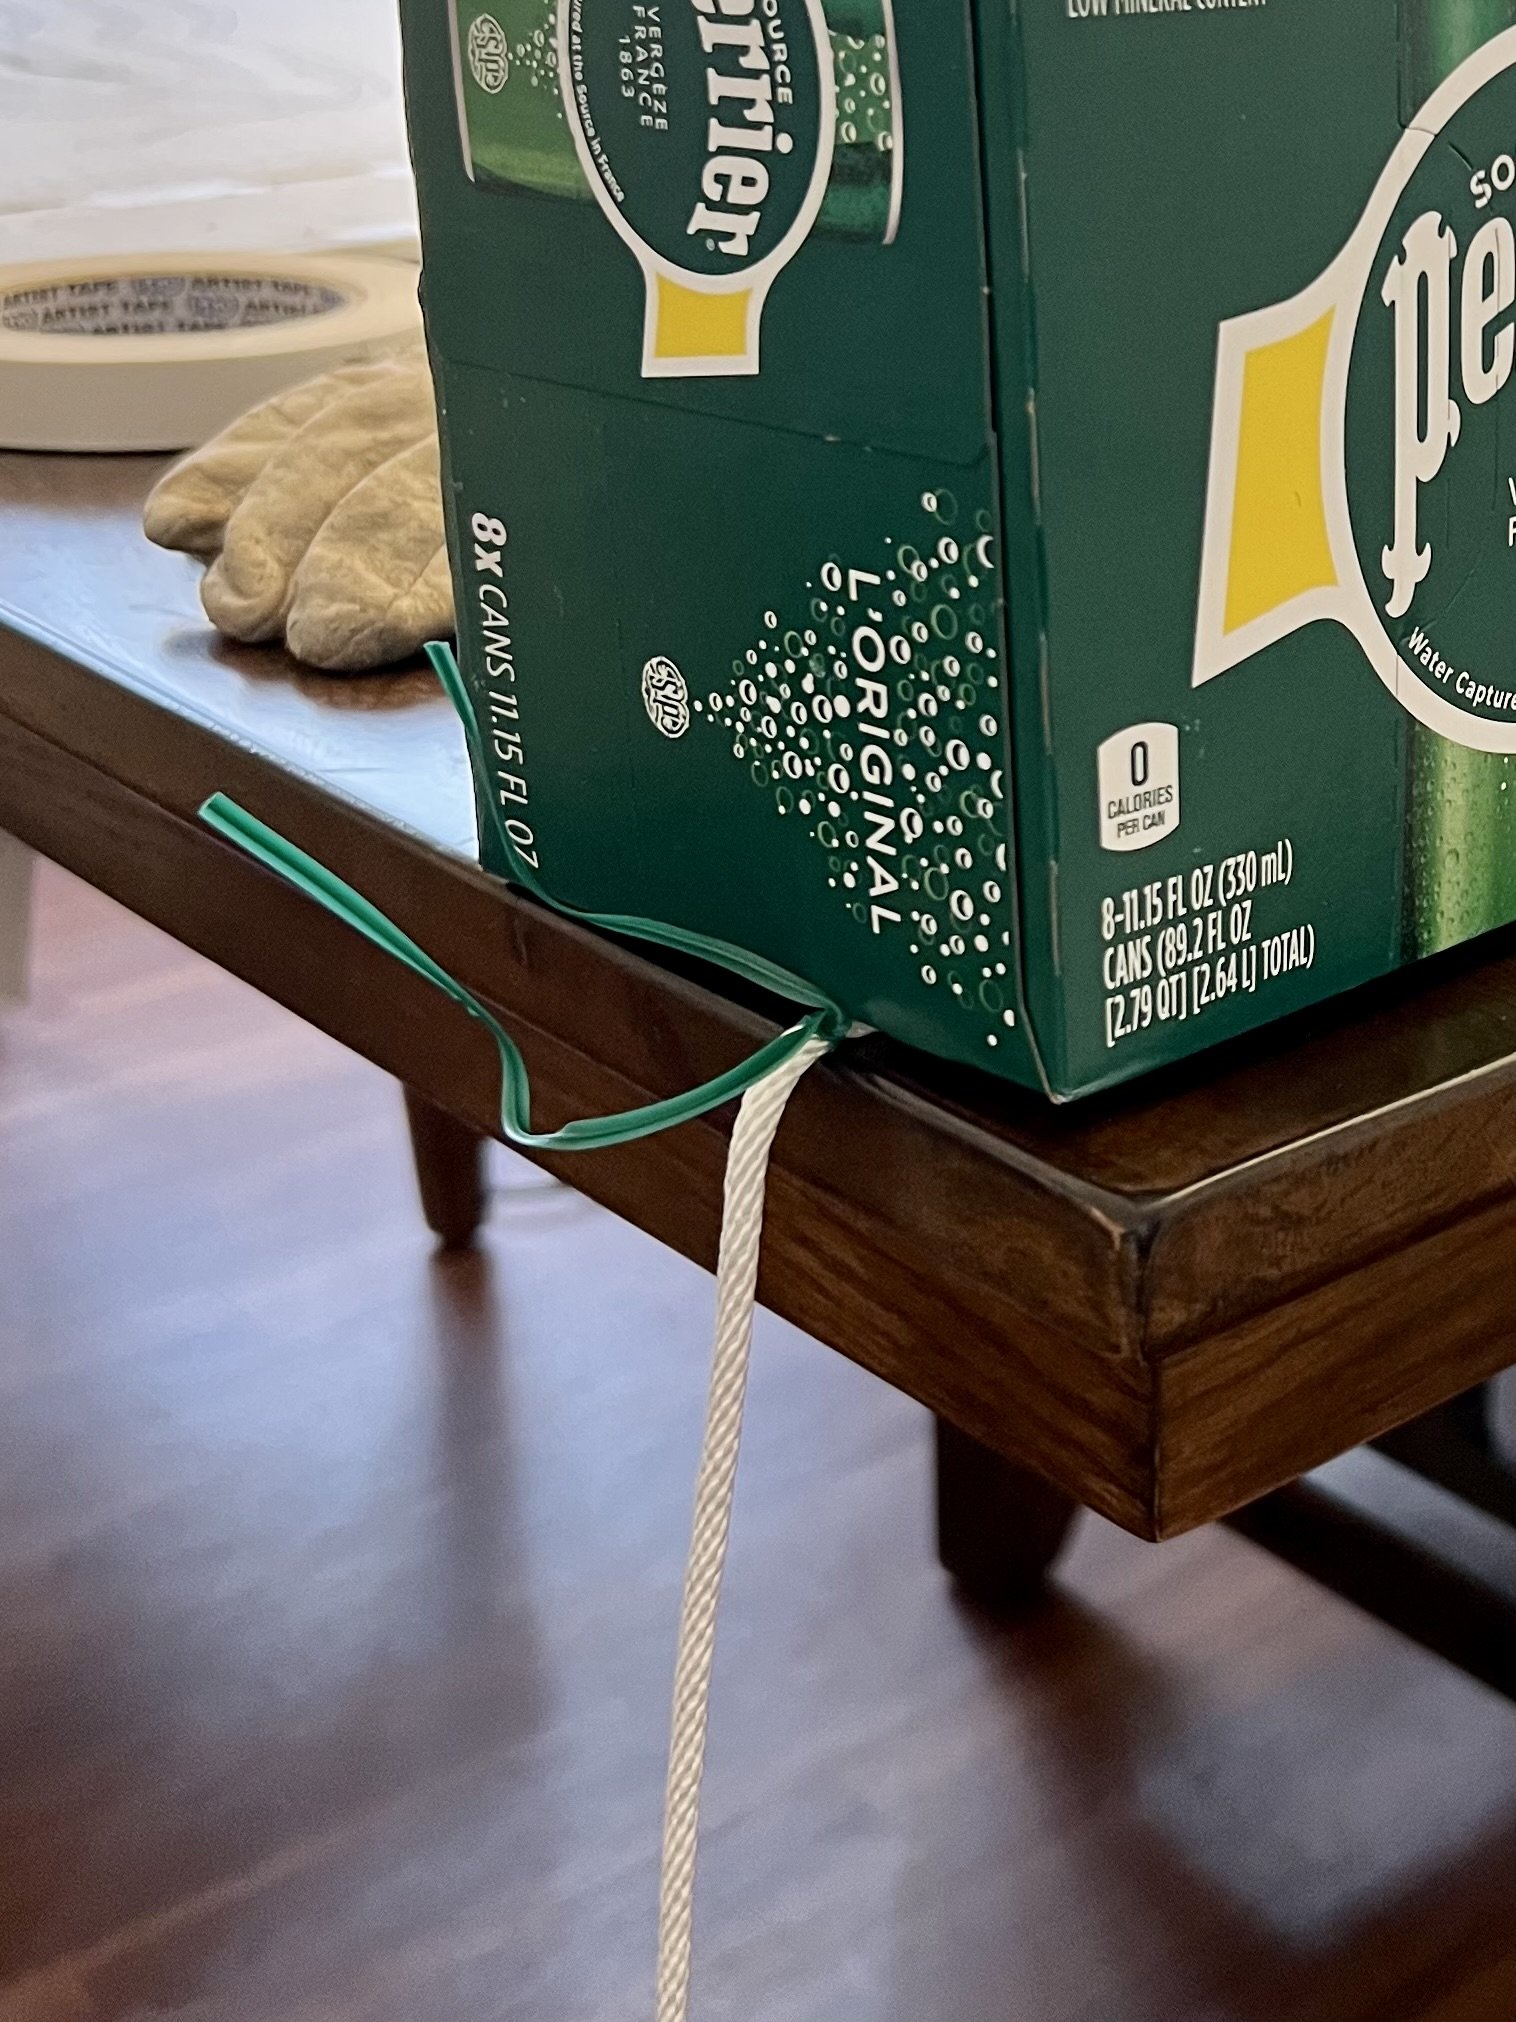
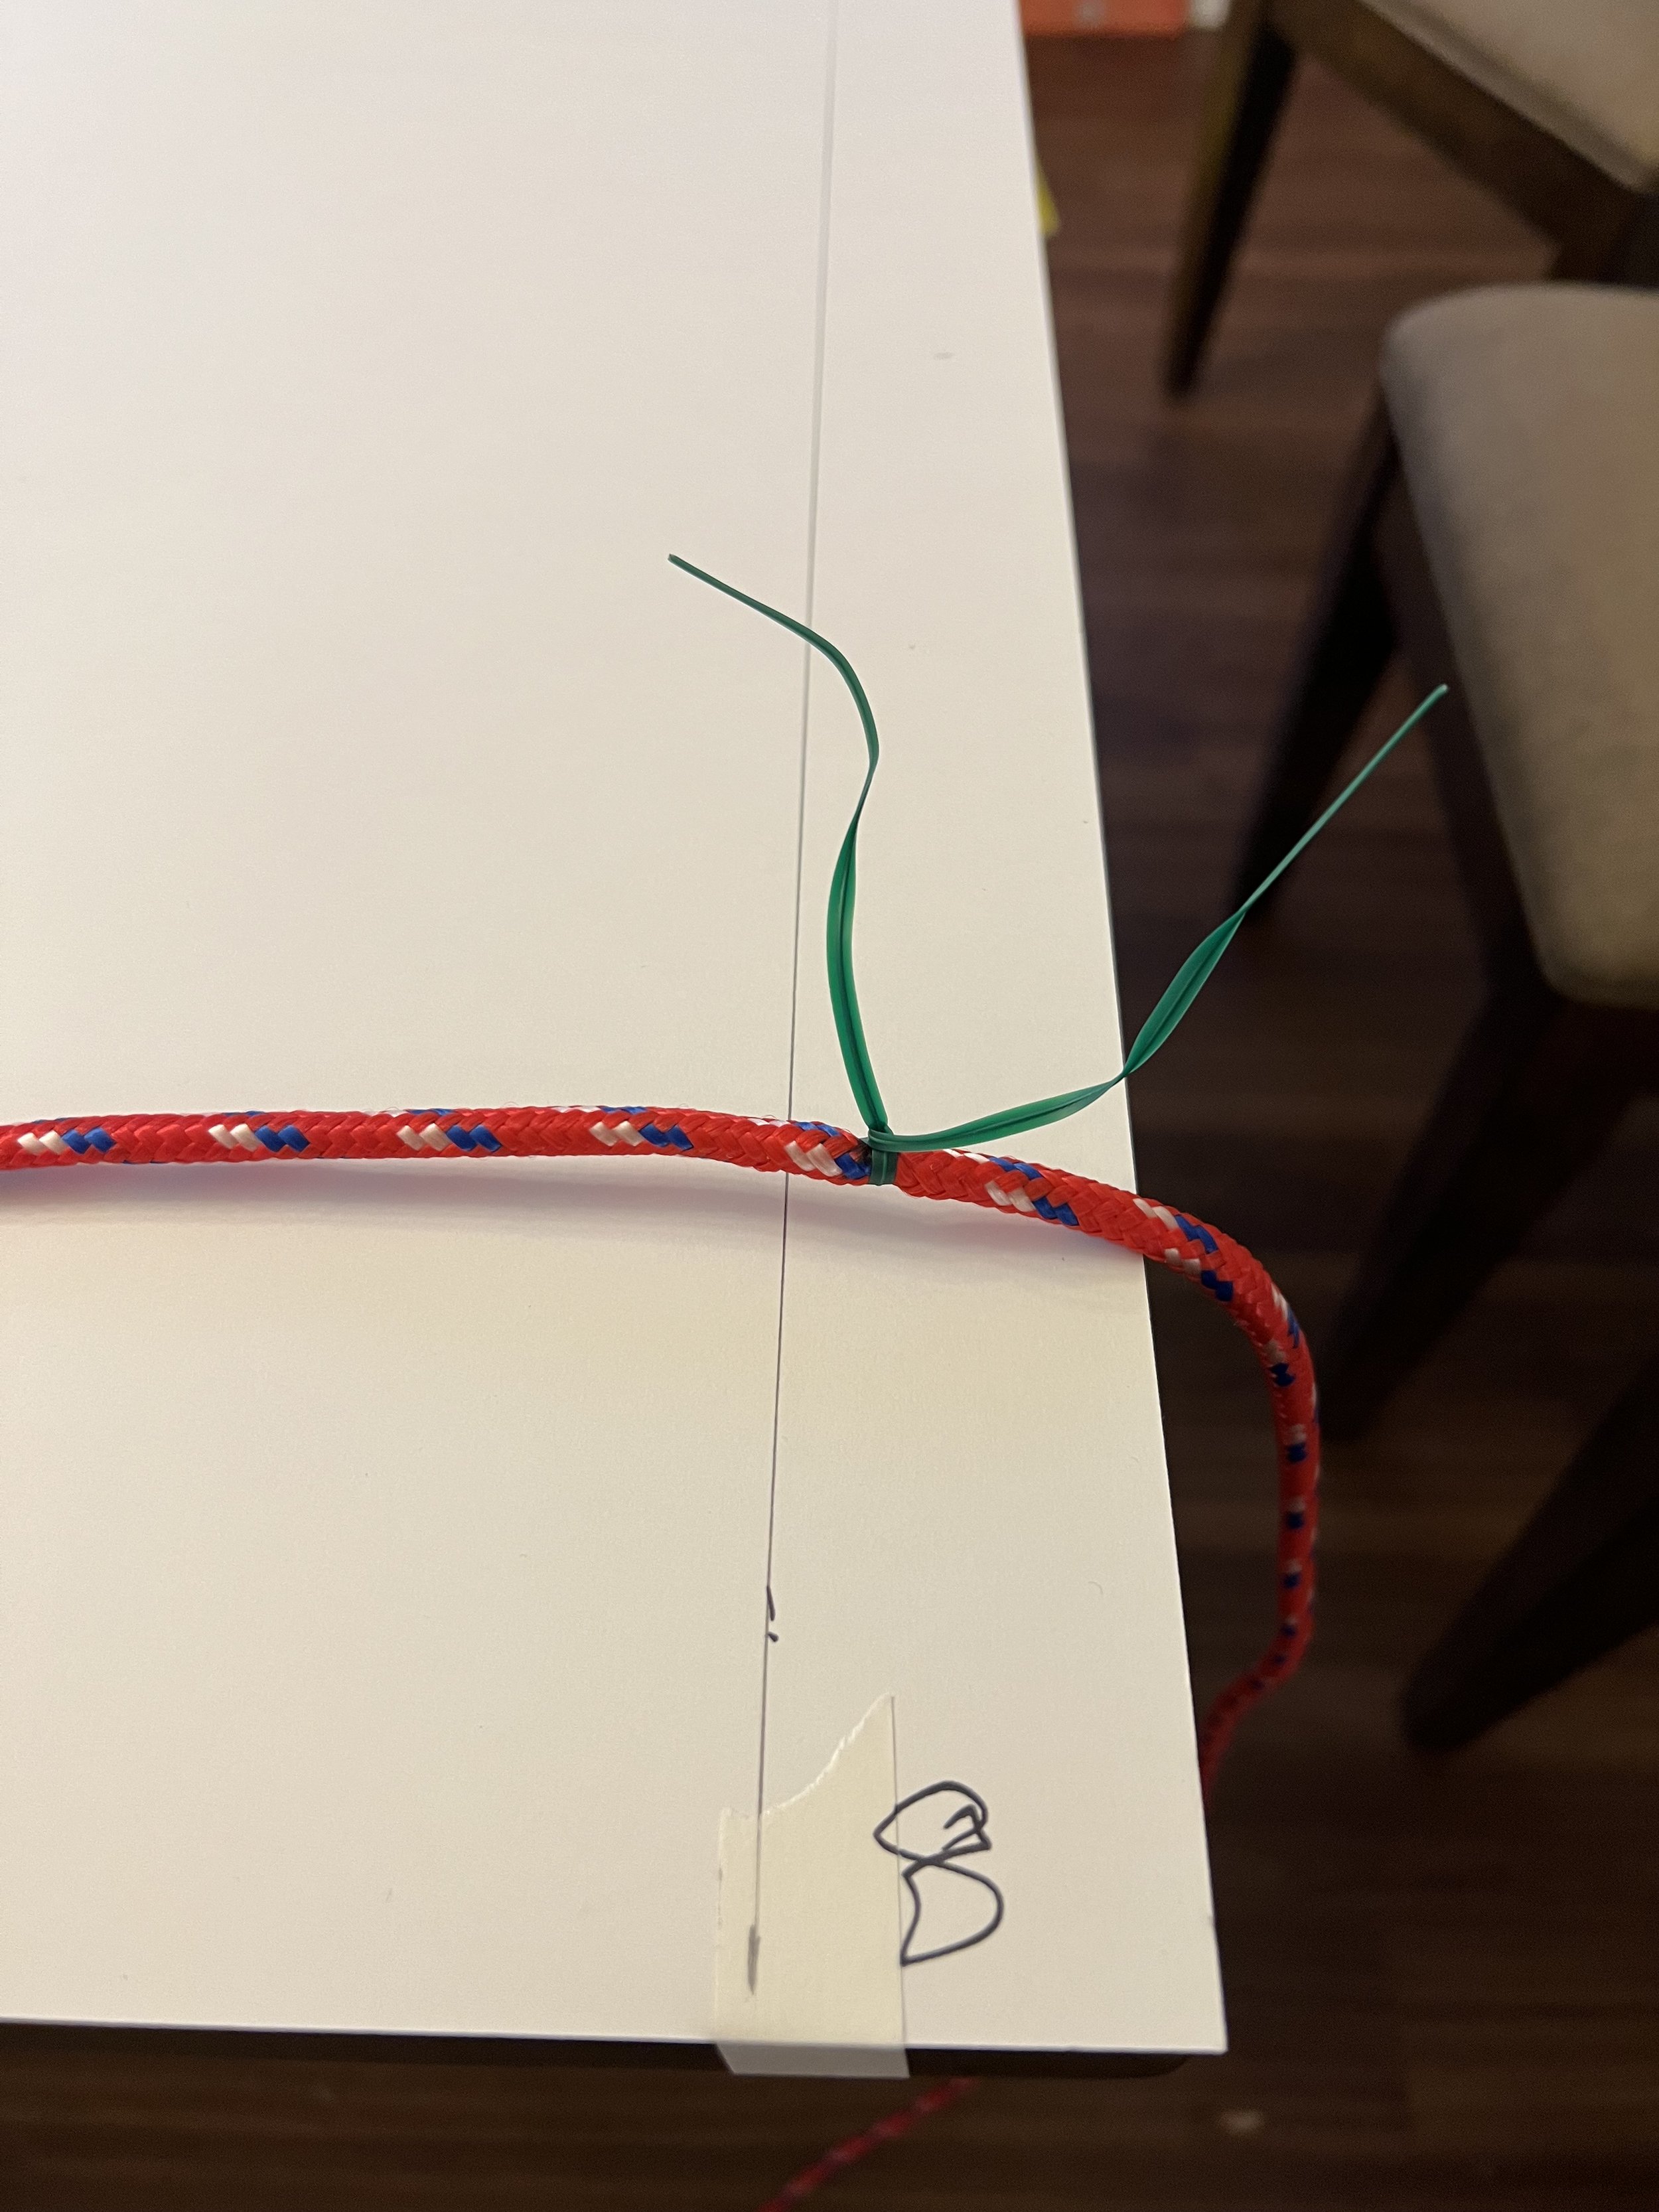
4. Prepare a long table by placing sheets of paper and securing them to the table so they will not slip. Measure and mark on the paper every 20". Lay the cord on the marked paper. To ensure stability, anchor the cord with a heavy object like a case of water.

I used a case of water to weigh down the cords.

Starting from the first knot, and twist tie secure each twist tie tightly along the edge of the table at the 20' marks. Continue tying twist ties until you reach the end of the 54' mark. You may have a little excess cord hanging after the last tie.

The 8’ mark of the table length and the last twist tie. I leave a few inches at the end just in case.

The first piece with every 20” tightly tied with a twisties.

5. Carefully wind up the cord, tape it securely, and mark it as X-axis 54'.

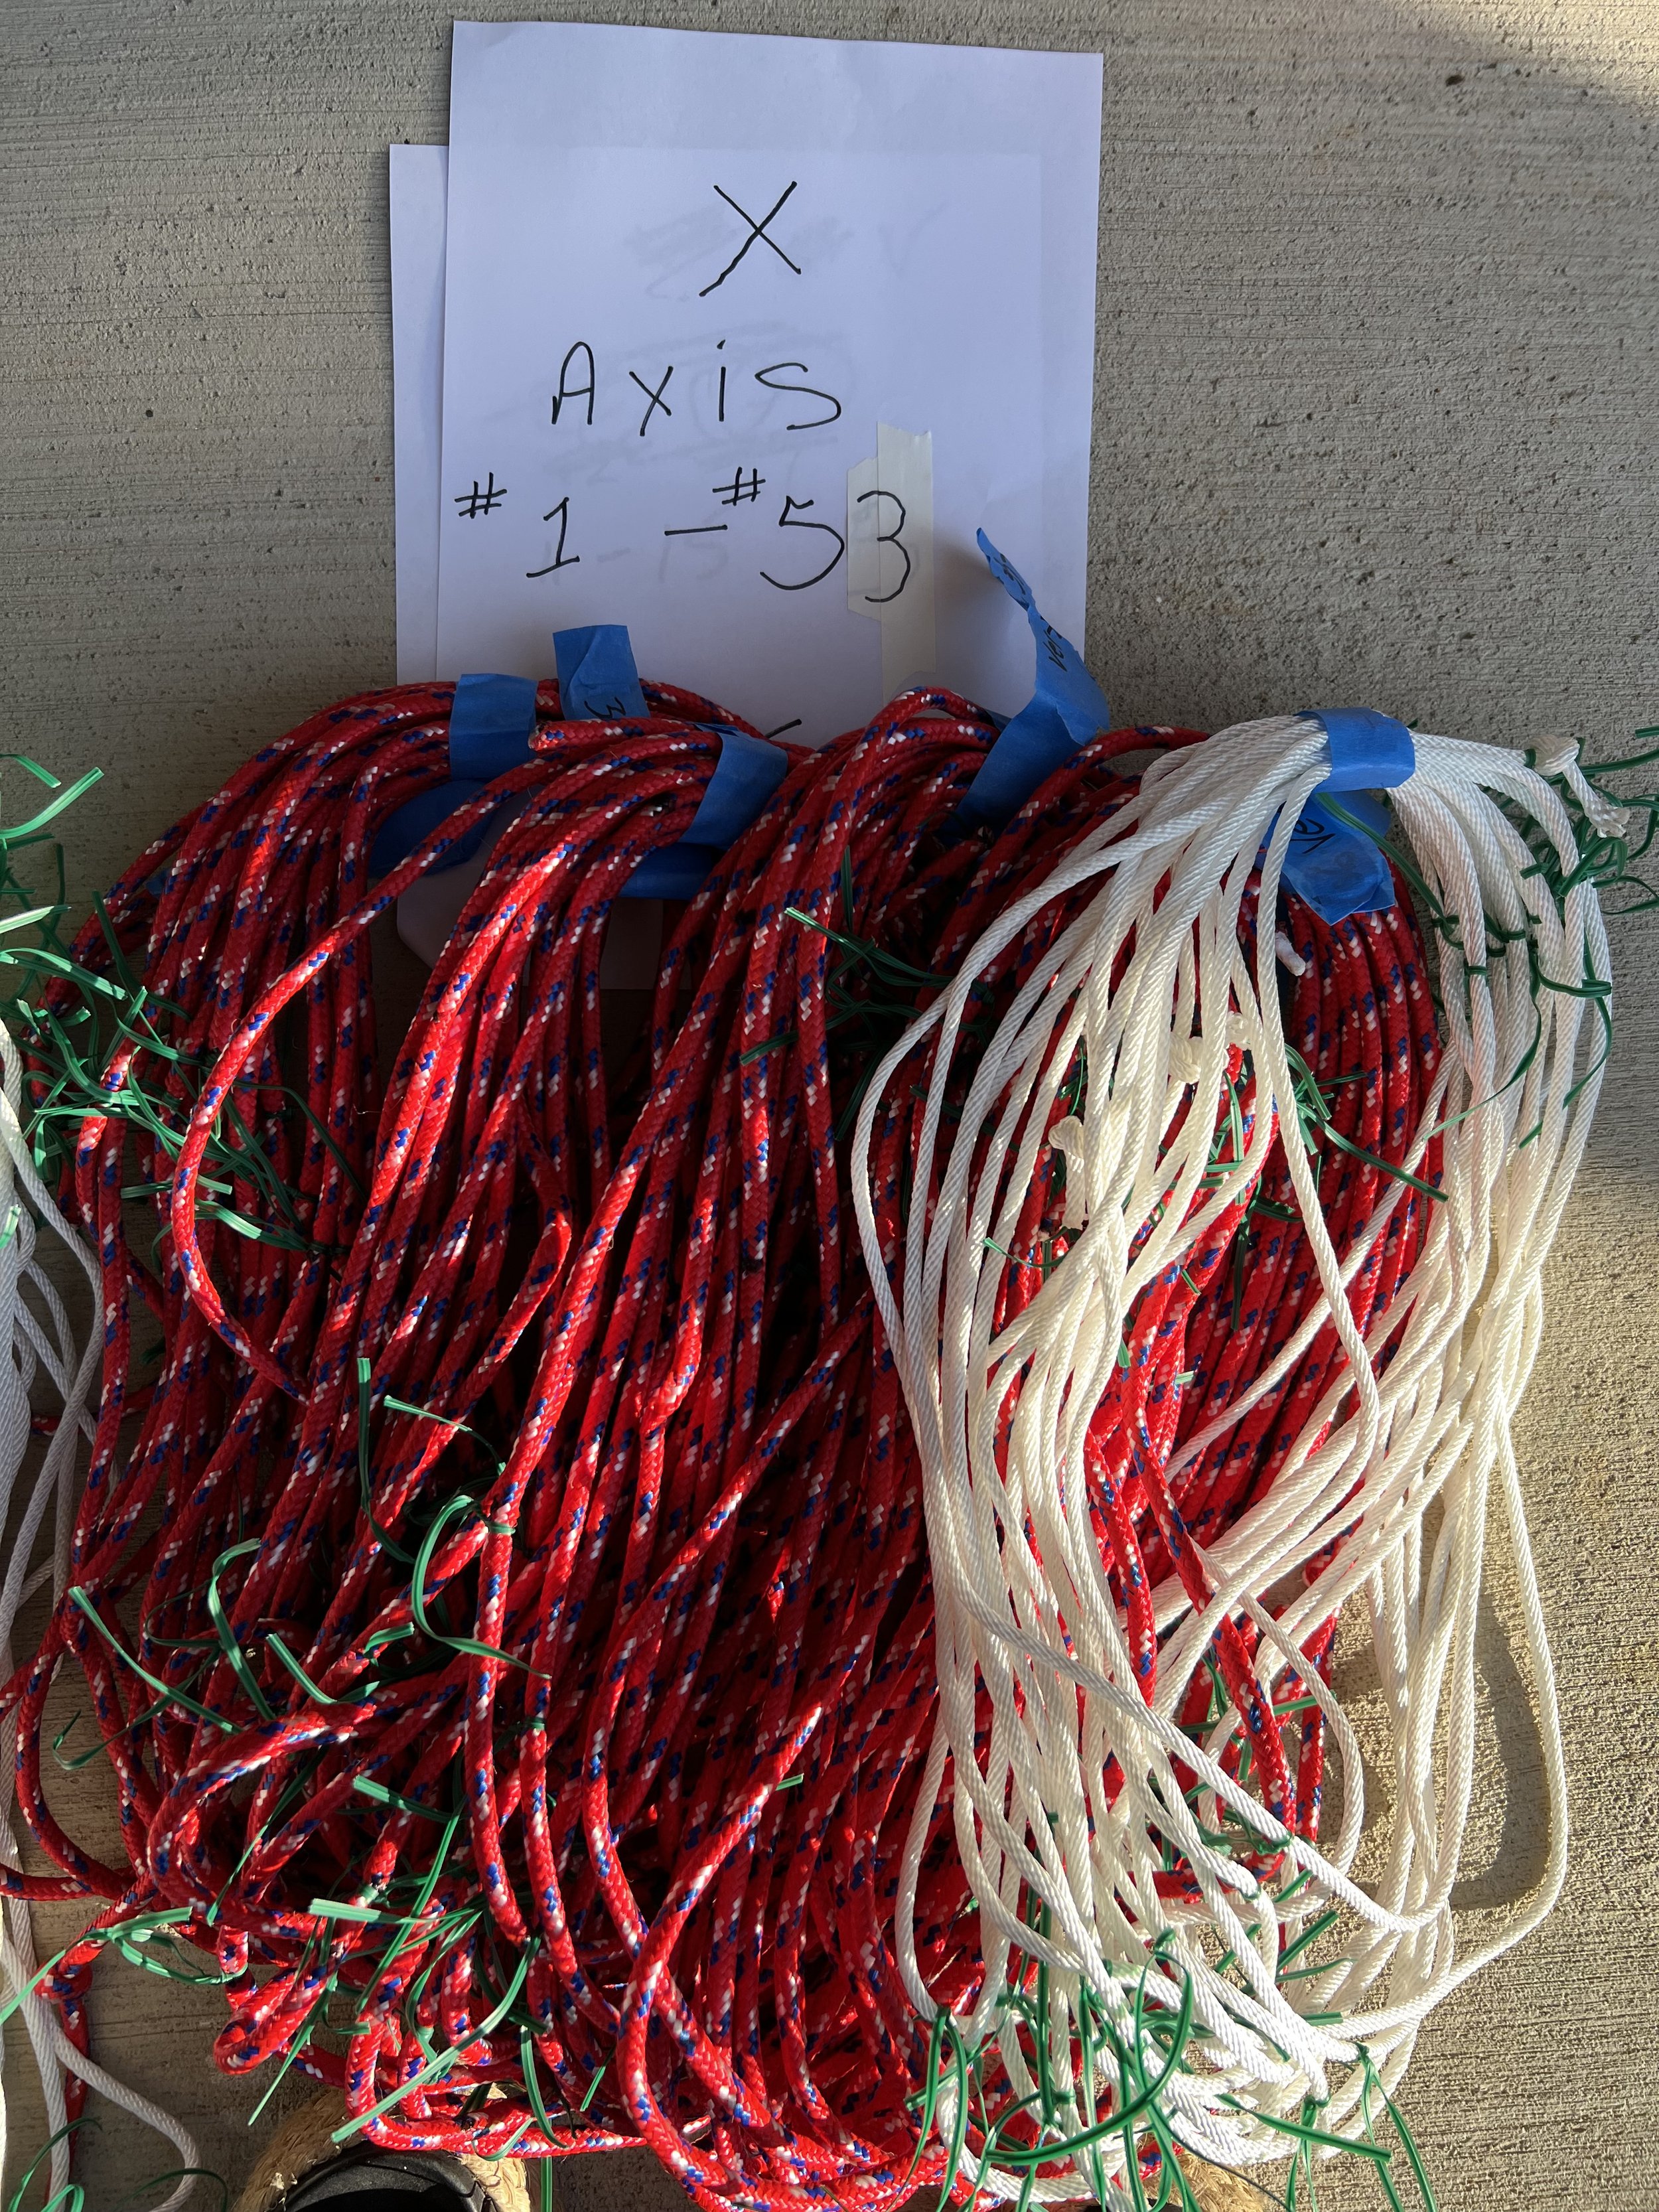
The first grouping of five- 4 red and the 5th white.

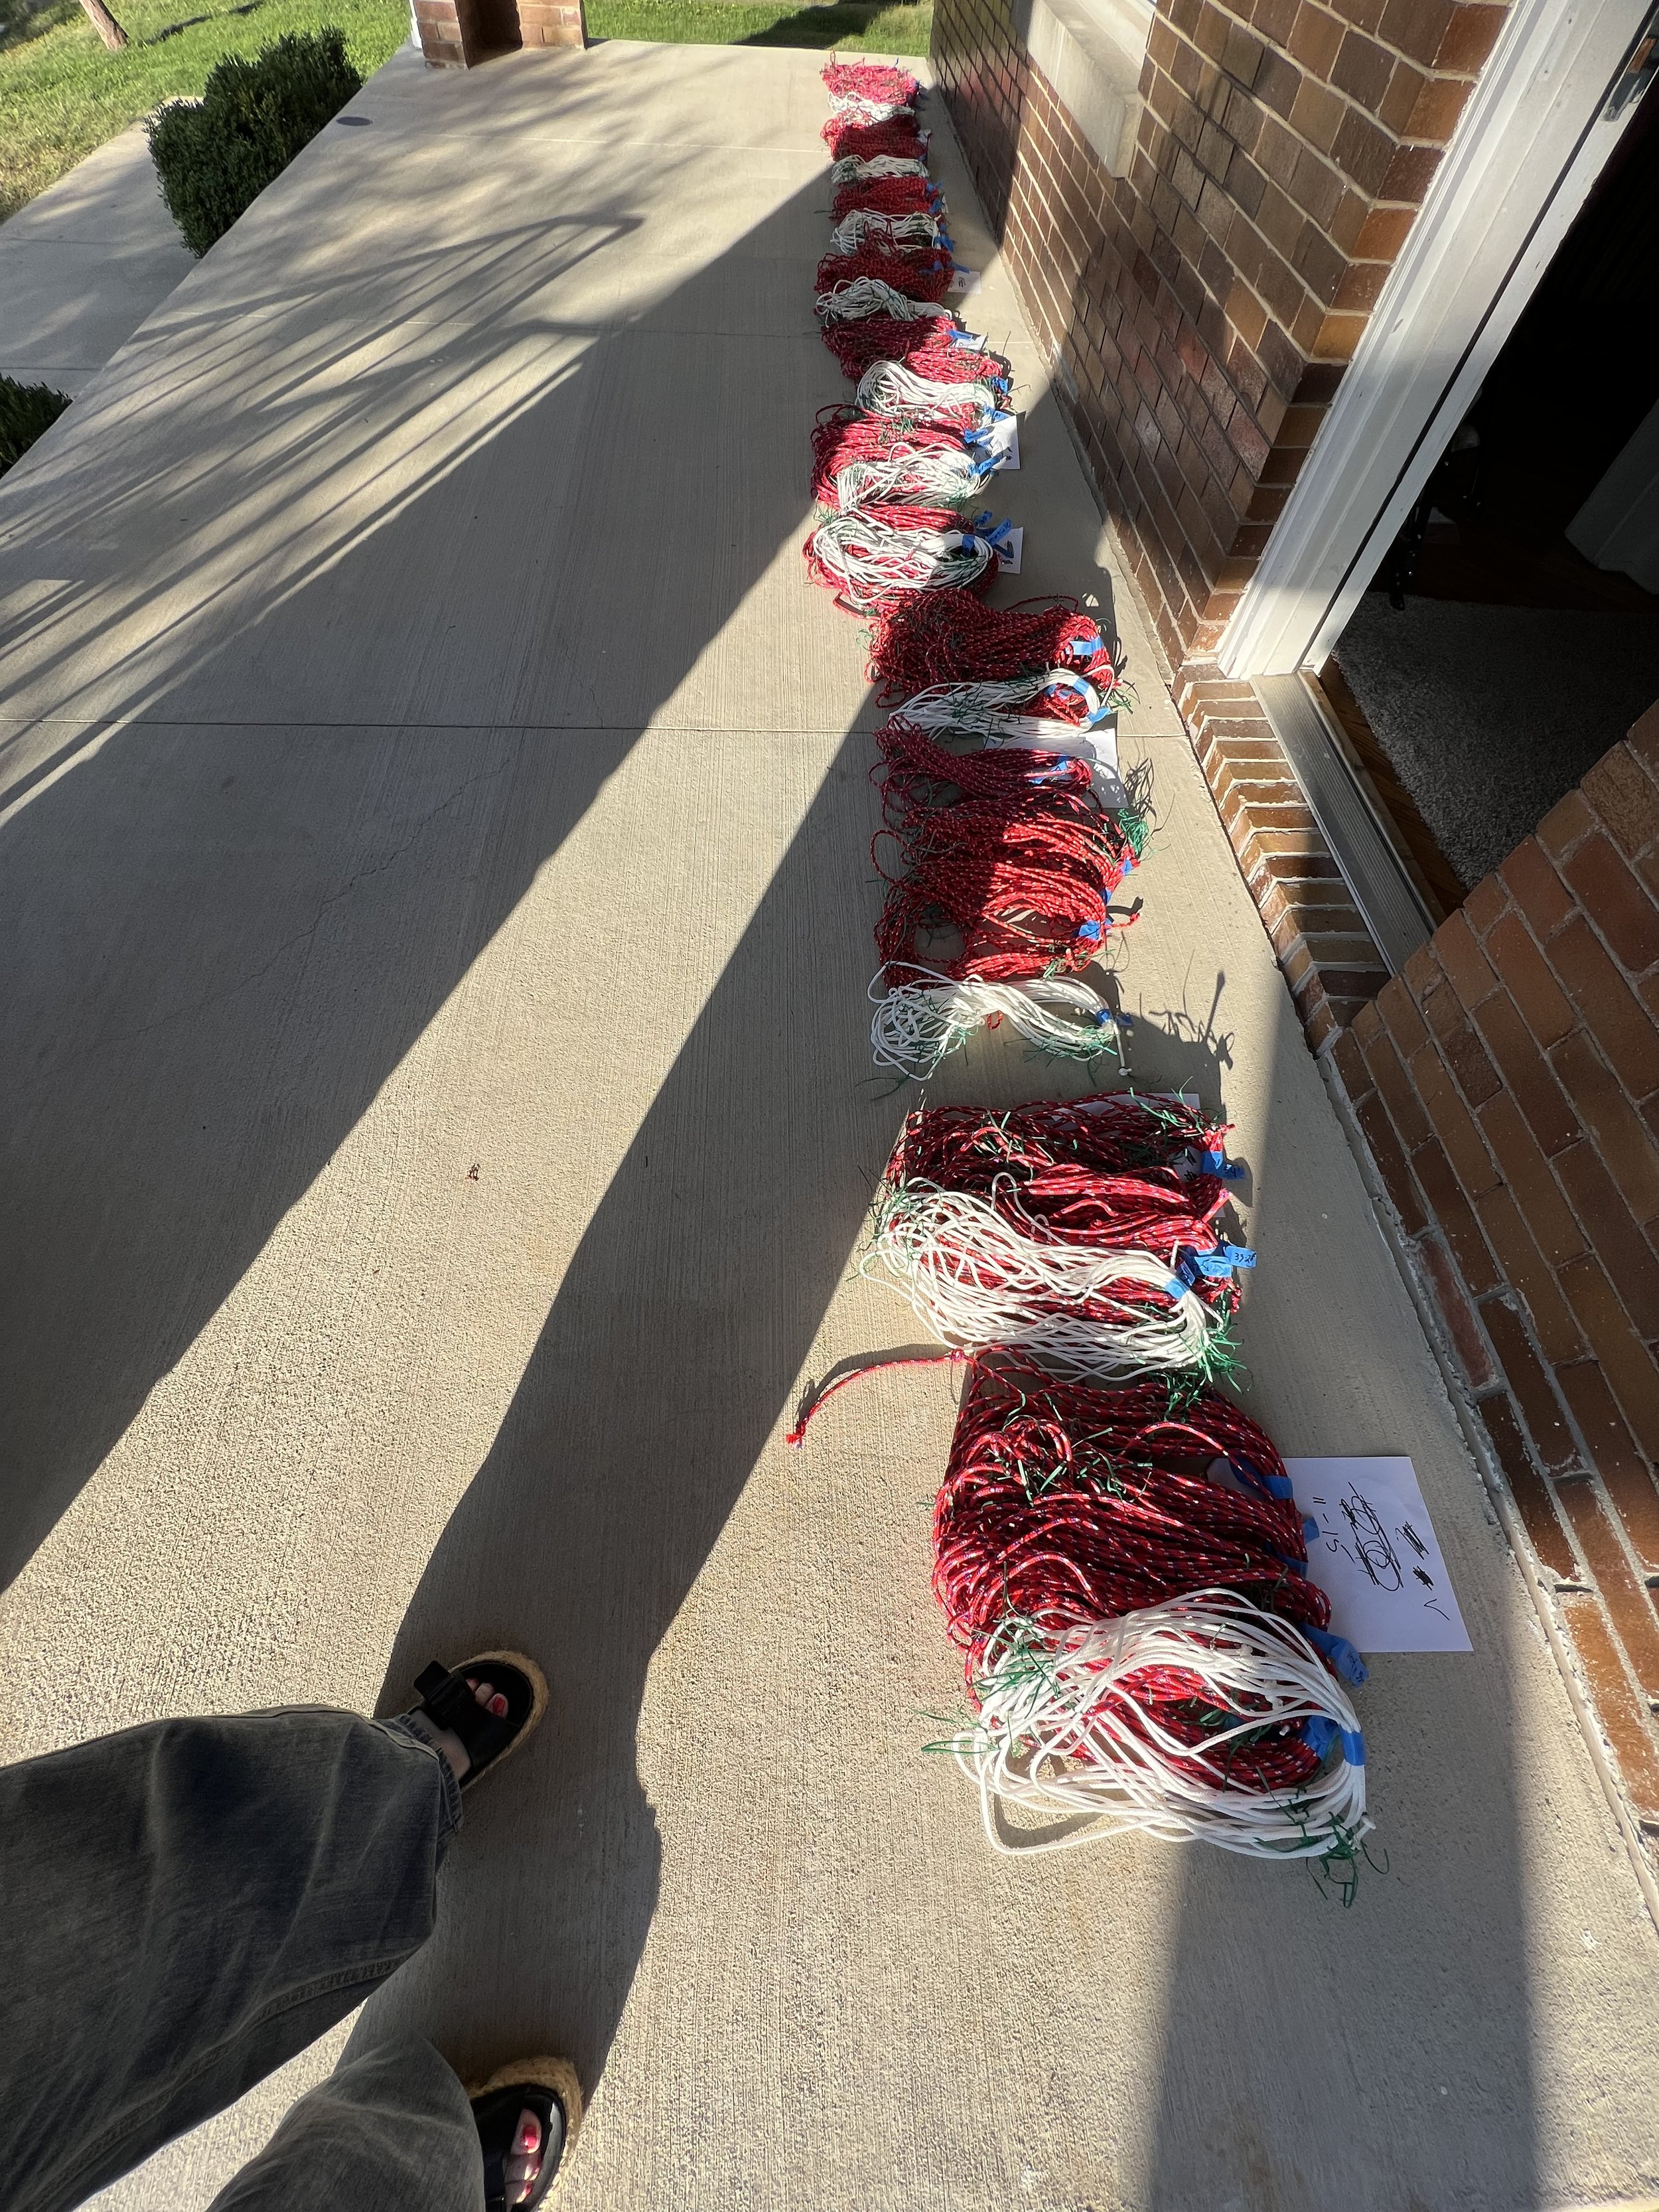
53 pieces - completed.

6. Finally, organize the cords by making four red and one white, keeping them grouped together.

IU - The labyrinth design - How will it be installed?

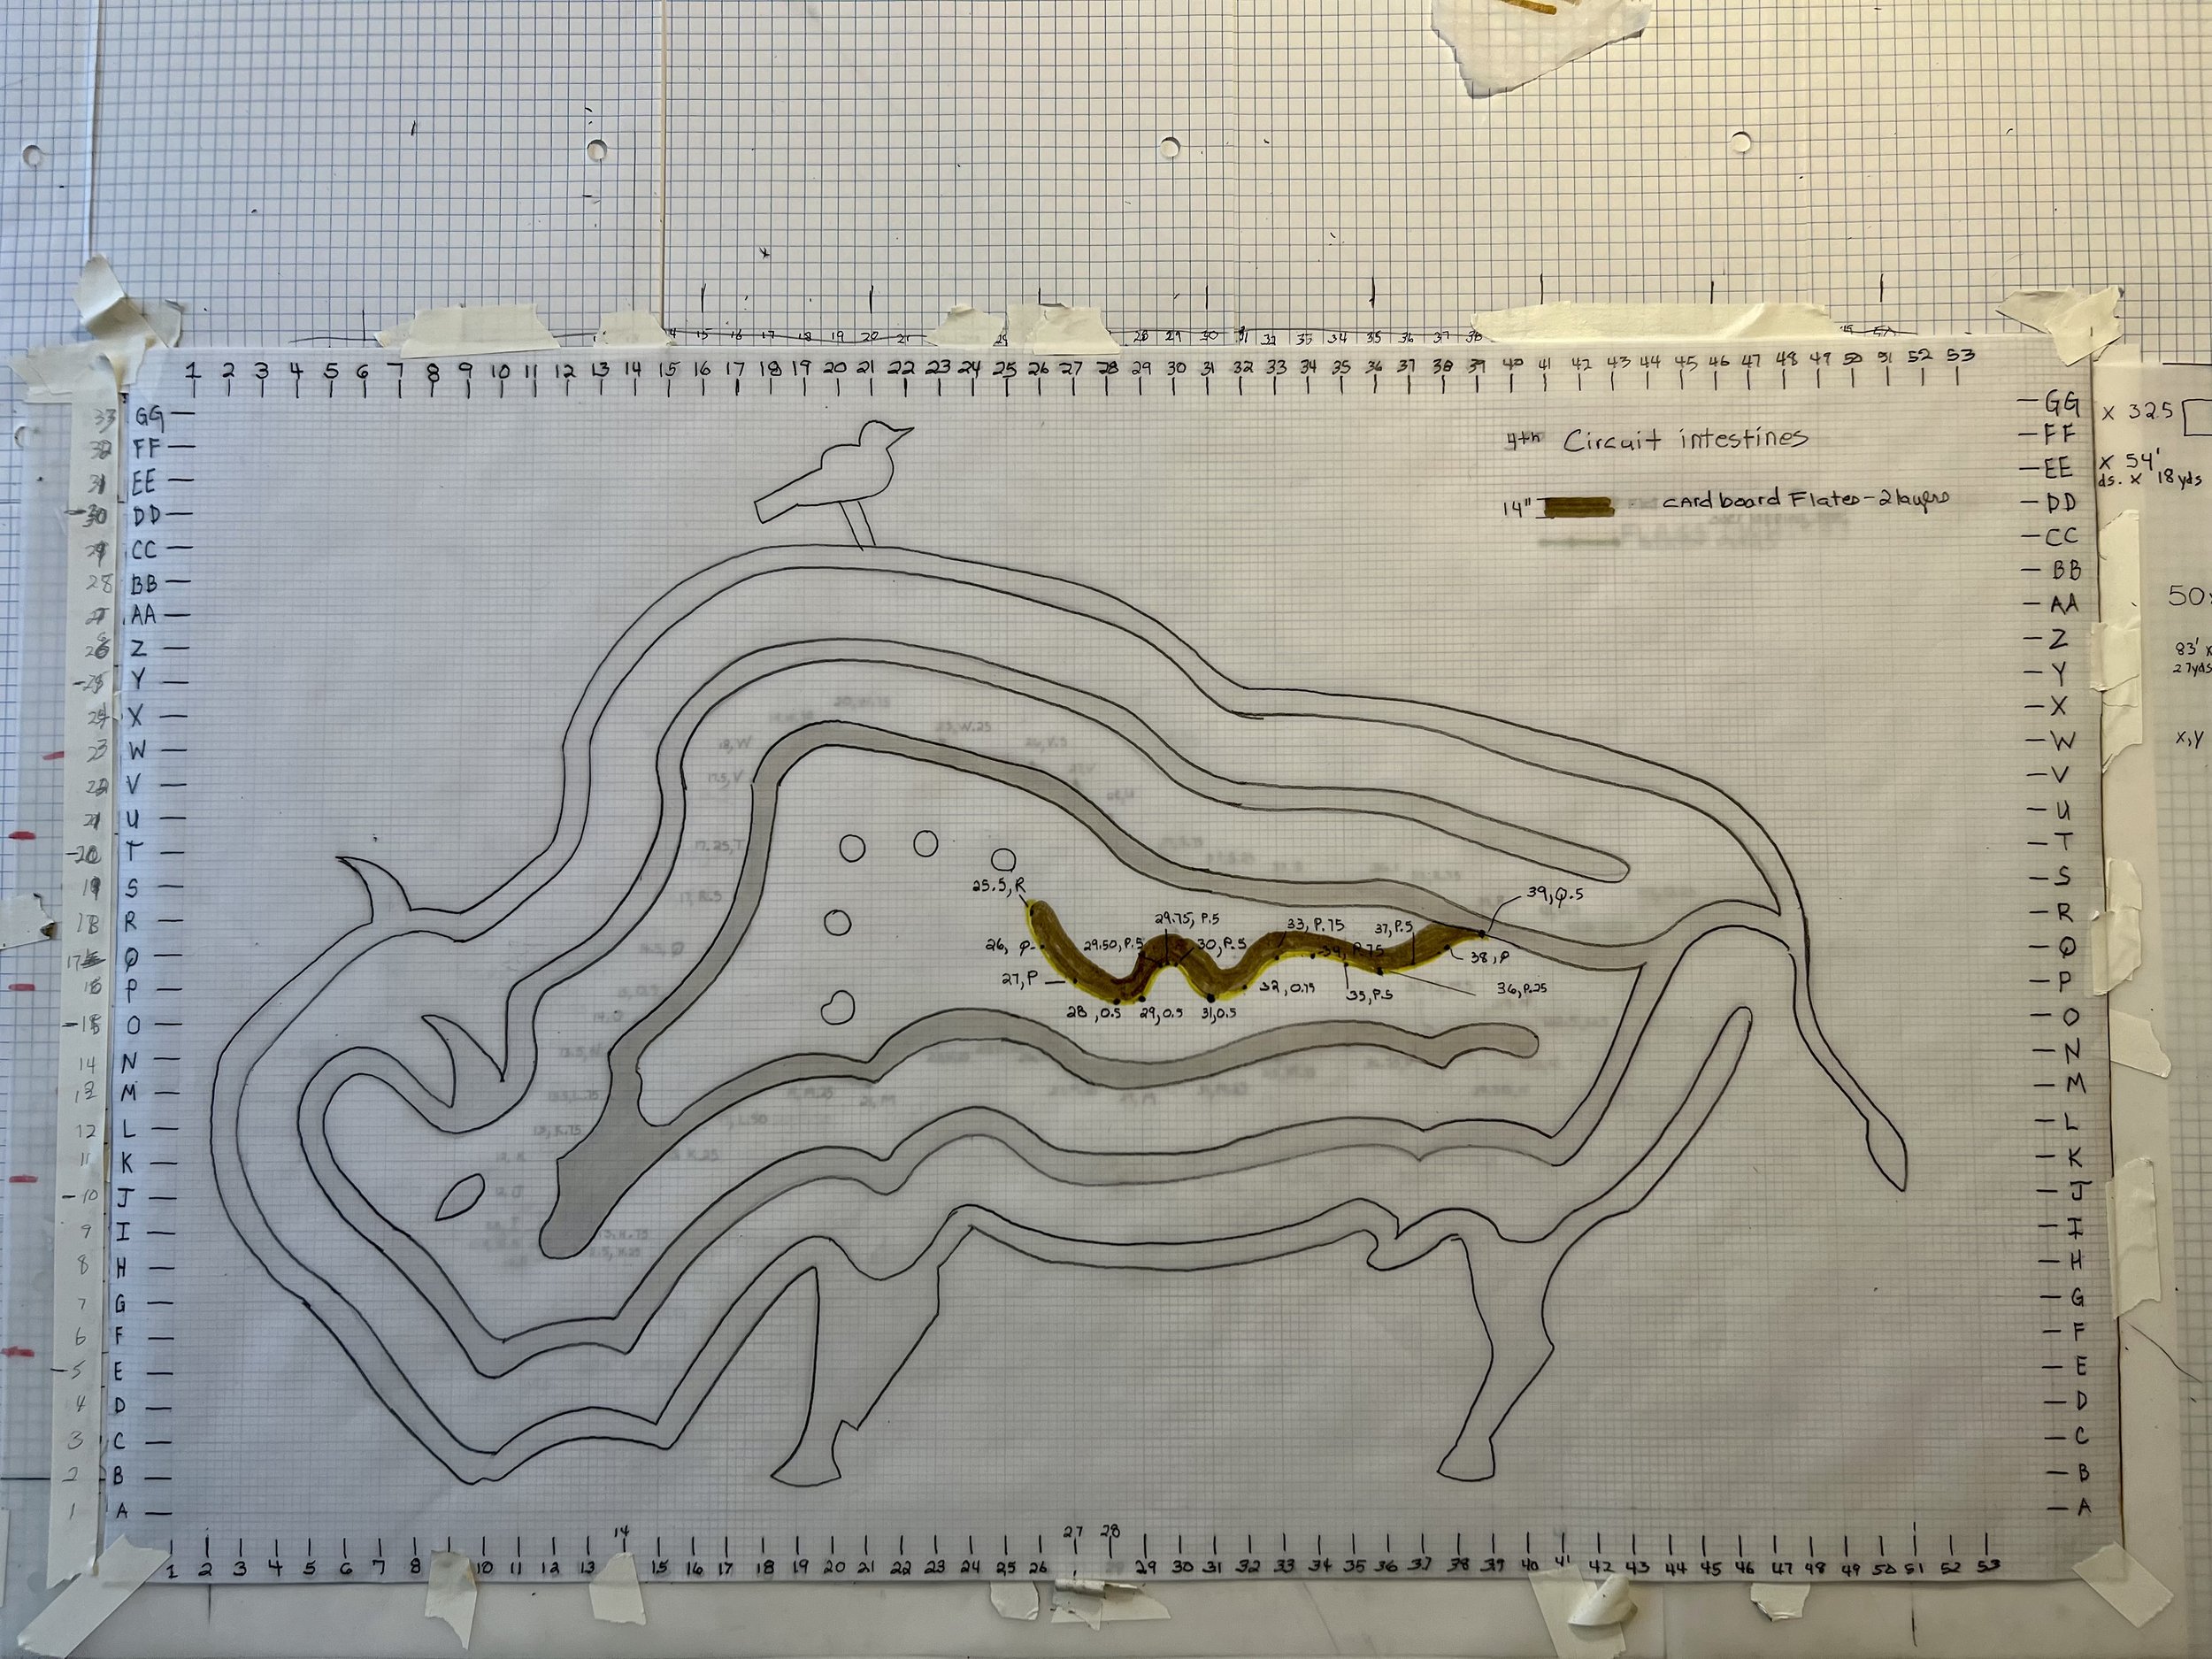
Once the grid is installed, the next step is to think about how to divide the work so that groups of student and volunteers can install my vision. .

Two options seem viable. The first idea is by marking the (X, Y) coordinates for each circuit of planting on individual pages. The other idea is by verticle rows.

Below I have marked the coordinates of the circuits. As I mark the coordinates I am not sure this is the way. I may need to break it down to smaller sections.

I can continue to consider how to breakdown the jobs as I begin building the grid.

IU - How do you build a labyrinth? From 8”X 10” to 83’ × 54’

How to go from an 8” X 10” paper to a field, Is the question ruminating in the back of my mind every day.

Unfortunately Bloomington is in between art supply stores. As a result I could not buy locally any paper larger than 8” X 10” . While I waited for an order to come in I pieced together 8 - 8” X 10” pages and scaled it up 2X.

Here I started thinking about how to take the design from

When I scaled it up 2X I started seeing that I could take it to any size I wanted by using (X, Y) coordinates. I am using a 20” scale.

8- 8” X 10” paper to a make a 18” X 30” sketch.

How I could get a 83' × 54’ rectangular grid with right angles on a field was a big concern.

An idea came to me when I toured the charming Wylie House, a fascinating piece of history nestled just off campus. This historic gem, built in 1835, was once the cherished home of Andrew Wylie, the inaugural president of Indiana University.

The Wylie House master bedroom.

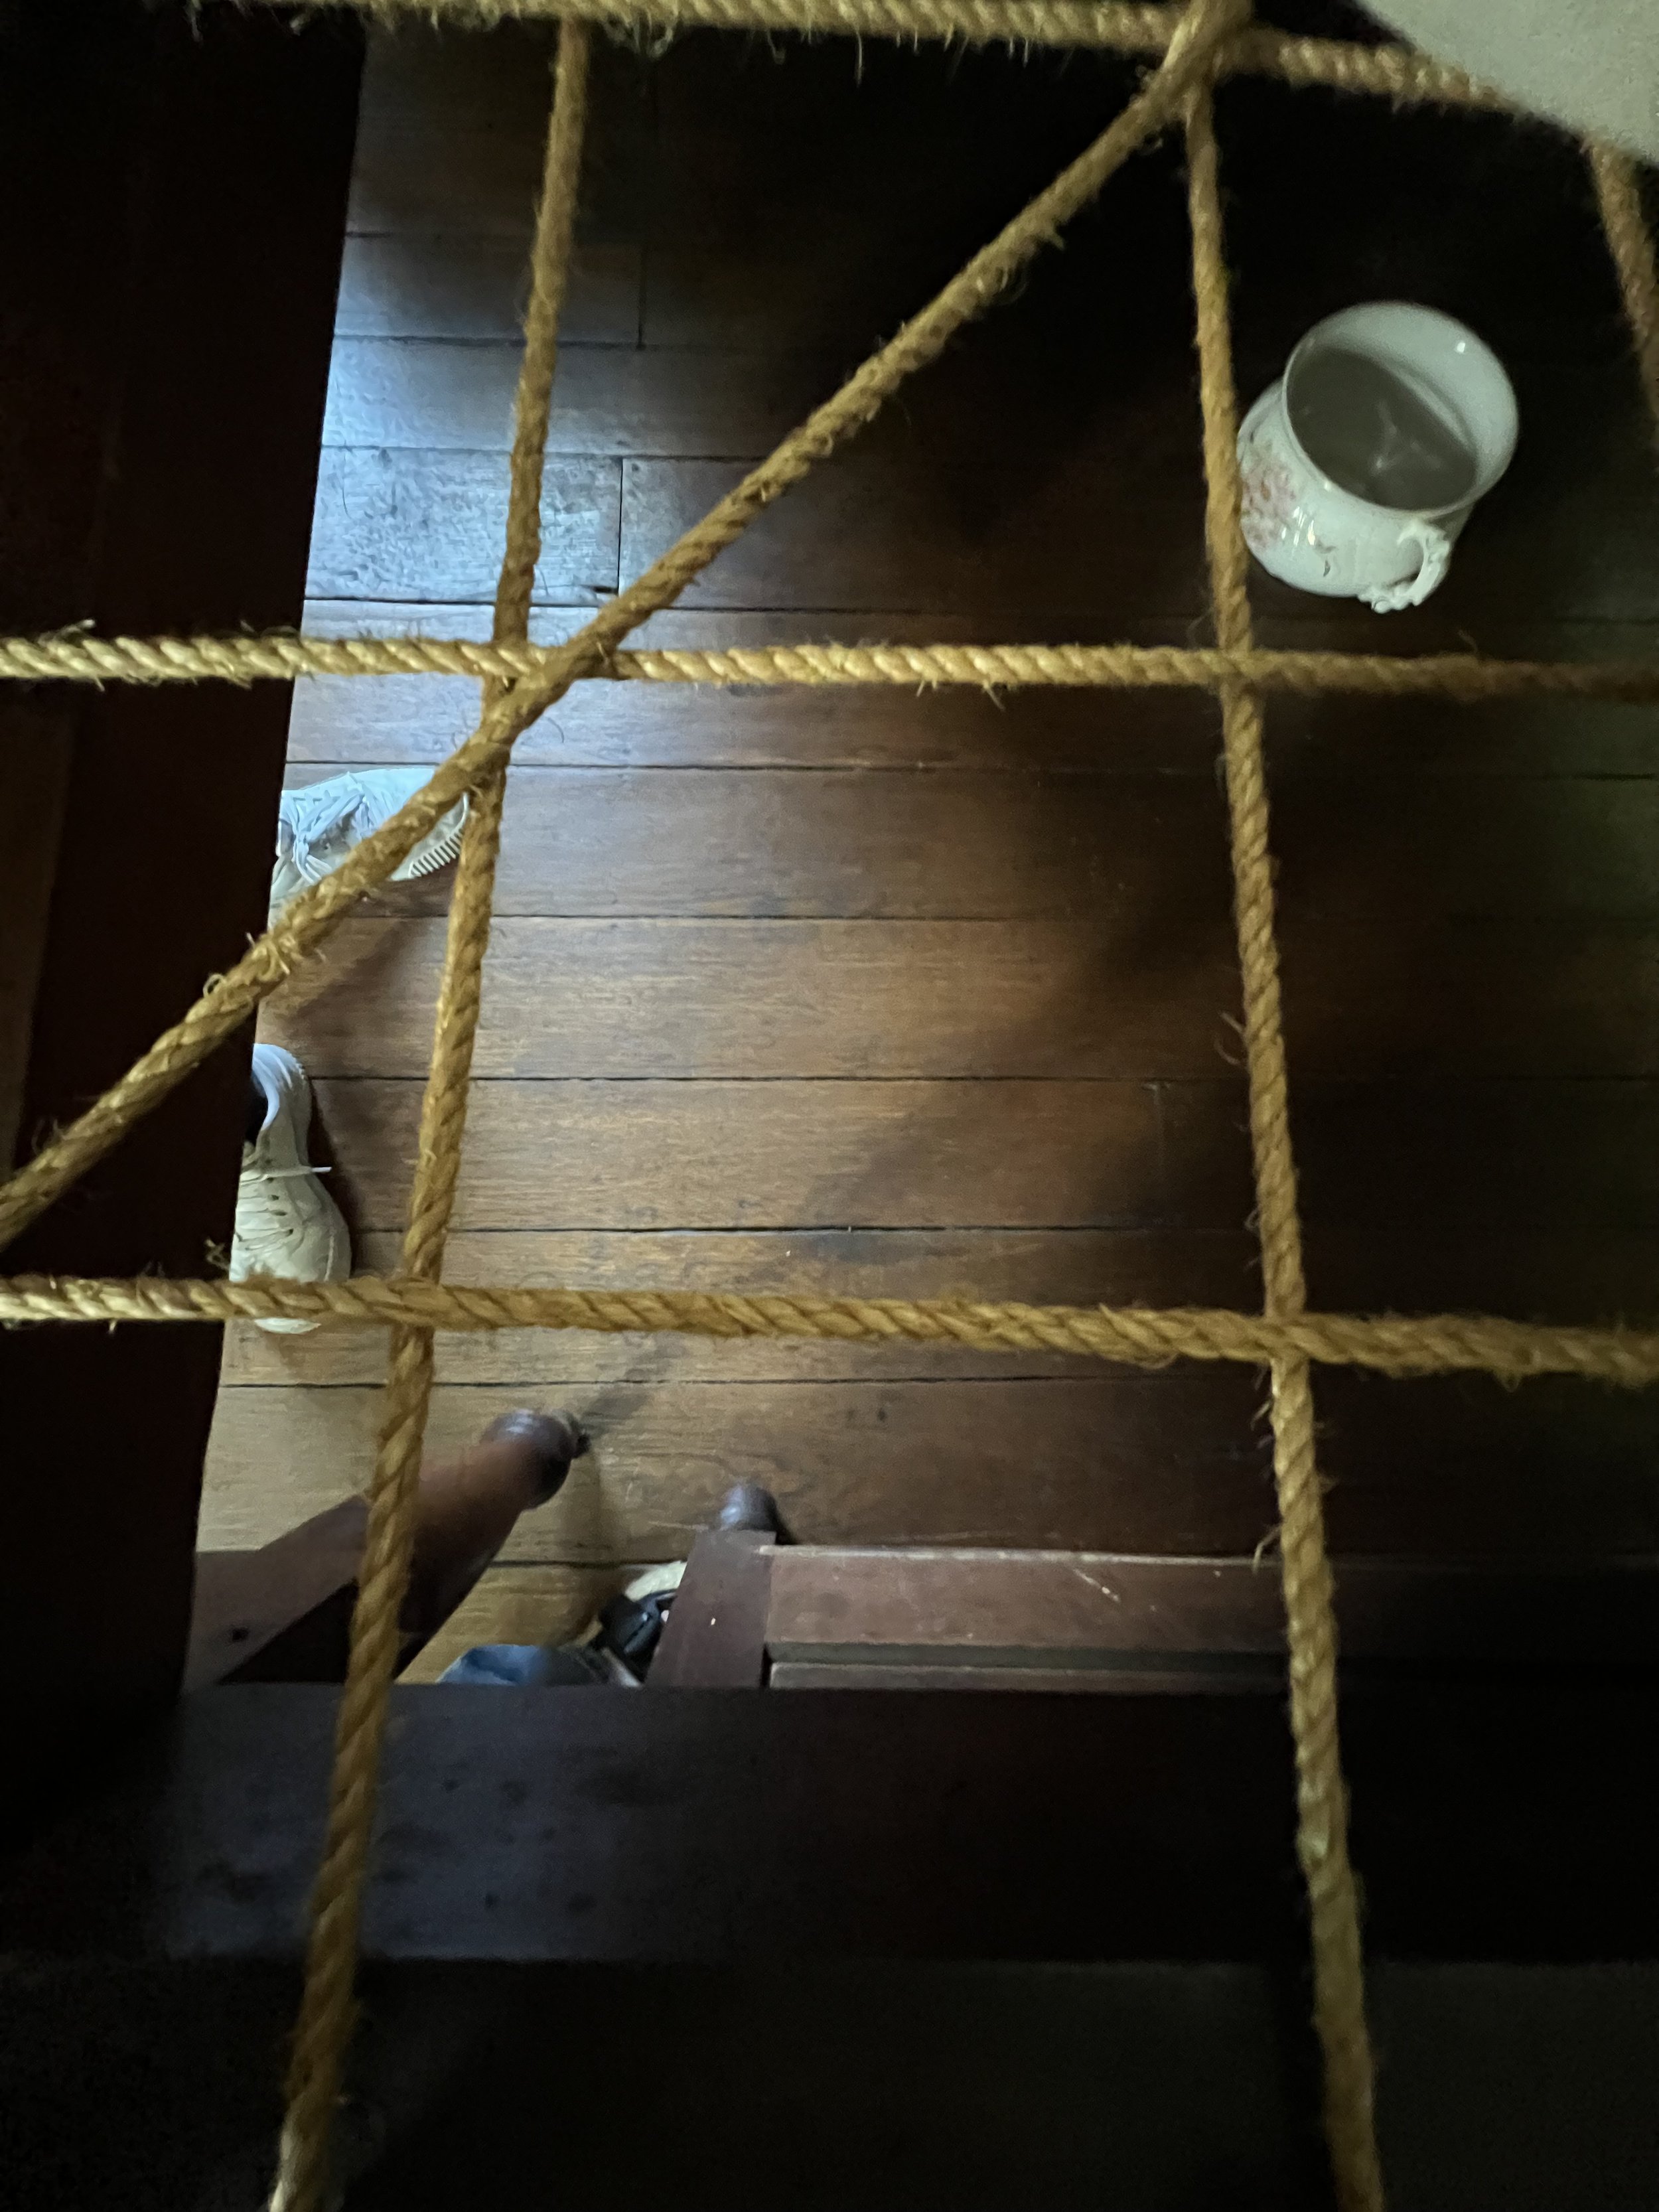
During my visit, the knowledgeable docent unveiled a captivating detail - the simple rope framework that upheld the mattress.

The antique bed’s rope framework that supports the mattress. What looks like a cup is the chamber pot.

A rope grid might be the answer to getting a proper rectangle With right-angled corners and grid onto a field.

This visual solidified my strategy for bringing the labyrinth design from paper to reality in an open field. The framework I need is 83’ × 54’ the vertical and horizontal ropes that cross every 20”. We can twist tie the coordinates together making the rectangle form.

IU - How do you draw a labyrinth?

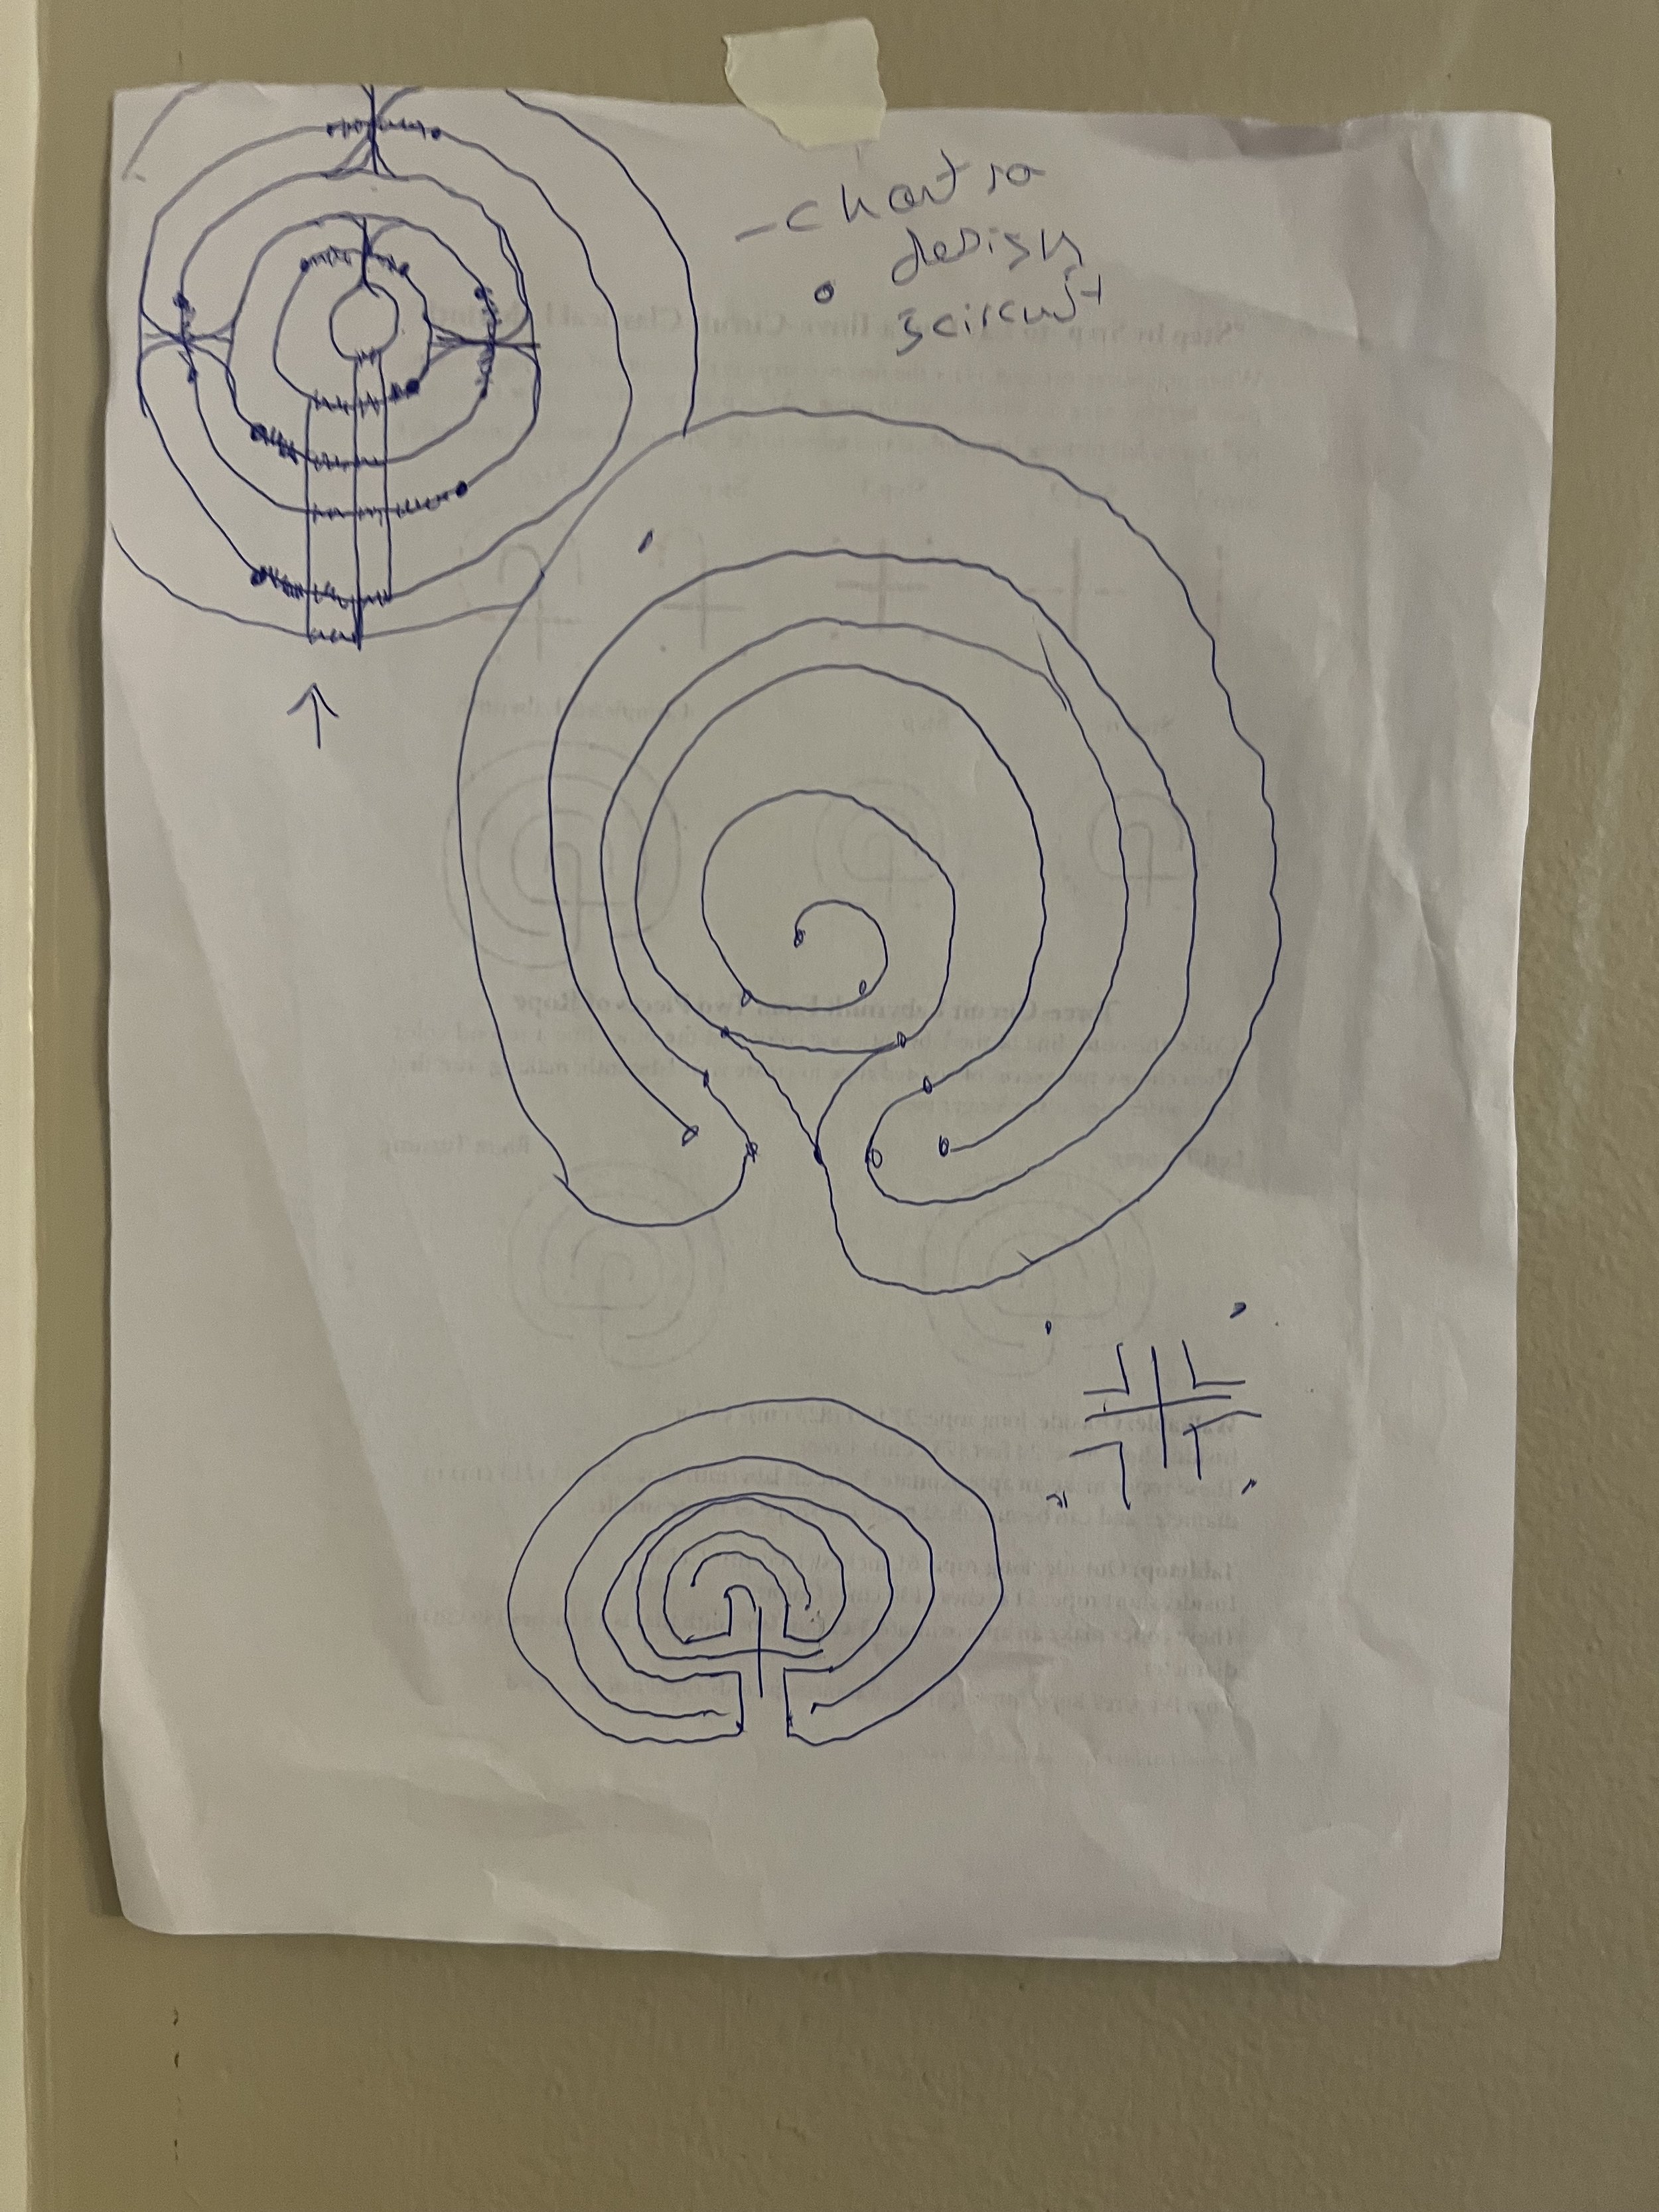
During the first week of my residency at IU when I wasn’t exploring the city, University, art, museums, ecology, architecture, and landscapes I was experimenting with labyrinth designs.

Some sketches of three different types of kabyrintgs.

This design starts with a simple cross. I need to keep this simple.

Turning the cross/square labyrinth upside down I decided to attempted a seed labyrinth. I think a design less feminine will be better.

Artist in Residency at Indiana University - Living the Dream Installation — Labyrinth

Living the Dream as an Artist in Residence at Indiana University!

I couldn't believe my luck when I was offered the opportunity to be an artist in residence at Indiana University. Not only would I have access to all the incredible resources and opportunities of a renowned research university, but it could provide the opportunity to fulfill one of my monumental artistic visions.

As part of my two month residency, I'll be giving artist talks, exploring local artist studios, landscapes of southern Indiana, and creating a special piece to be exhibited at the University or in the beautiful town of Bloomington.

During my interview for the residency, I couldn't help but ask about the size of the campus. And just as I suspected, it is massive. I imagined it with expansive fields of turfgrass. I remember feeling my heart swelling with excitement and hope. Could Indiana University be the site for the monumental installation I dream of?

Let me explain - This summer seeing CARBONsink develop within Symbiosis at Lawndale Art Center and watching the community enjoy entering it made me think. I wondered if the CARBONsink relief was a step to create a larger piece using the same process but with a deeper meaning and making a bigger impact. A little bit of research regarding Greek philosophers and labyrinths and these thoughts turned into a dream. I have a vision of completing a living labyrinth.

I began studying the designs, meanings and histories of mazes and labyrinths. I was lured by labyrinths pretty fast. Mazes are puzzles and meant to confuse you. Labyrinths check all ny boxes.

-A labyrinth is a meditation. —

-There is 1 way in and 1 way out. What seems like the end is also the beginning. It is the perfect metaphor for inspiring ecological - societal perspectives.

-As an artist whose work in the simplest form looks at time and movement a labyrinth is a logical and interesting medium.

-A living labyrinth to convert fields of turfgrass into a living sculpture to regenrrate life.

Typically in an artist in residency one would take some time getting to know the University and the City before propsing their work. I could not contain my excitement so asked if the University would be interested in a site specific living labyrinth? It would be a social sculpture in the form of a relief that demonstrates the steps for turning the largest crop in the US - turf grass into the largest CARBON sink in the US. Ed the Associate Vice Provost for Arts and Humanities responded with great enthusiasm in his voice. Every summer the University and the city of Bloomington celebrate the life and writings of Kurt Vonnegut with the Granfalloon Festival. A living labyrinth would be a fitting art installation in conjunction with the festival.

For inspiration on my drive to Bloomington, I listened to Cat’s Cradle and Slaughter House Five.

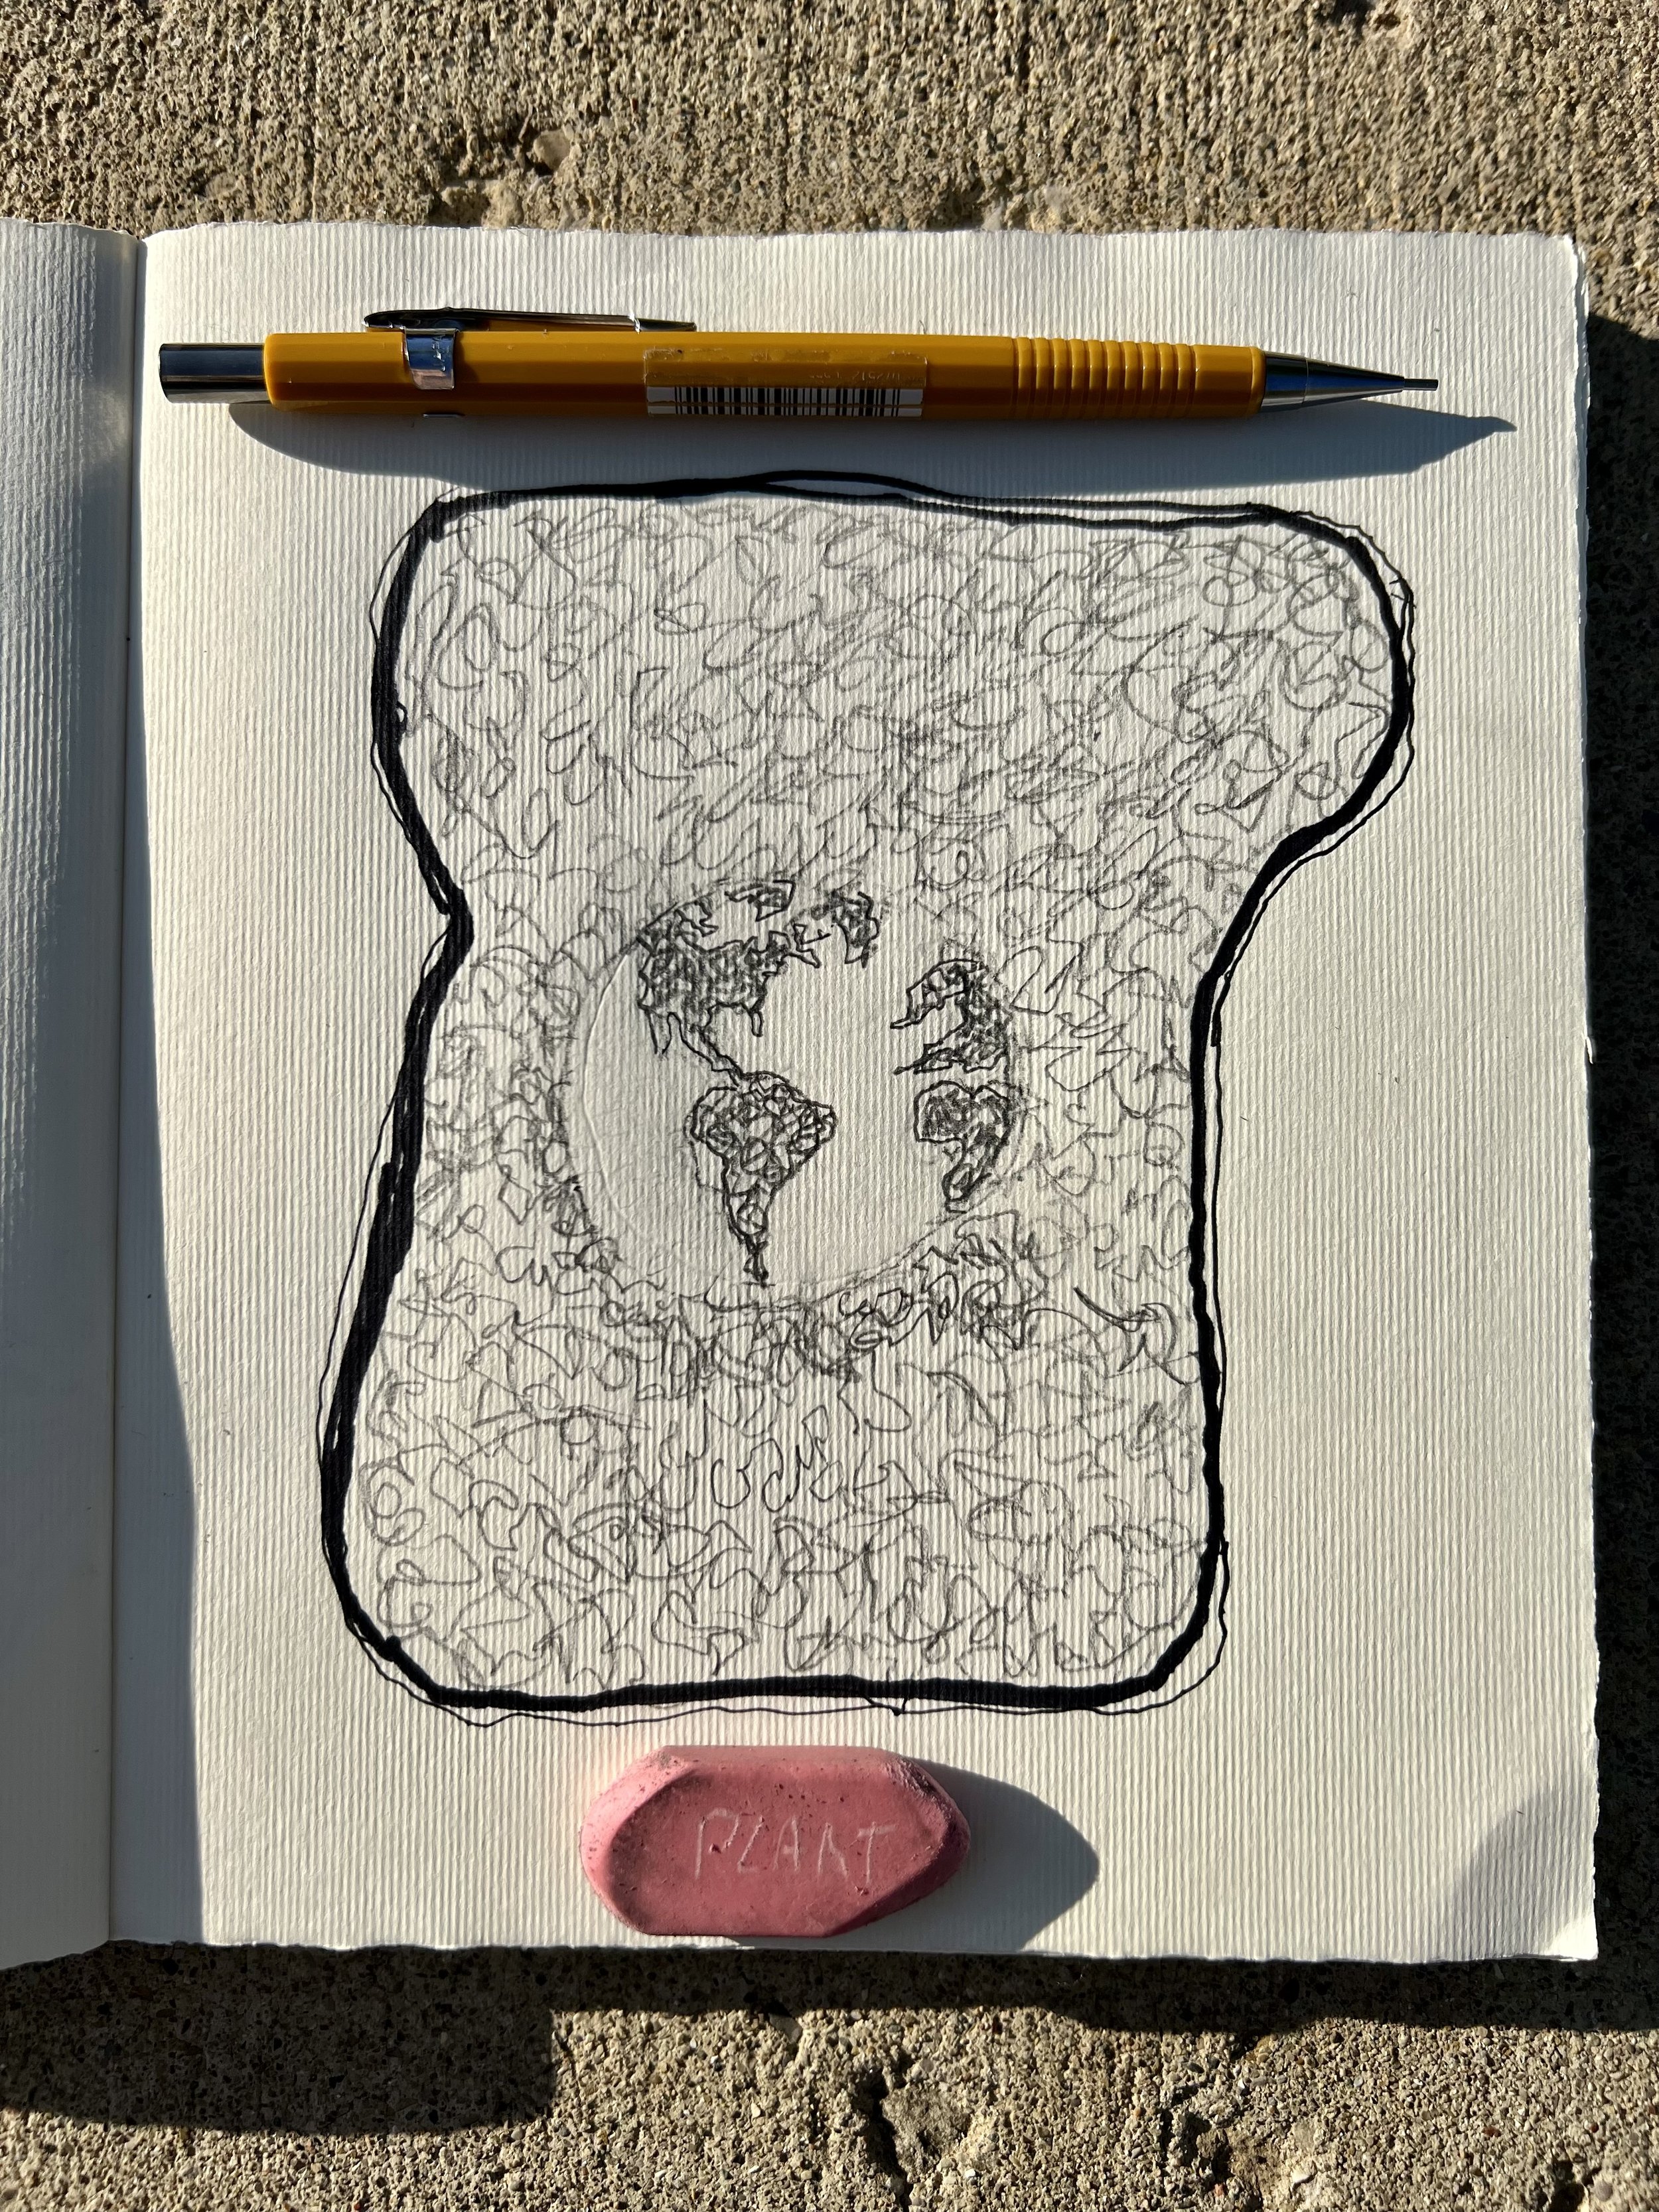
TOAST - 1.5 Degrees - planet toast

I am still at IU busy working out the details of an installation. I start each morning reading/researching as I enjoy my coffee. I found this article alarming and inspiring. Climate Change Is Speeding Toward Catastrophe. The NextDecade Is Crucial, U.N. Panel Says.

Working out an idea for a future work.

1.5 - sketch for TOAST

Myy work is about the ecological solutions in urban landscapes. What solutions can I unearth in food, toast, char? - time to ponder and ruminate. Stay tuned.

Peck + Scratch

Peck + Scratch Installation

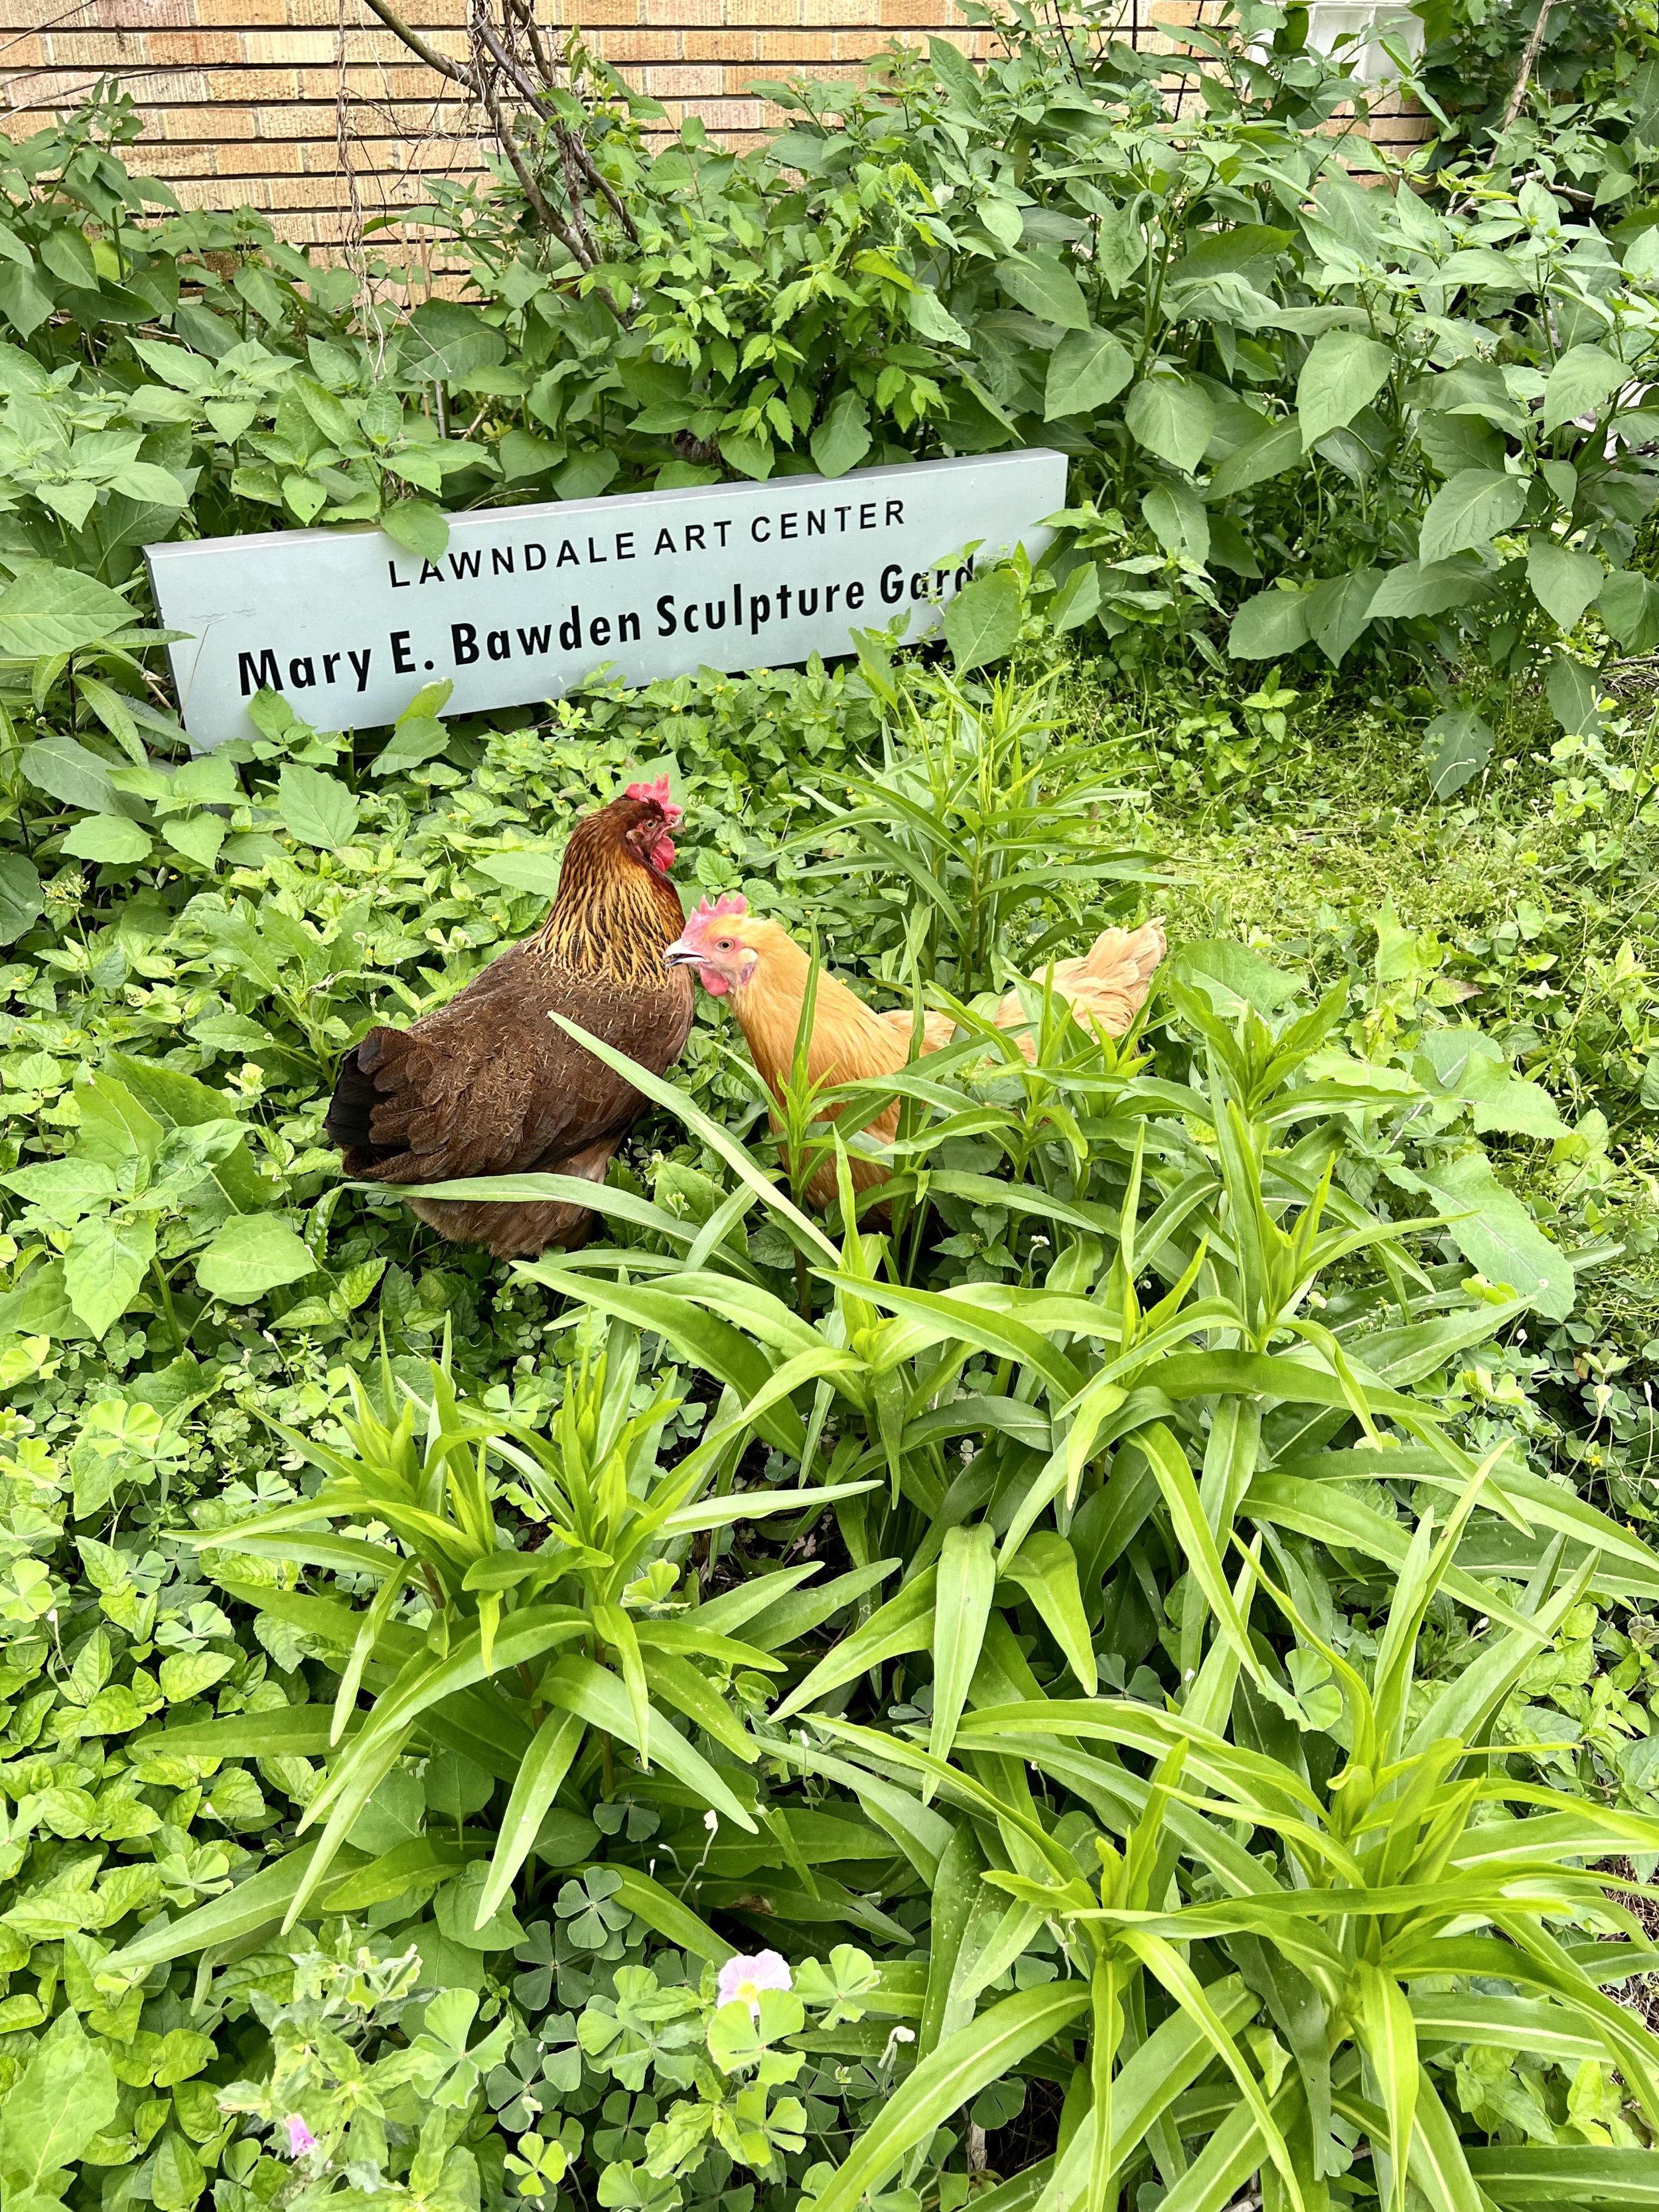
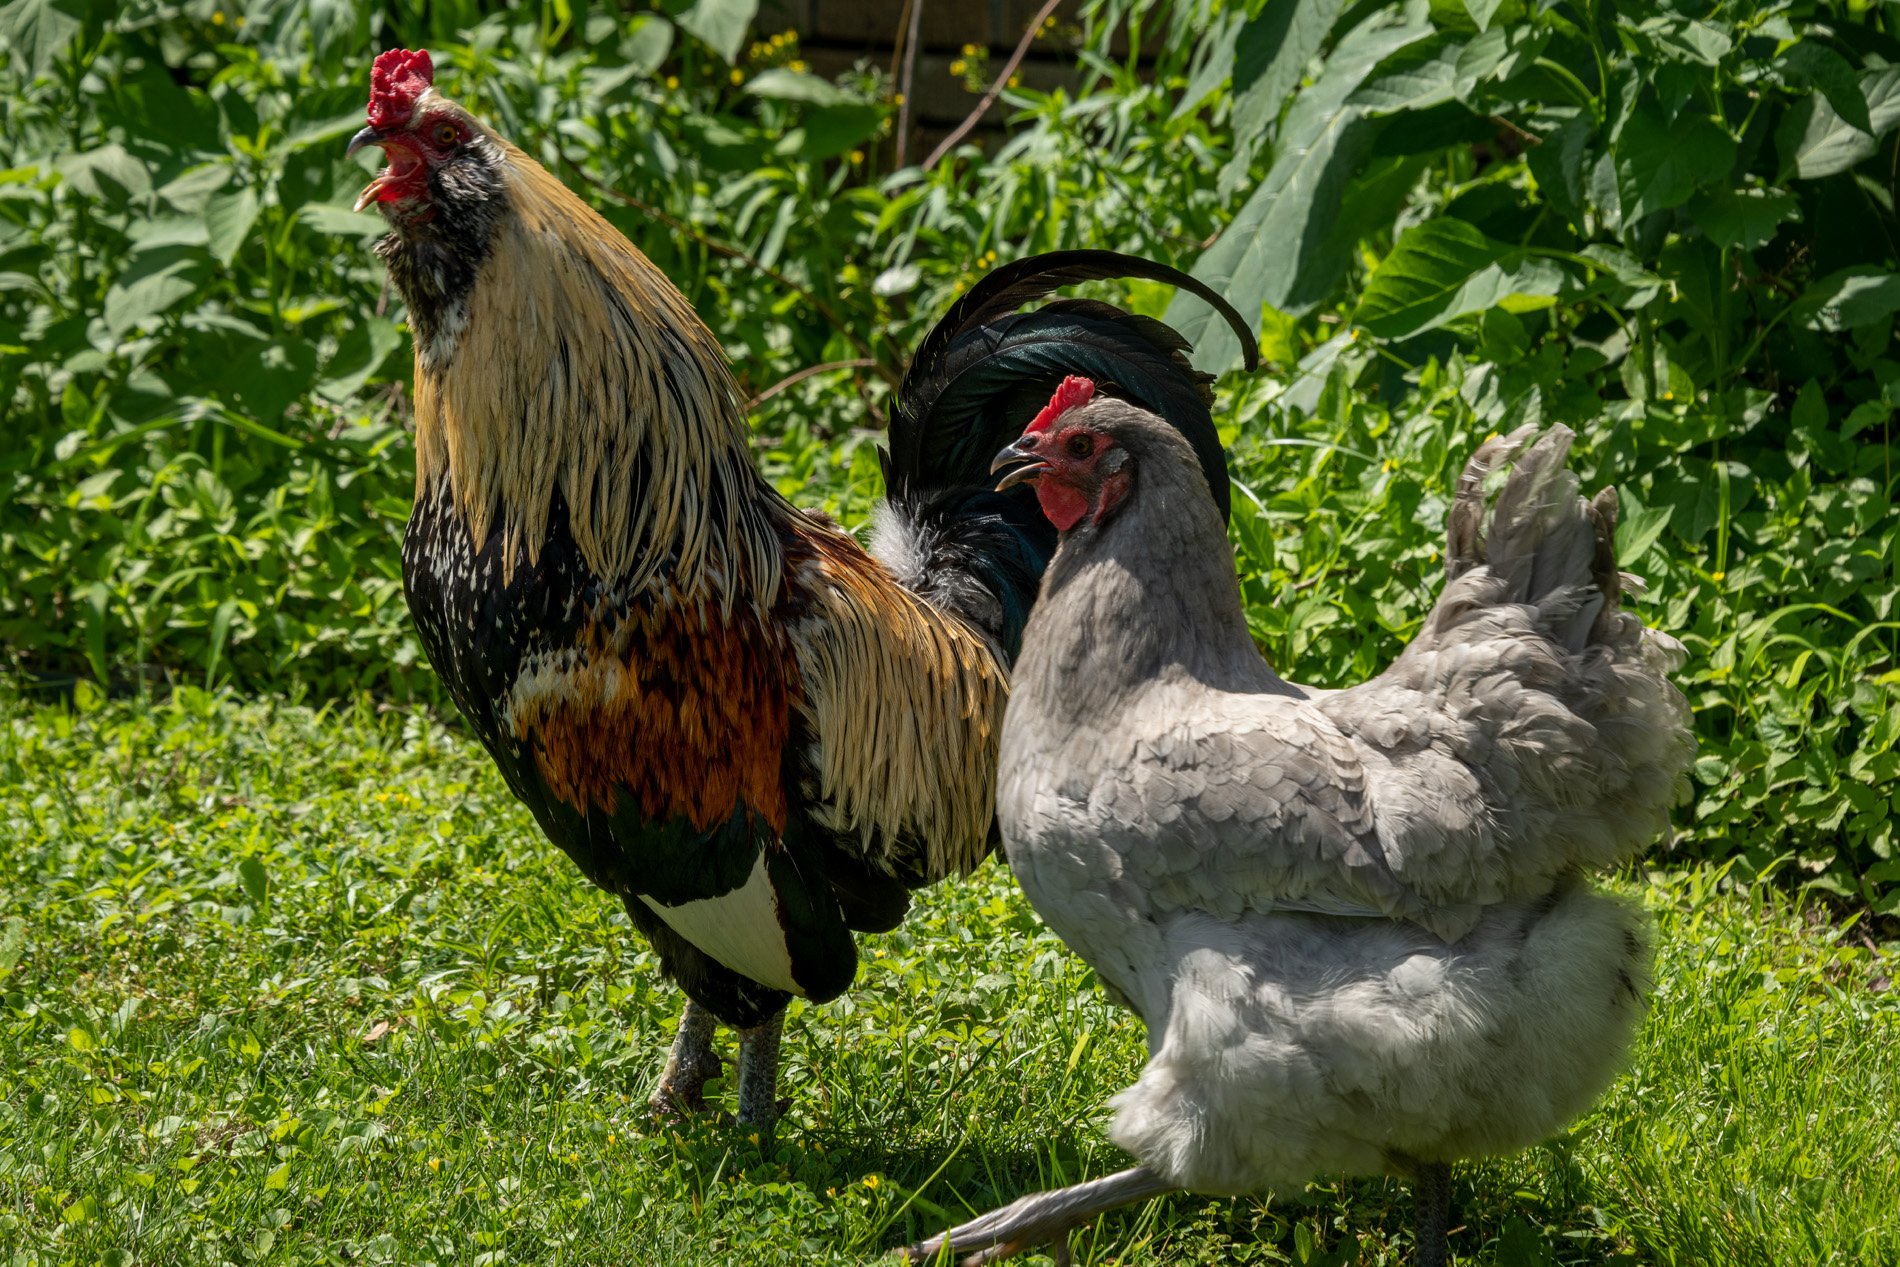
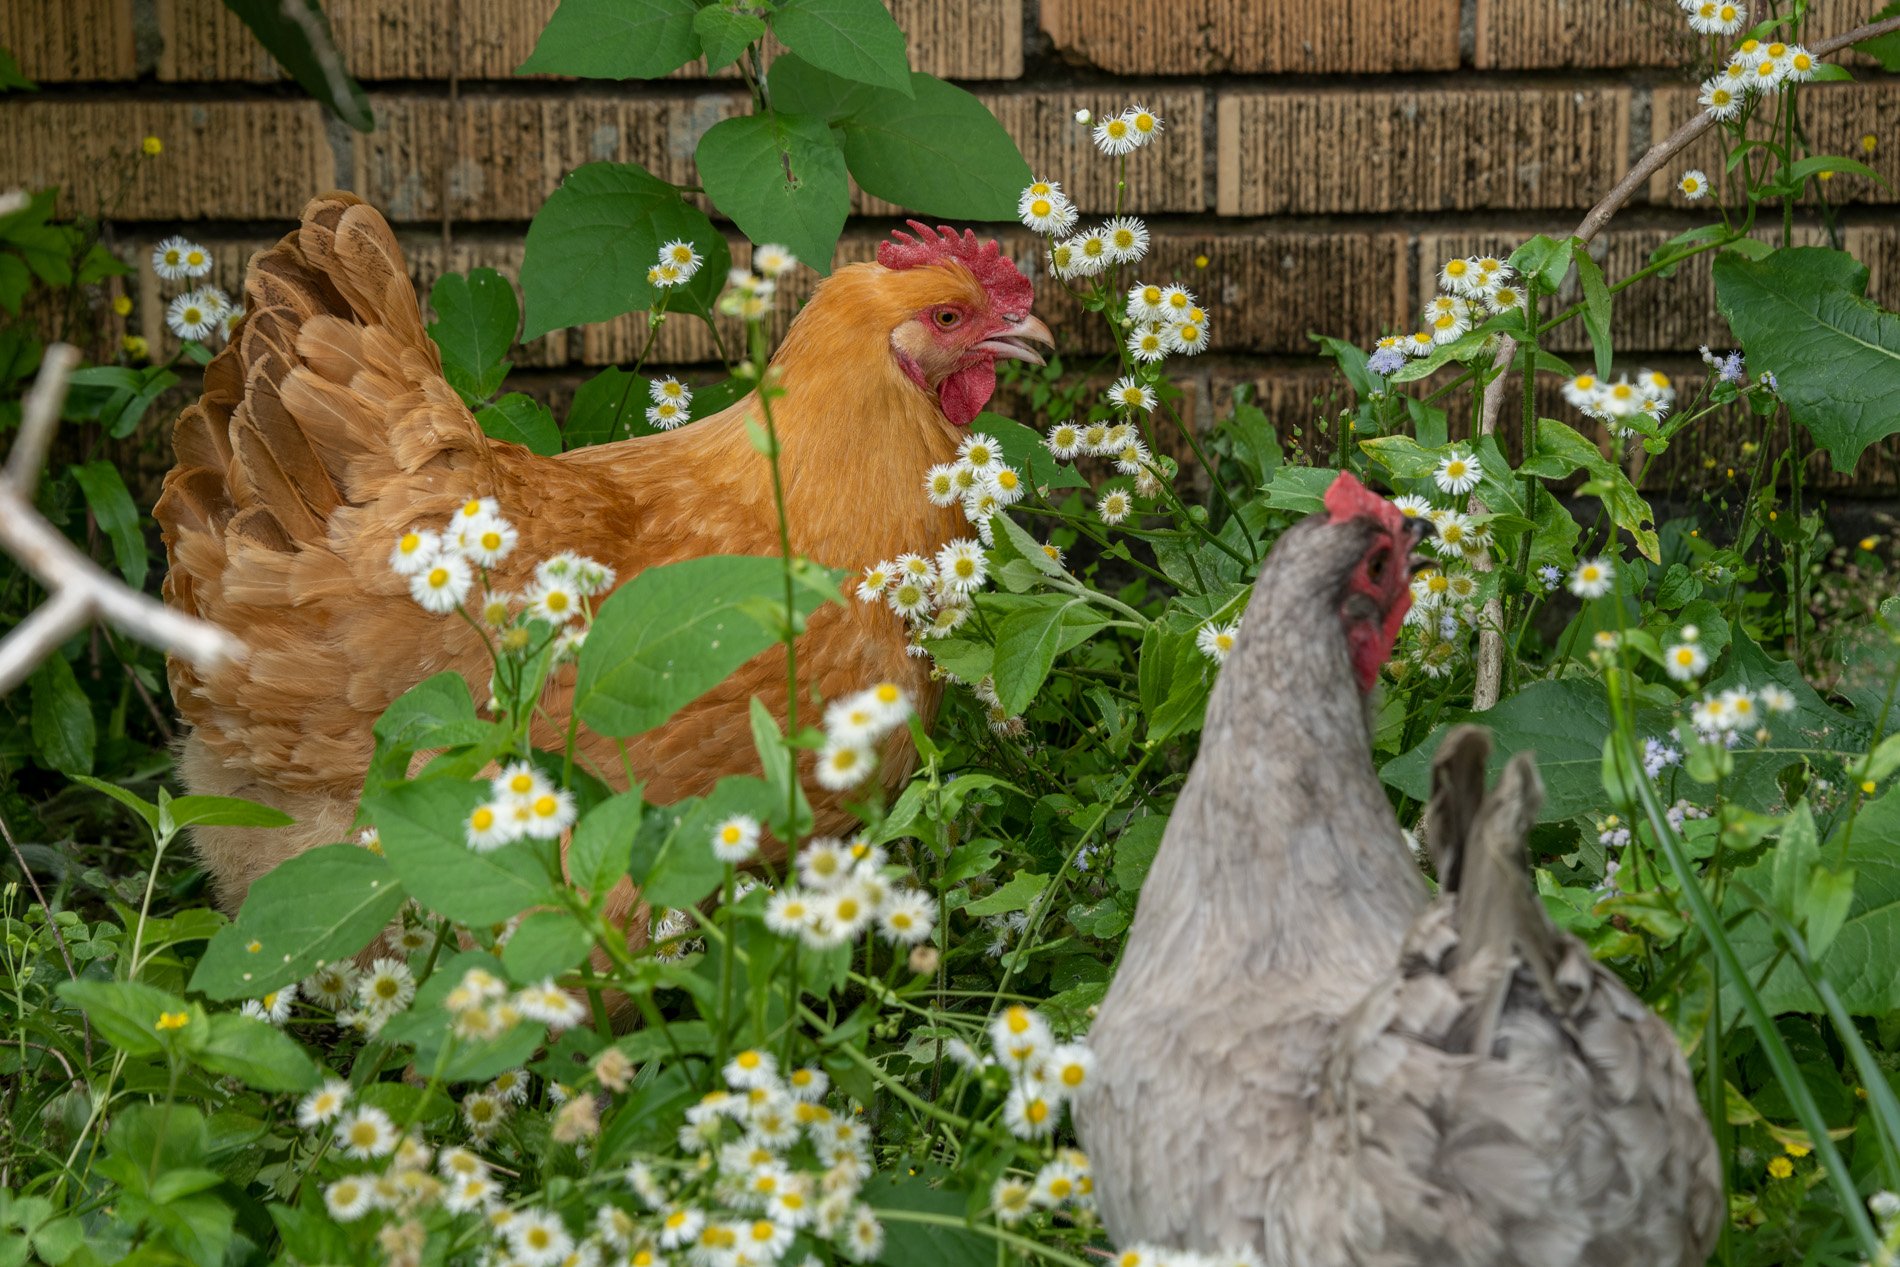
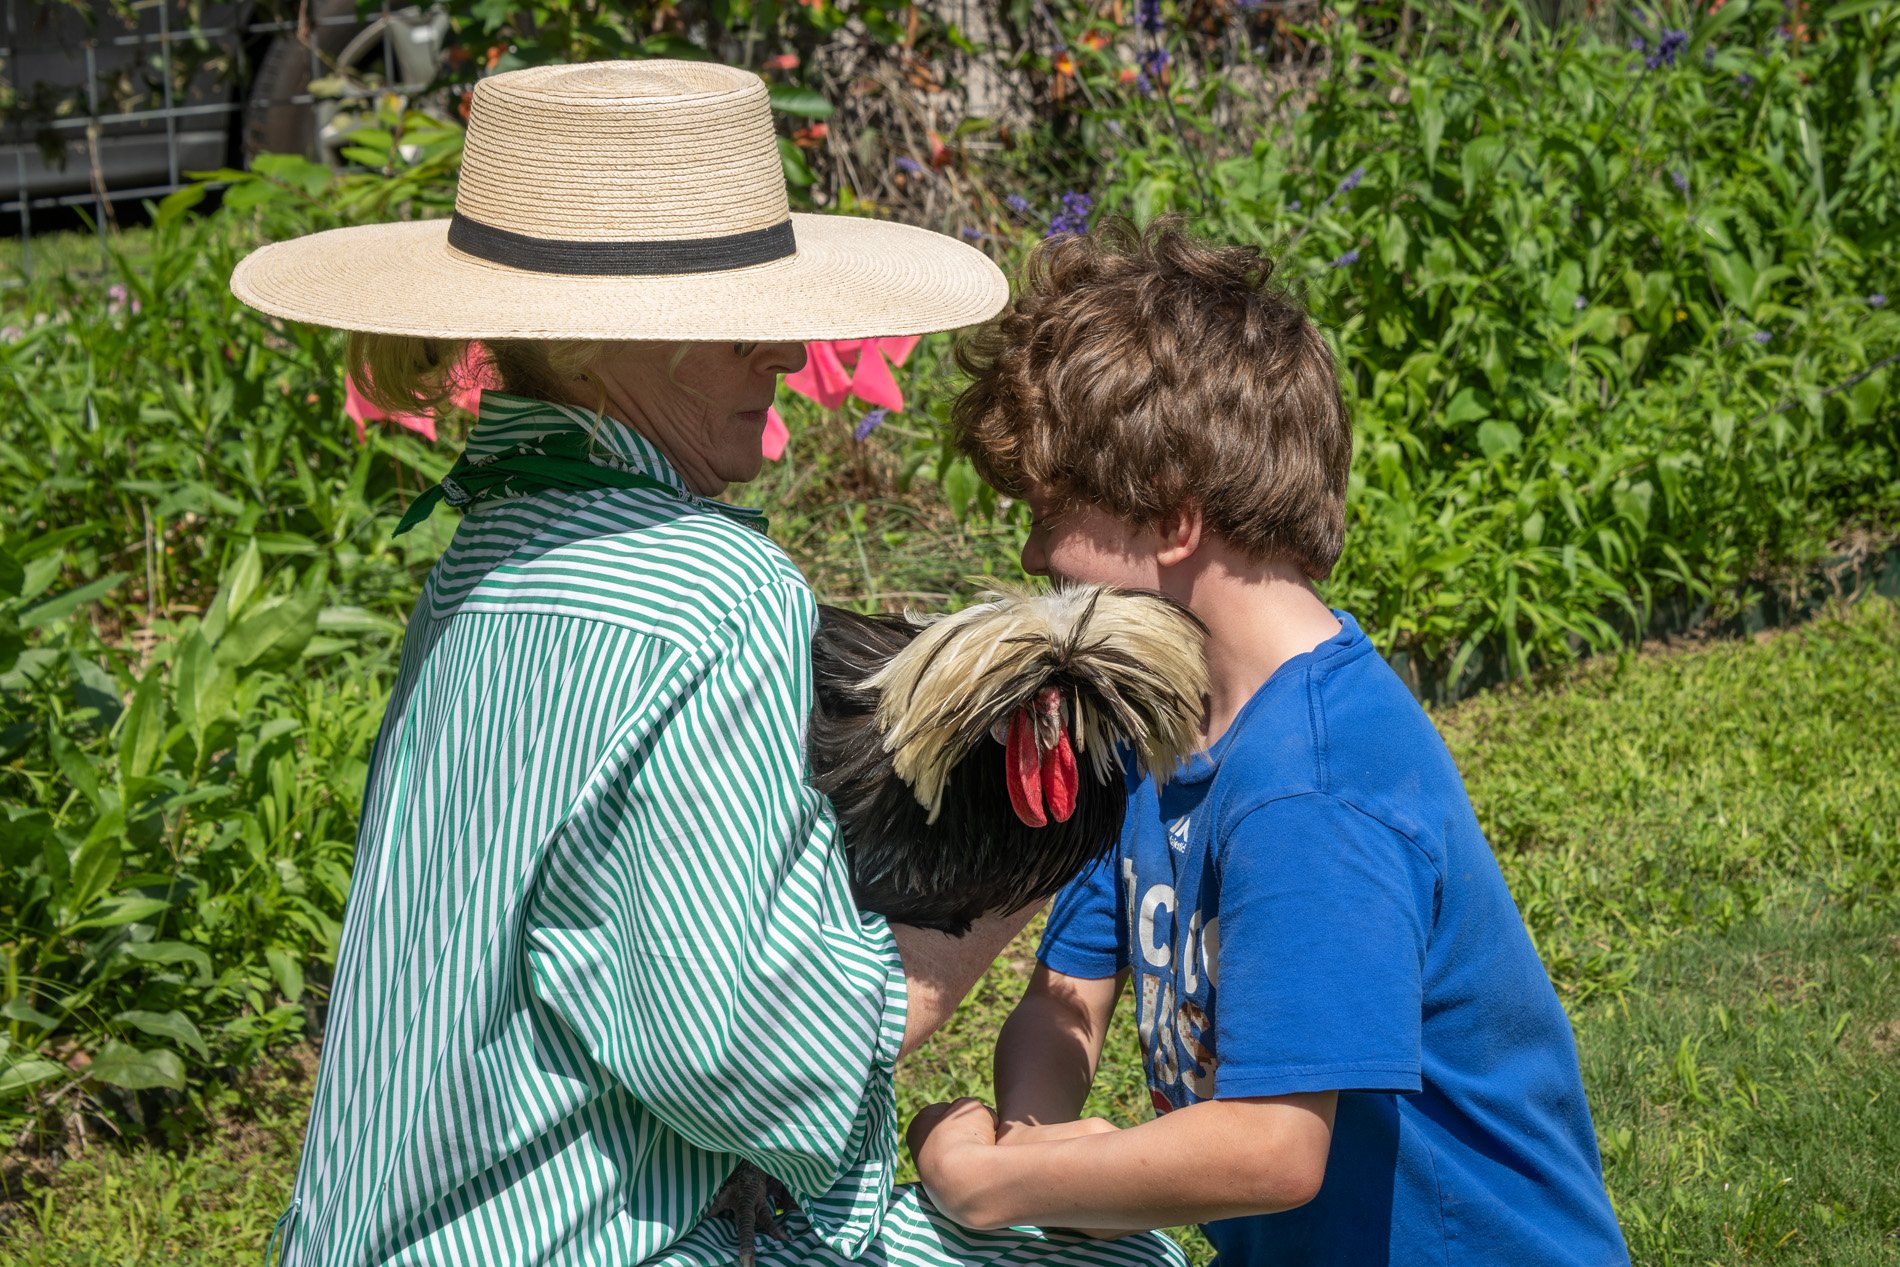
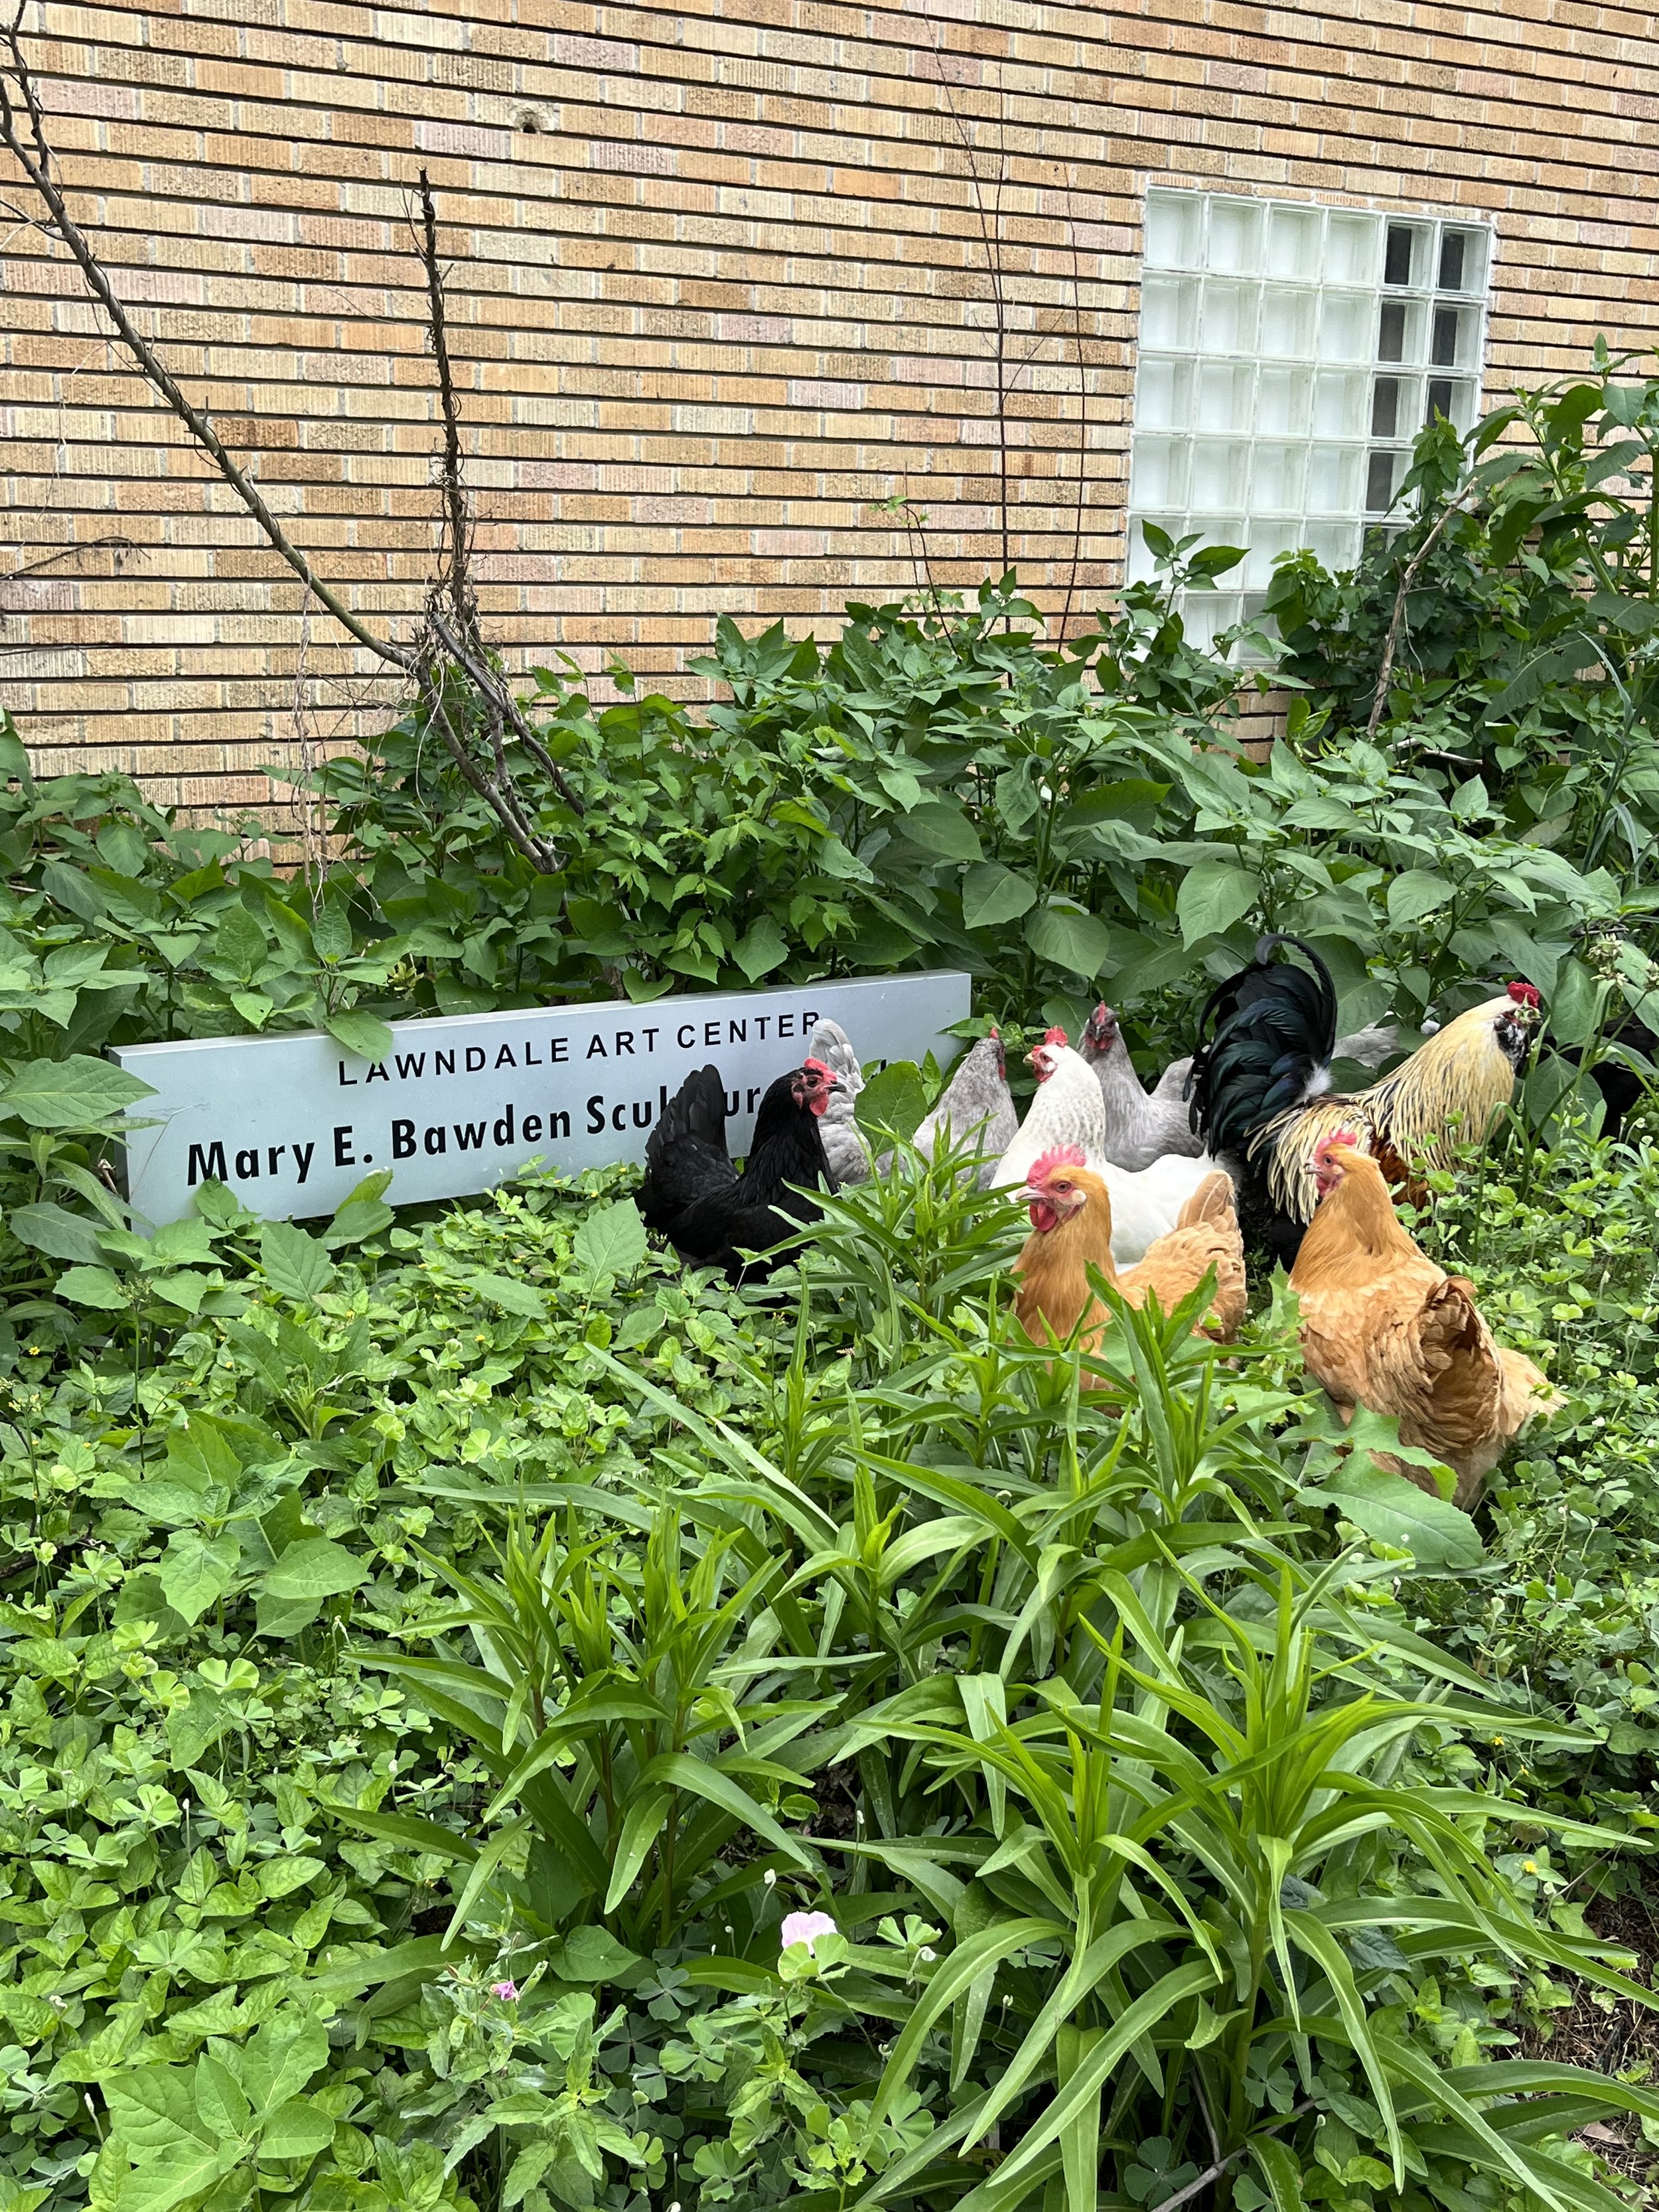
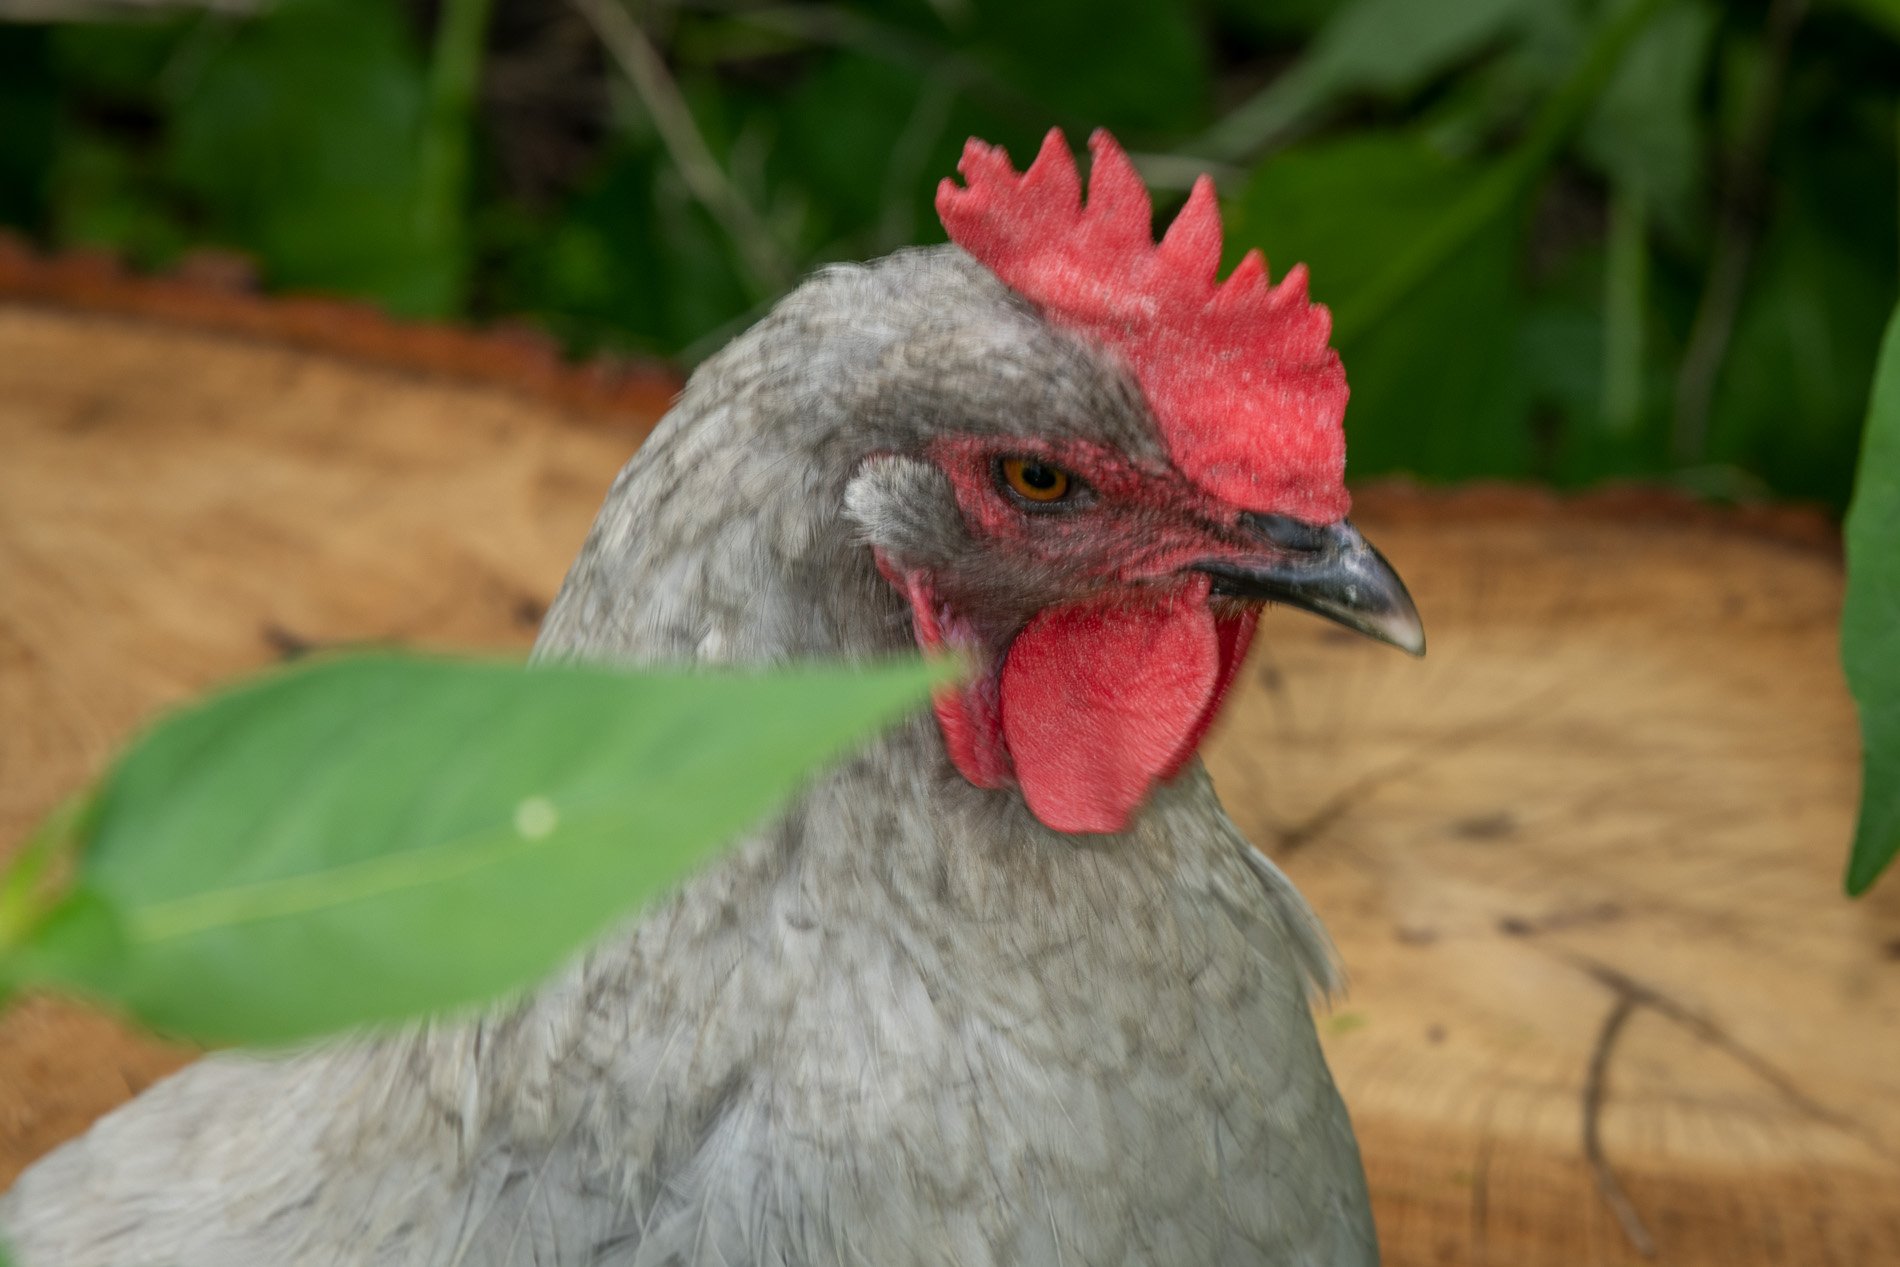
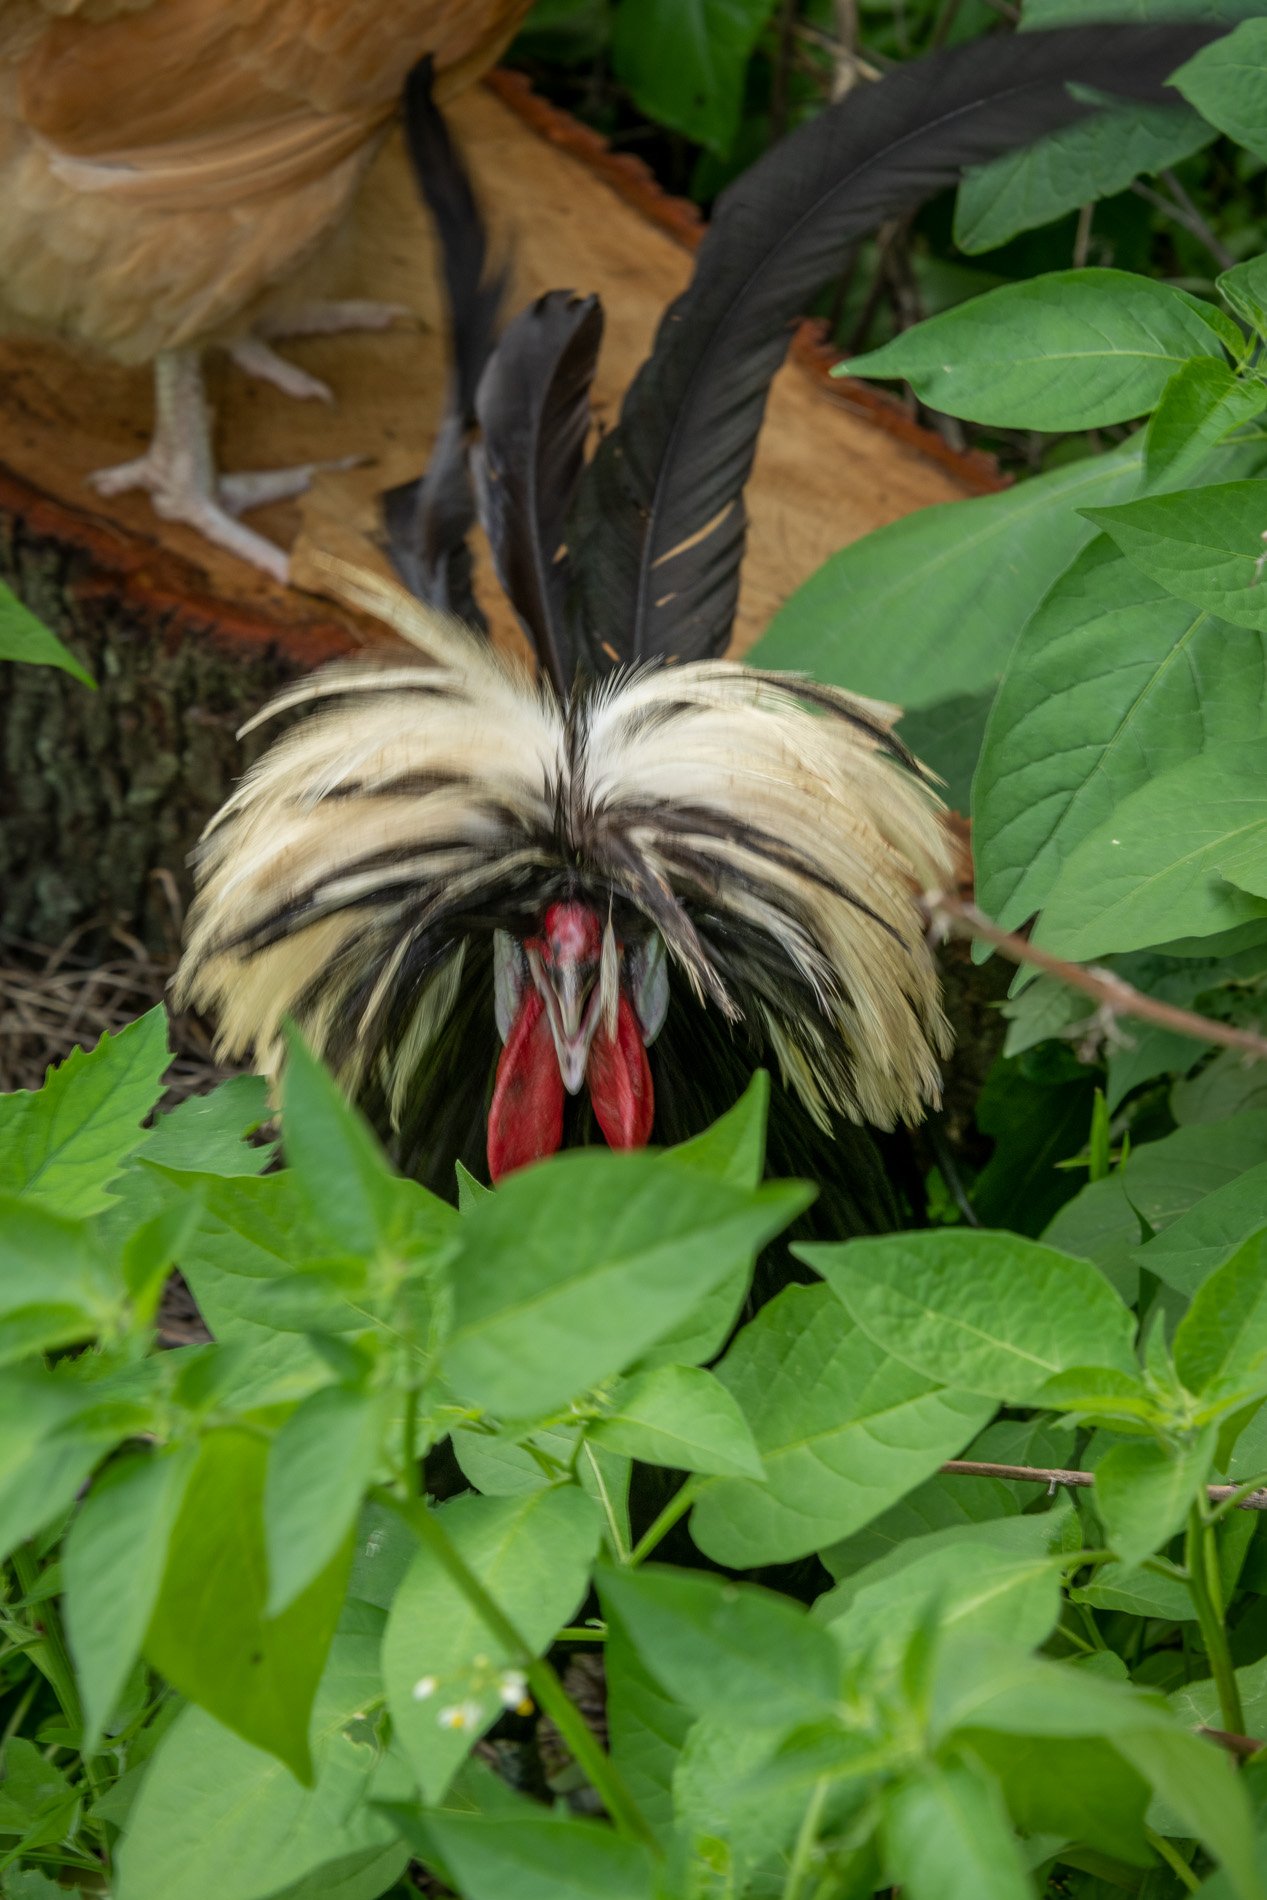
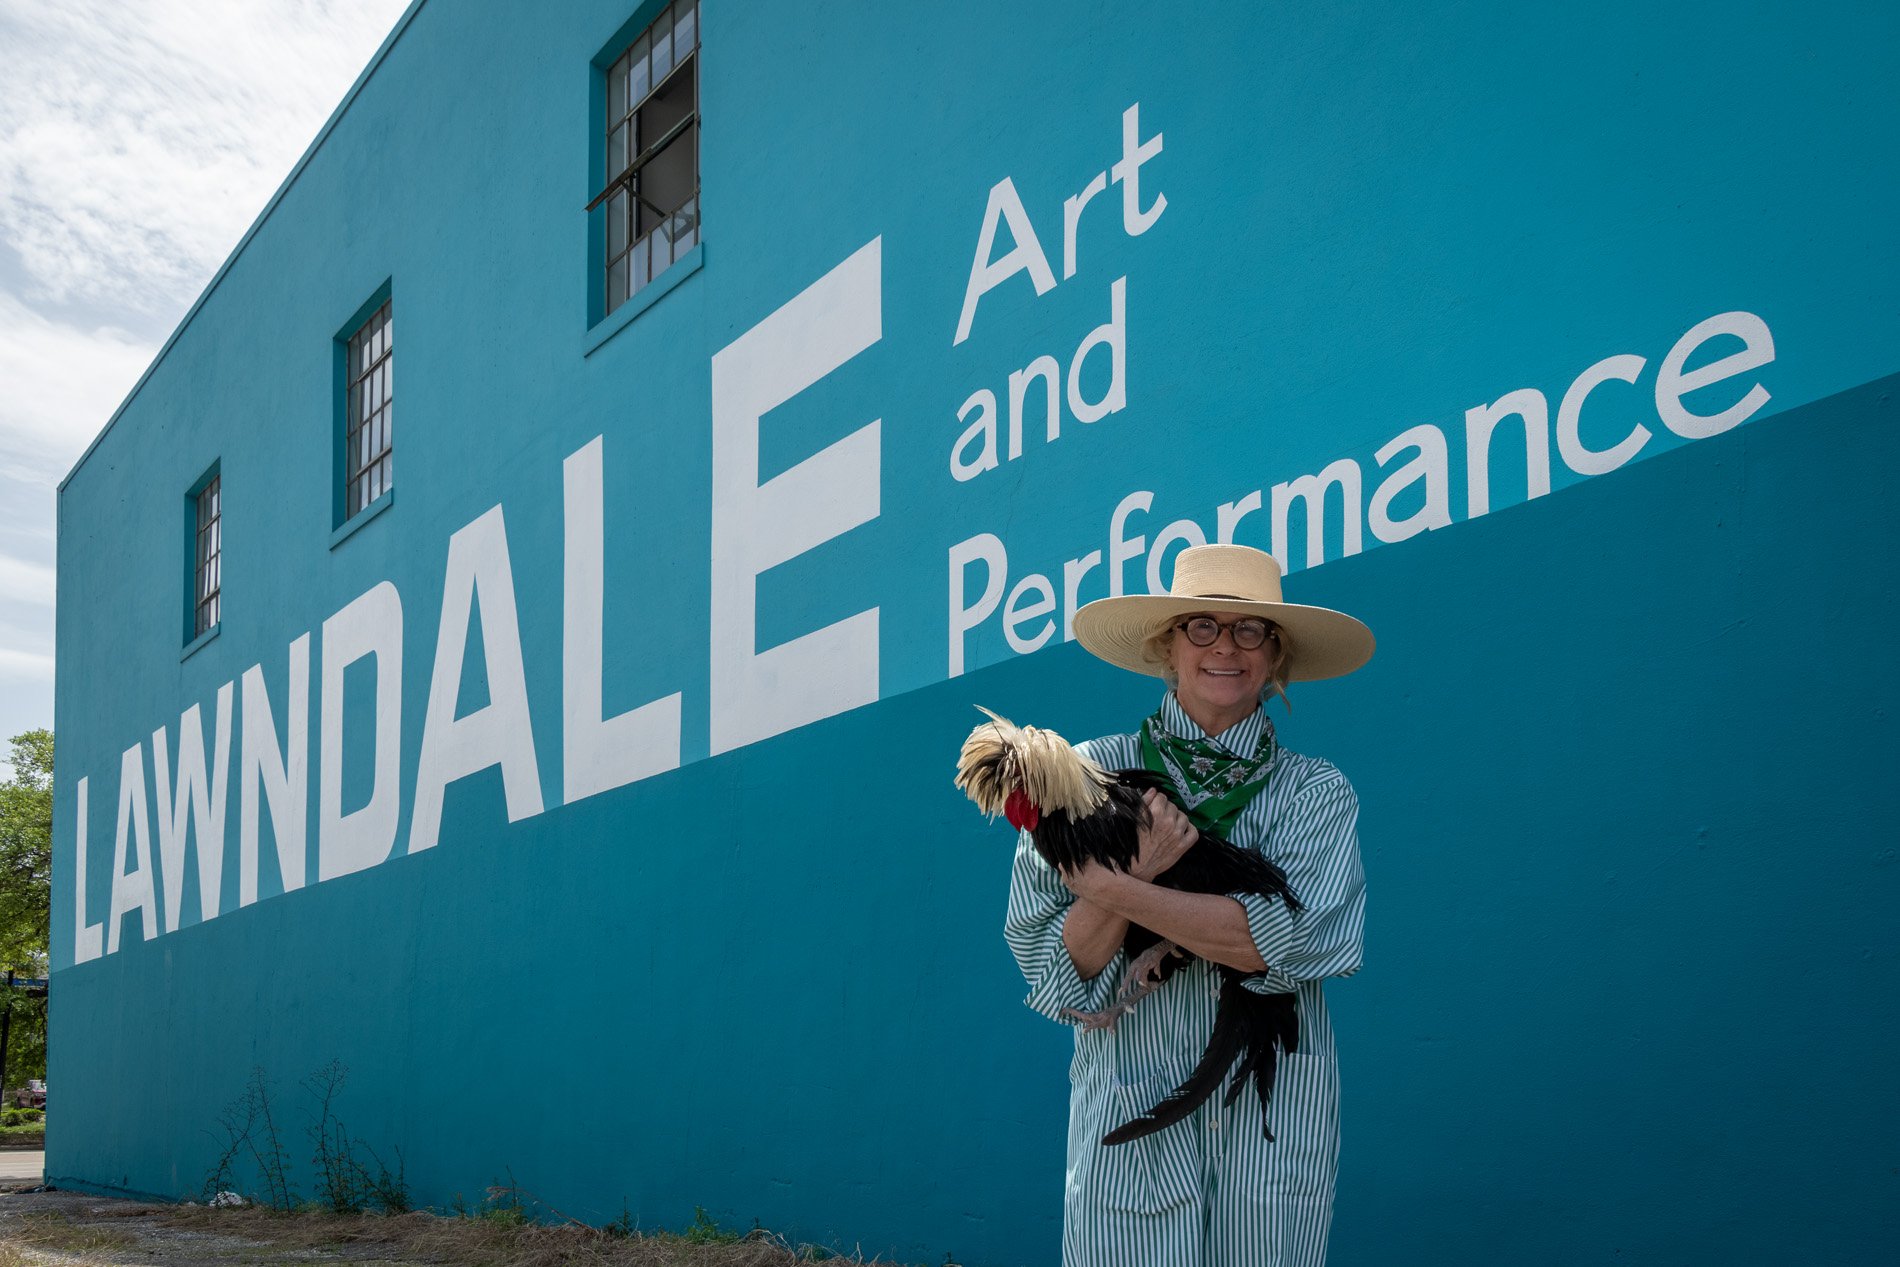
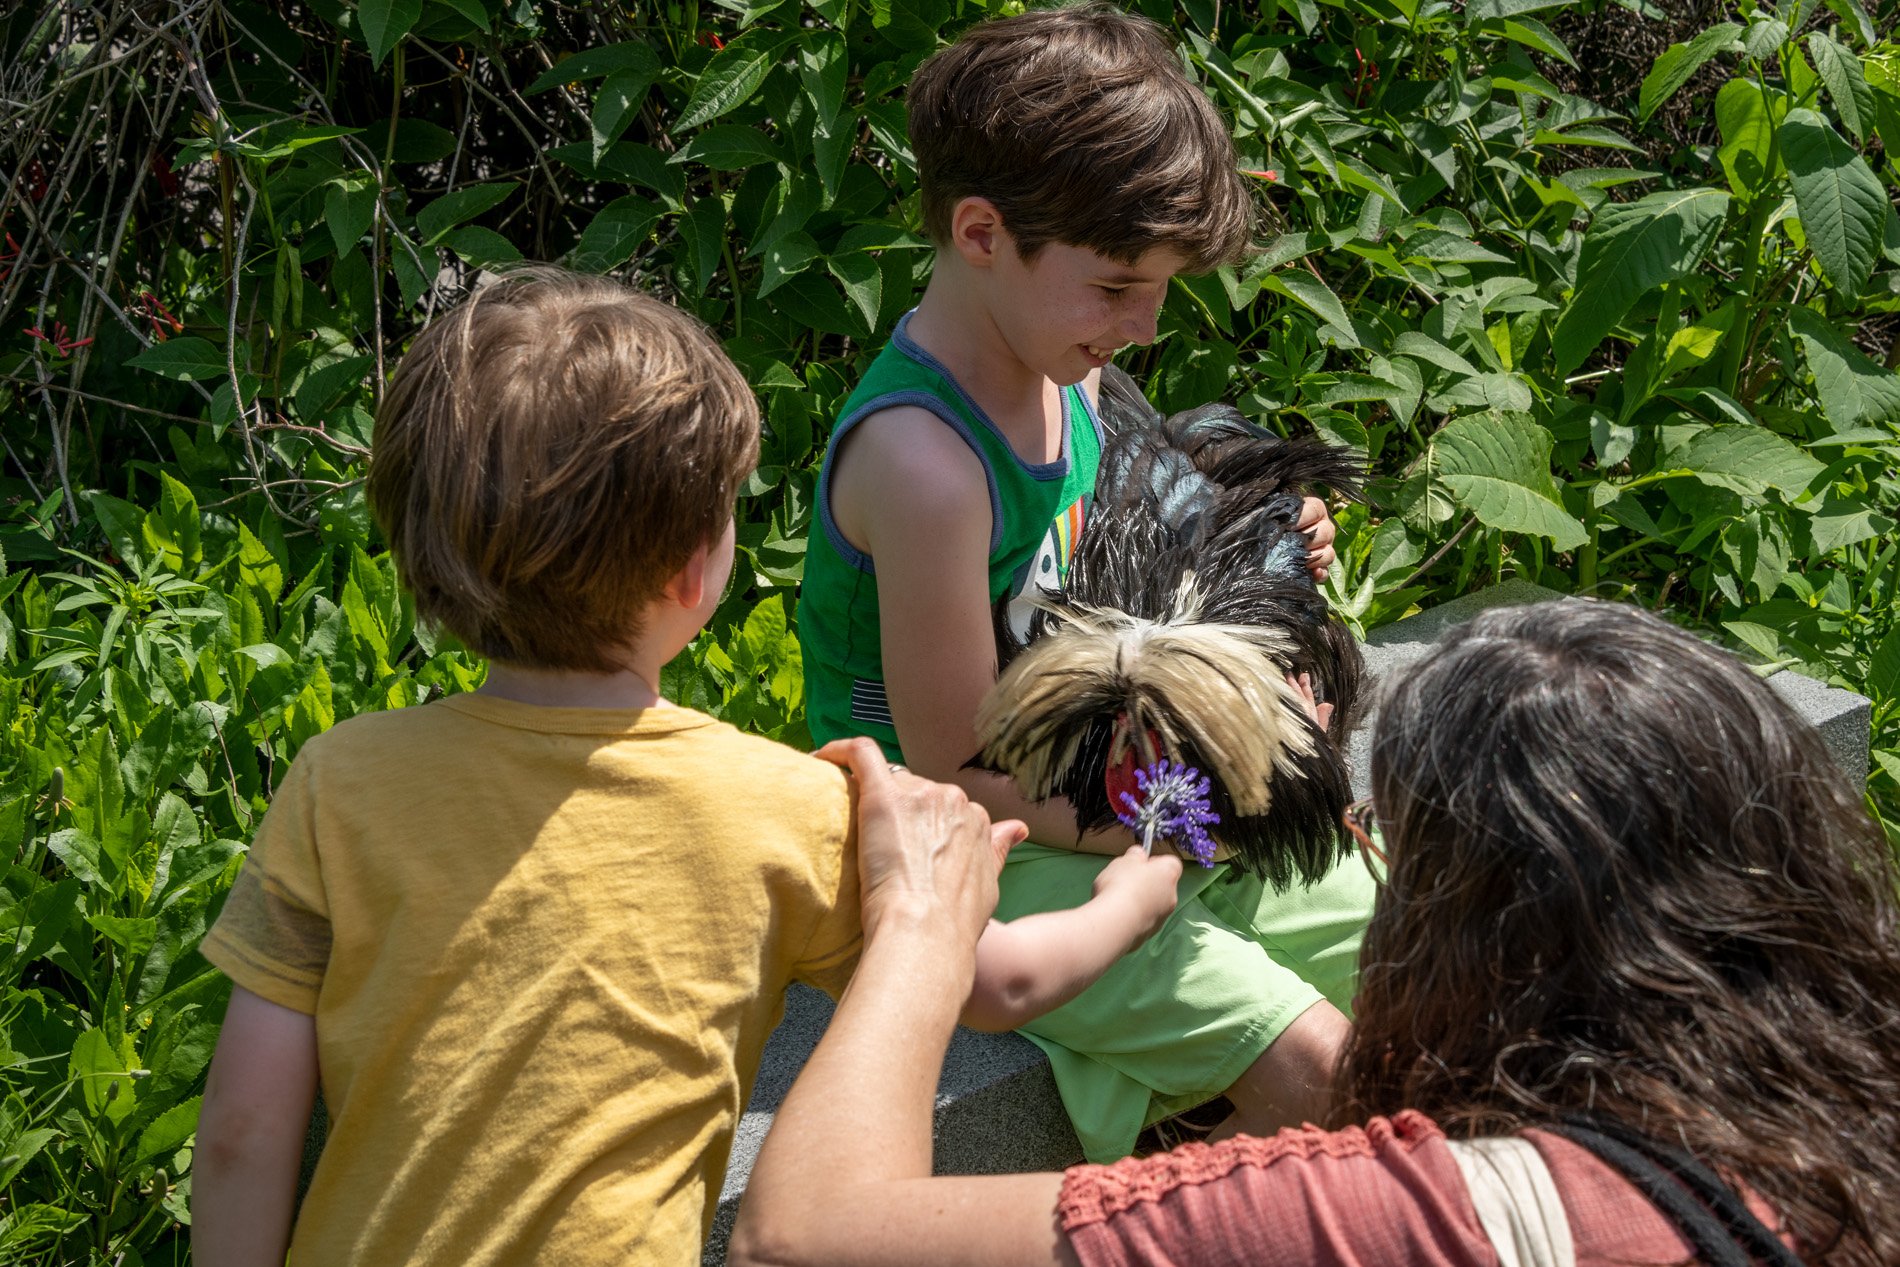
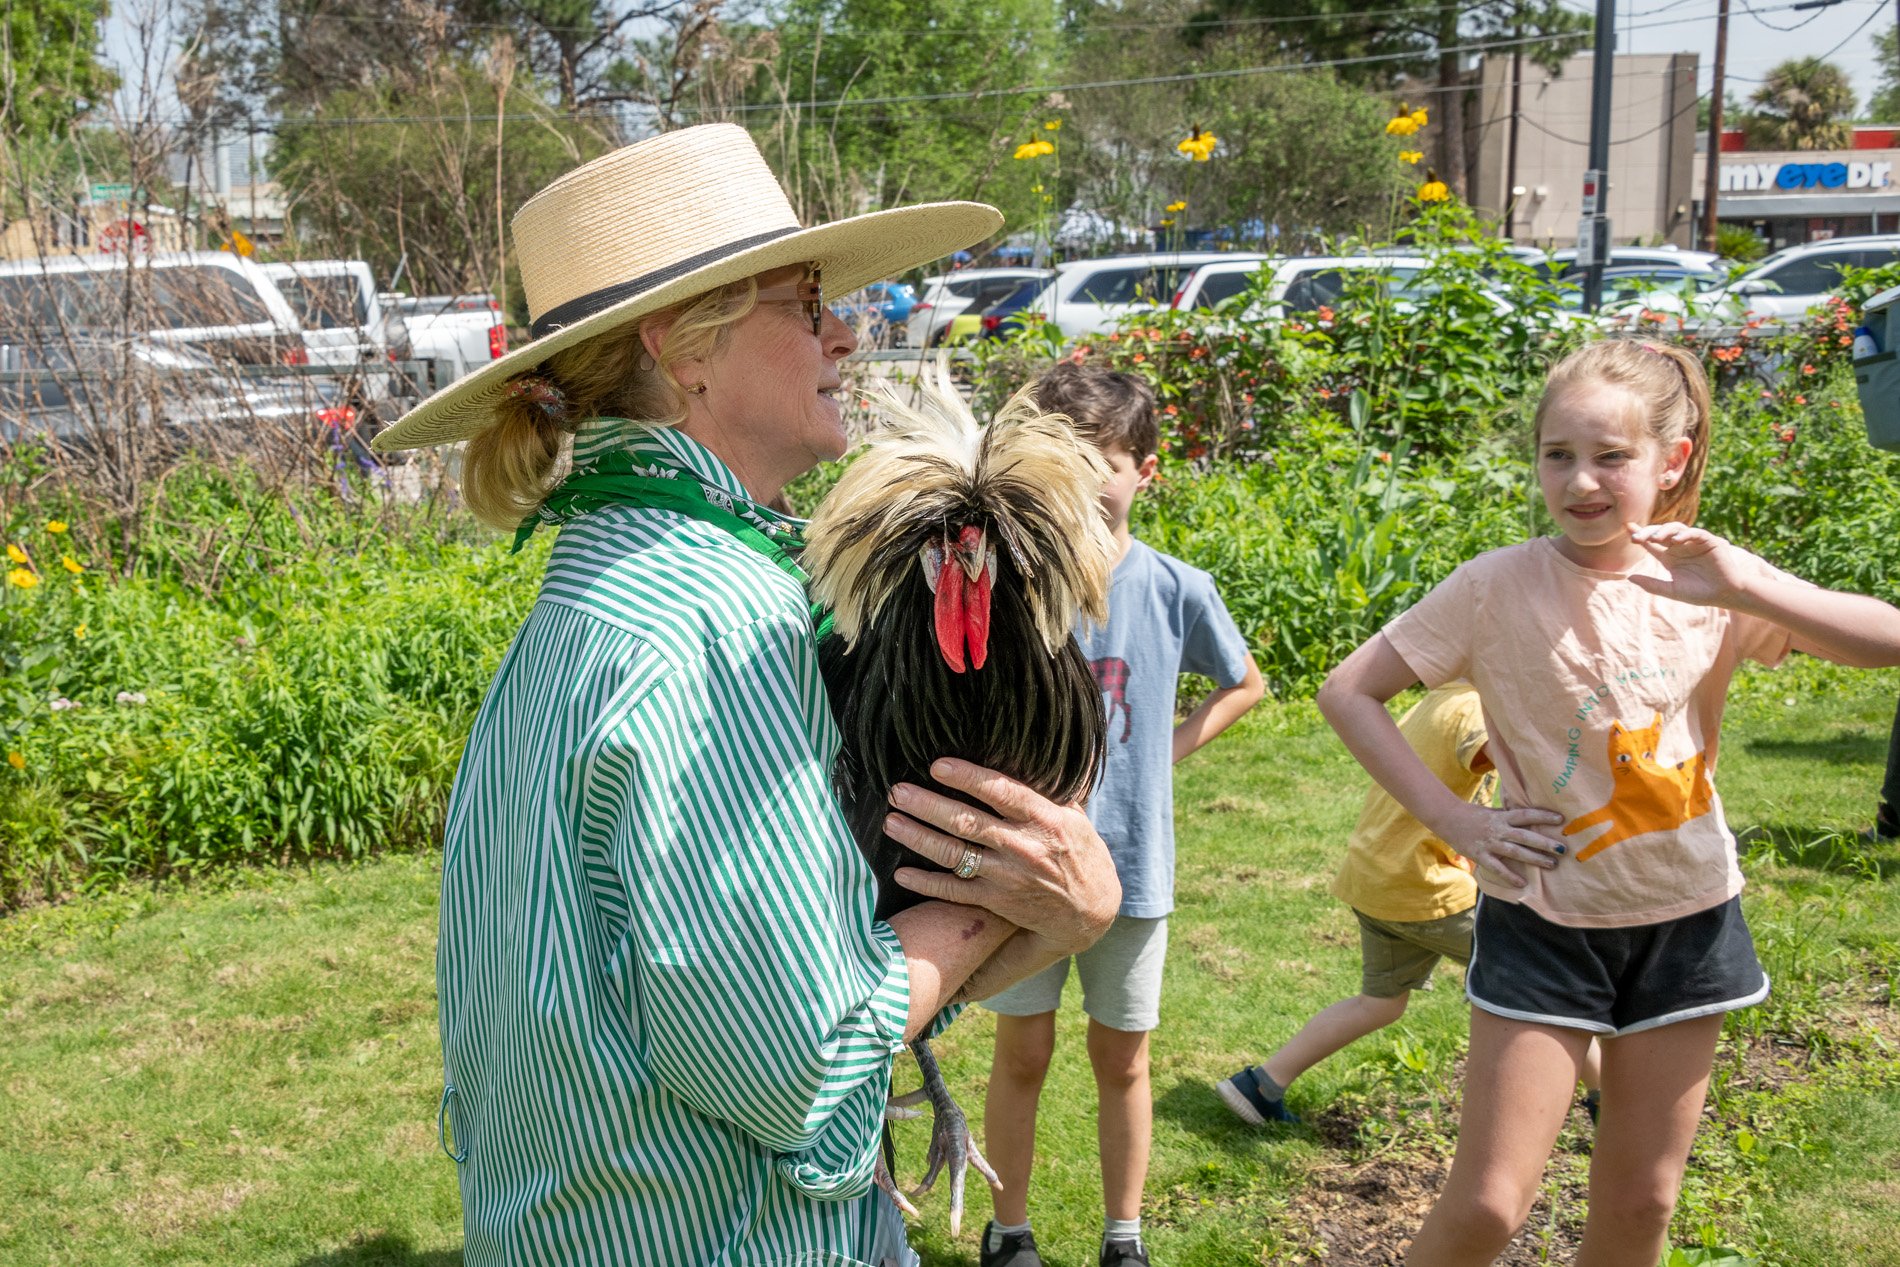
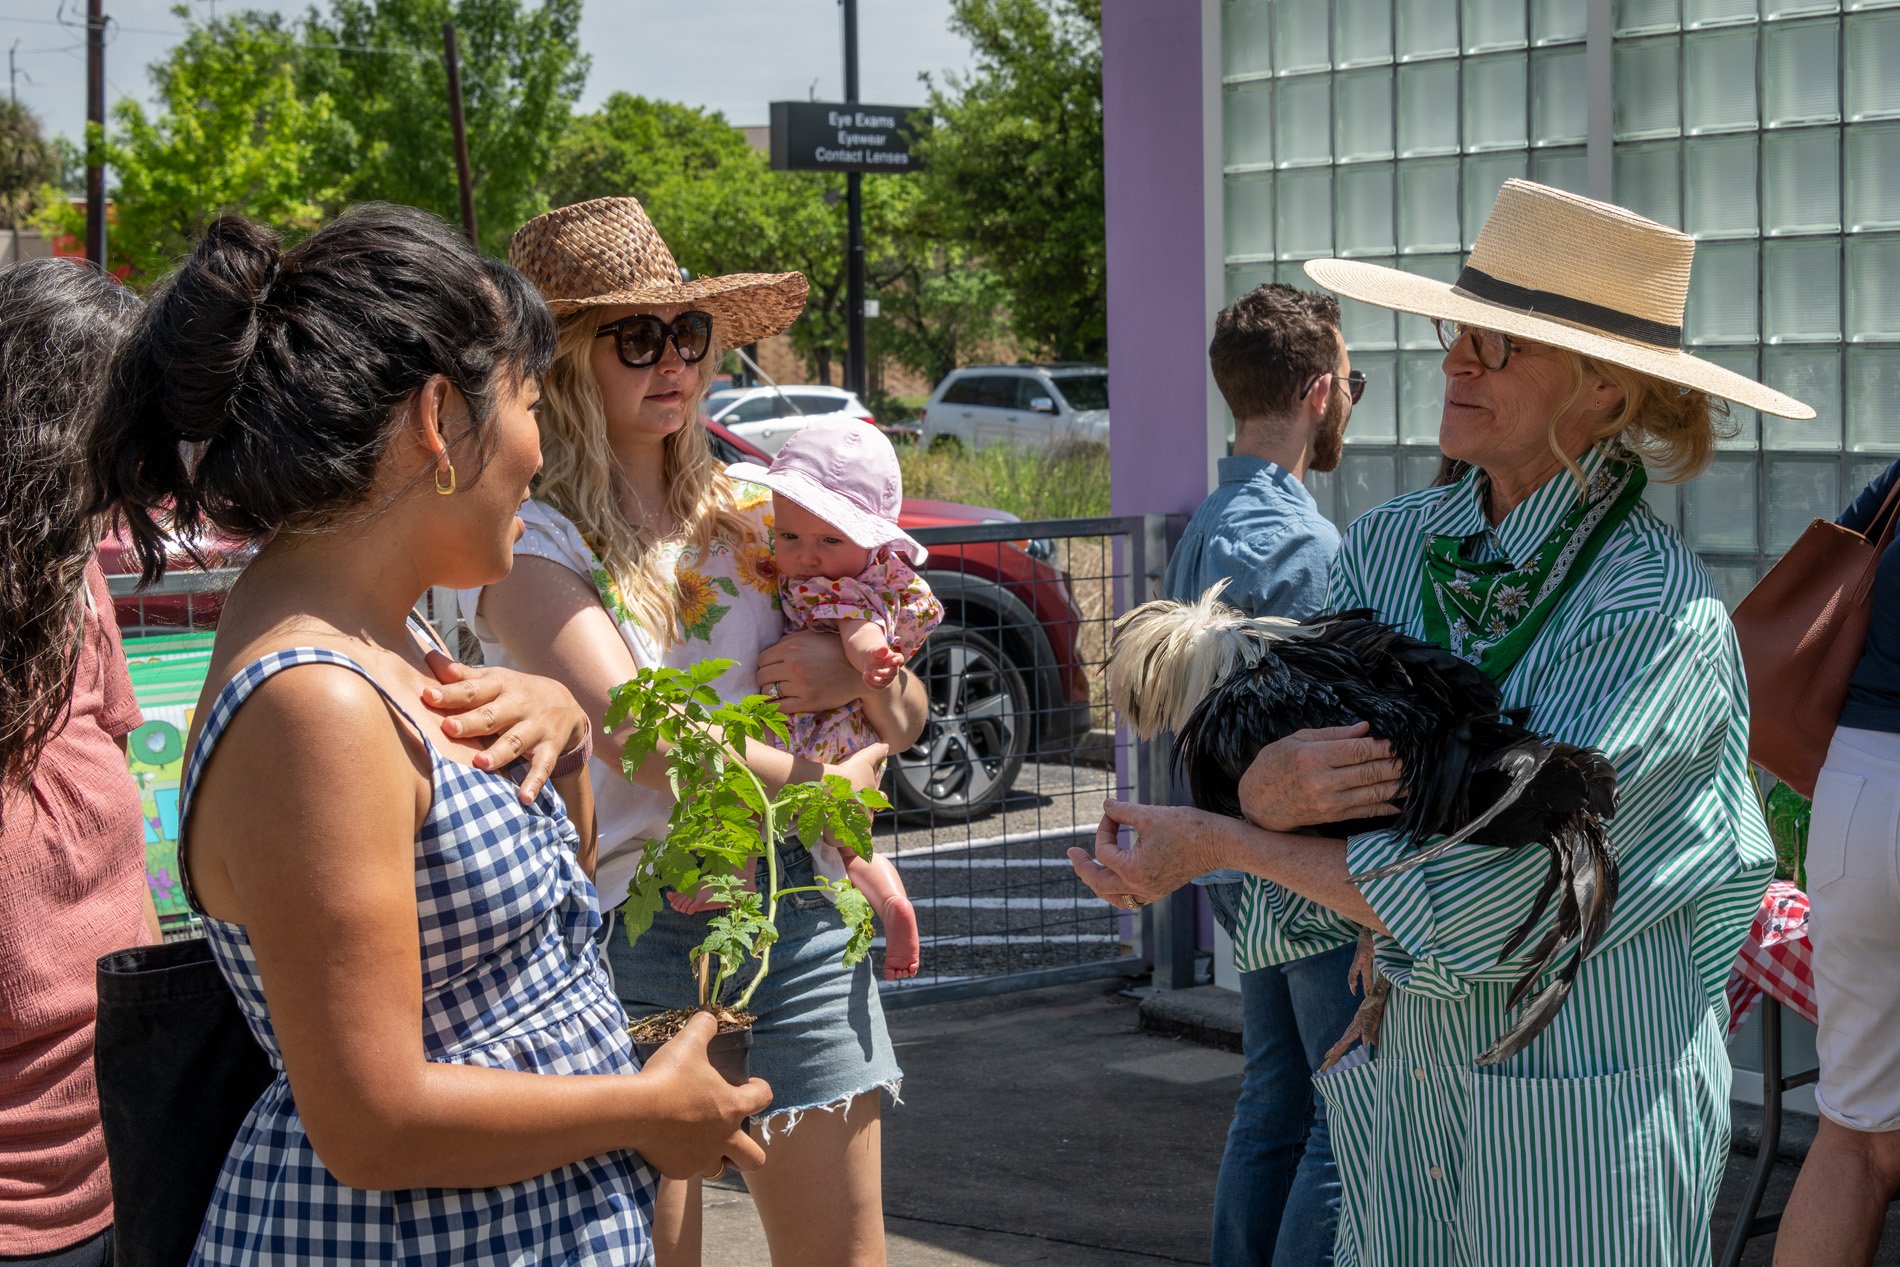
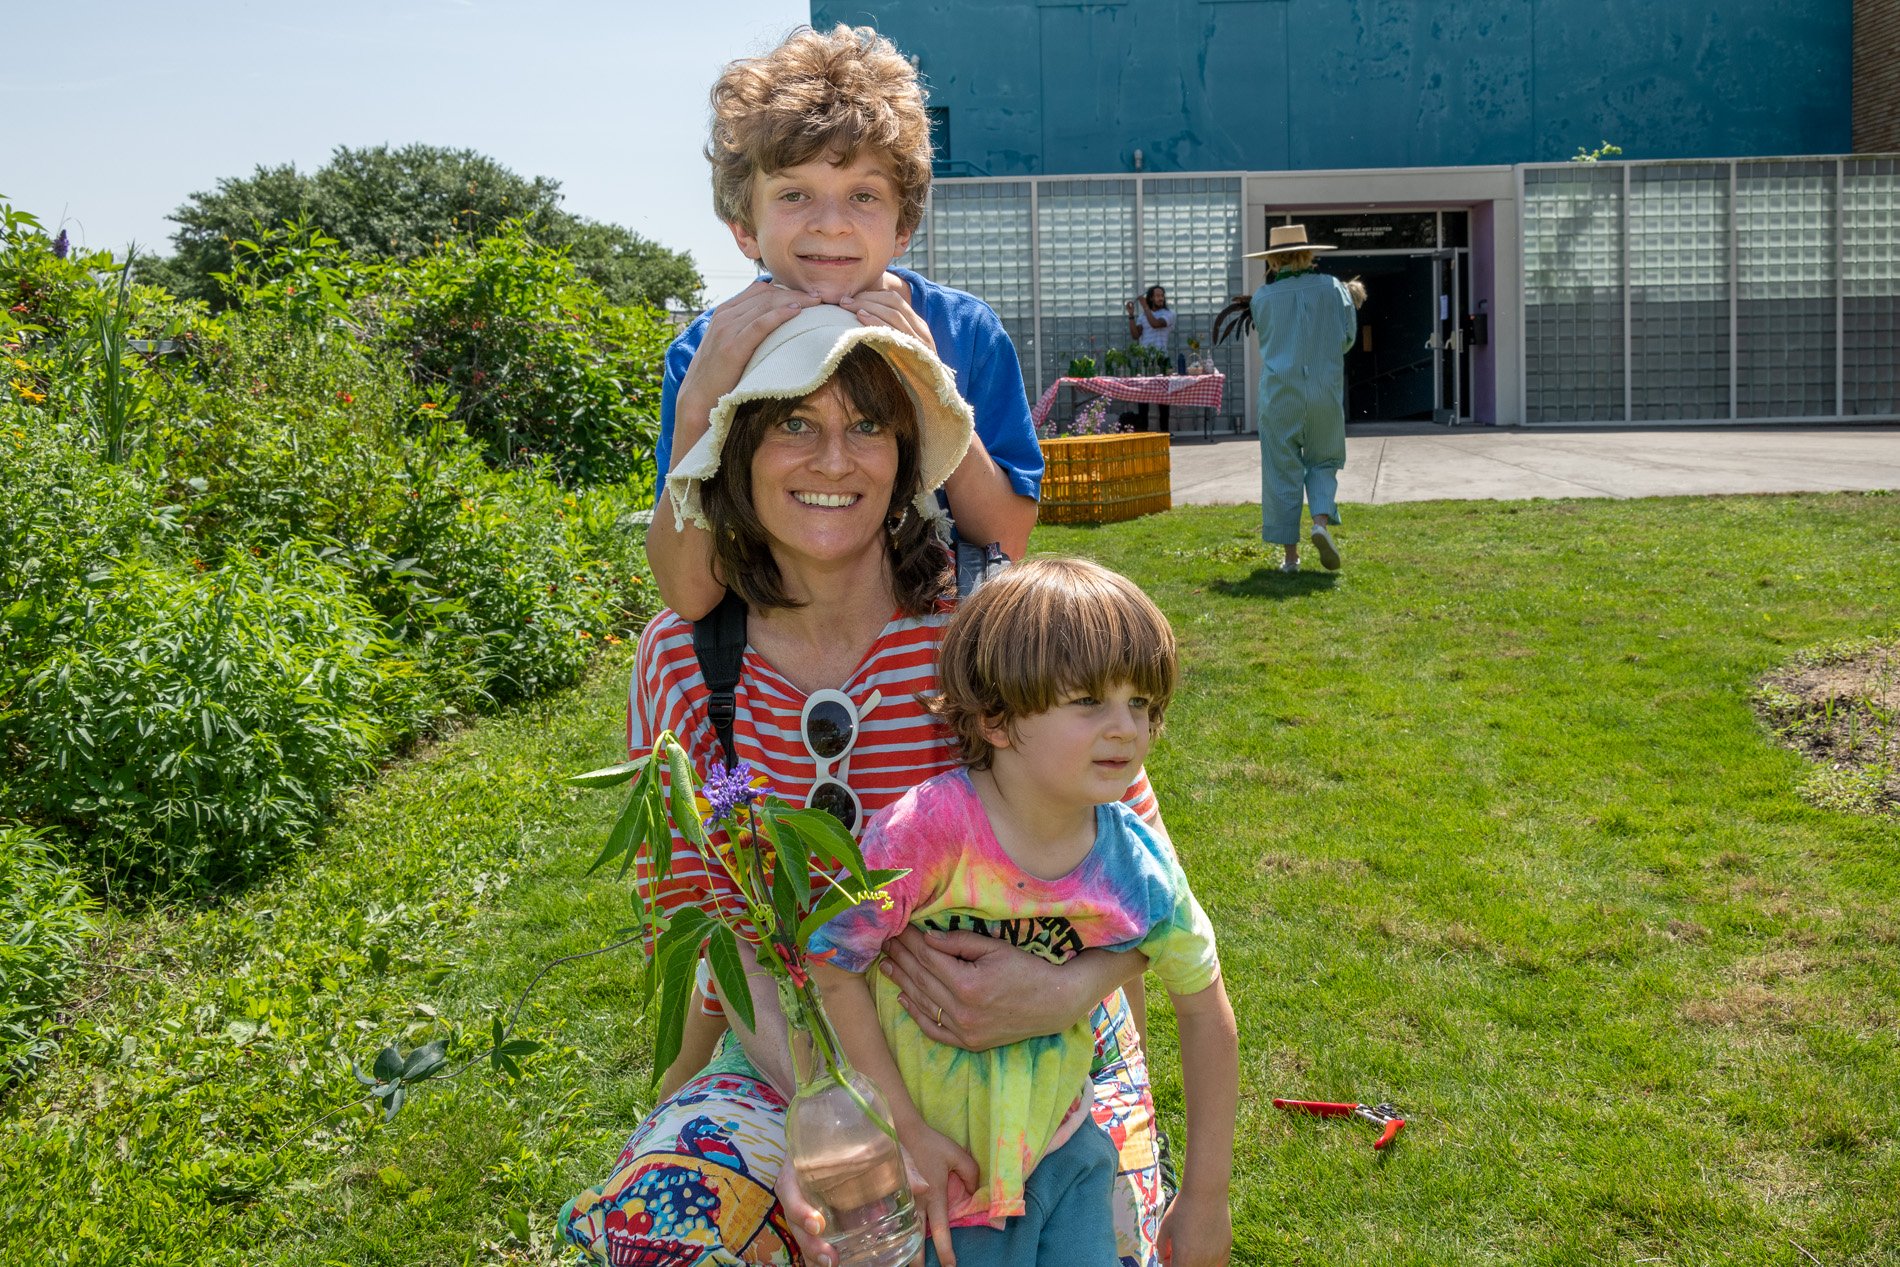
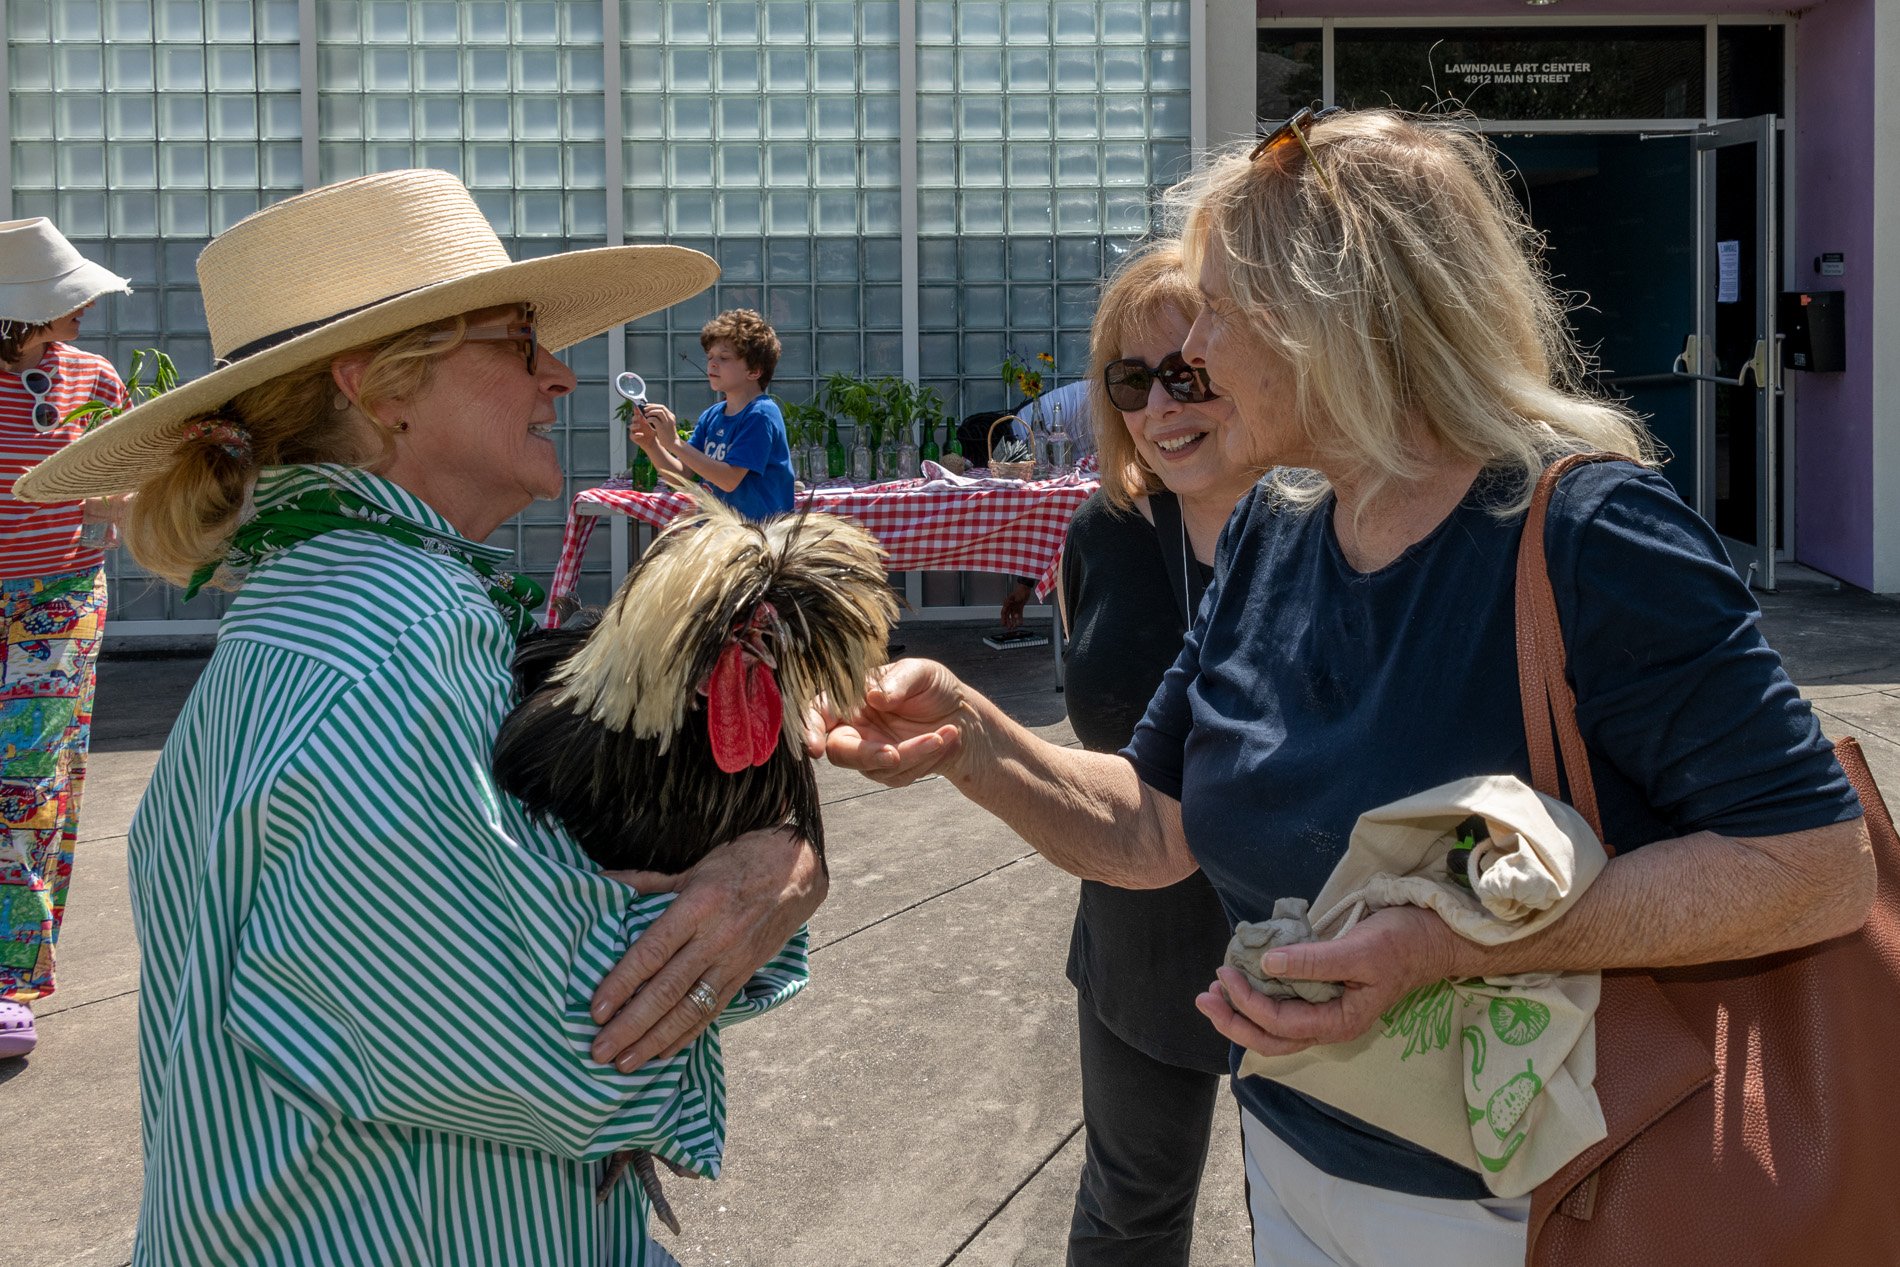
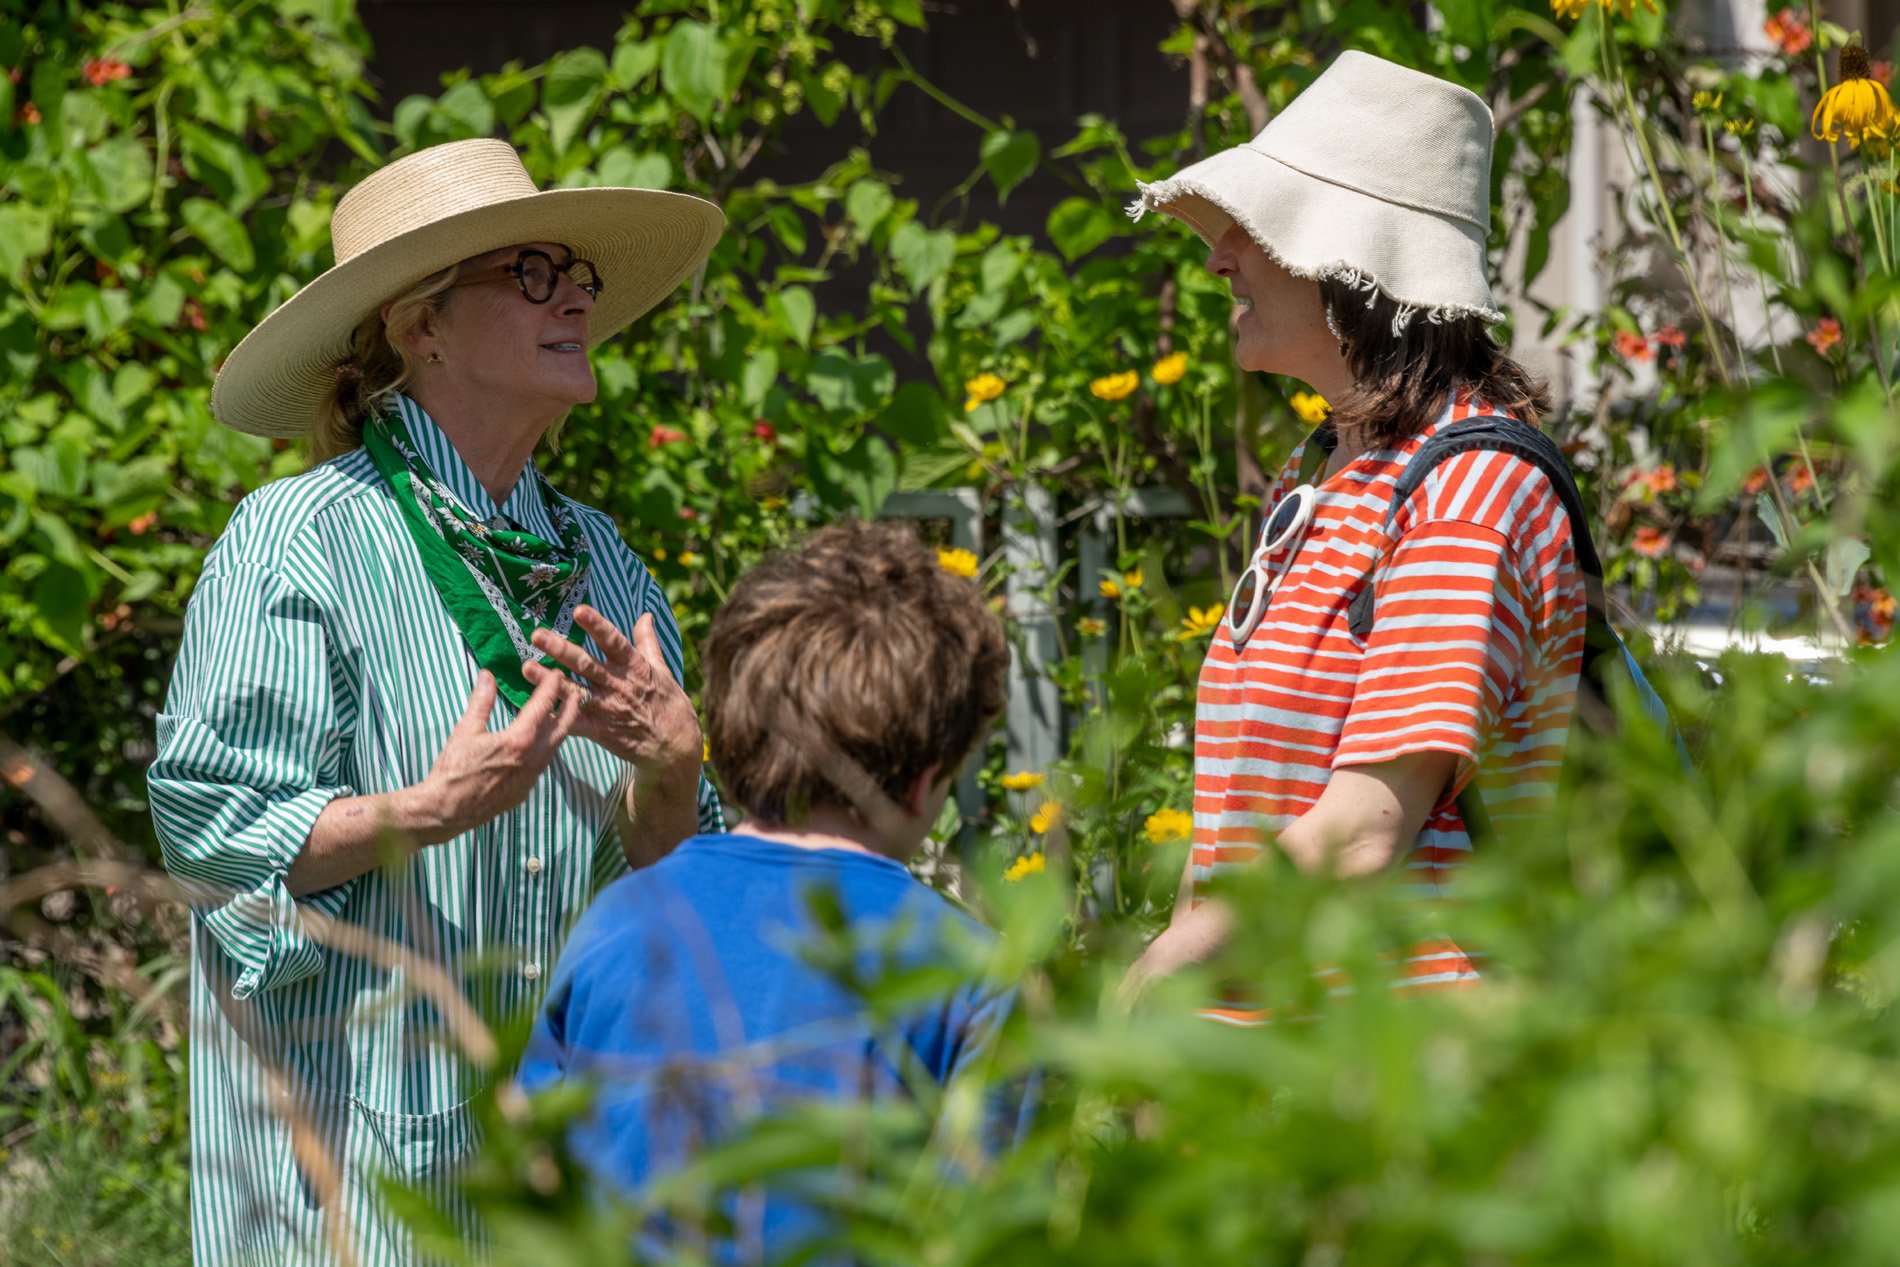
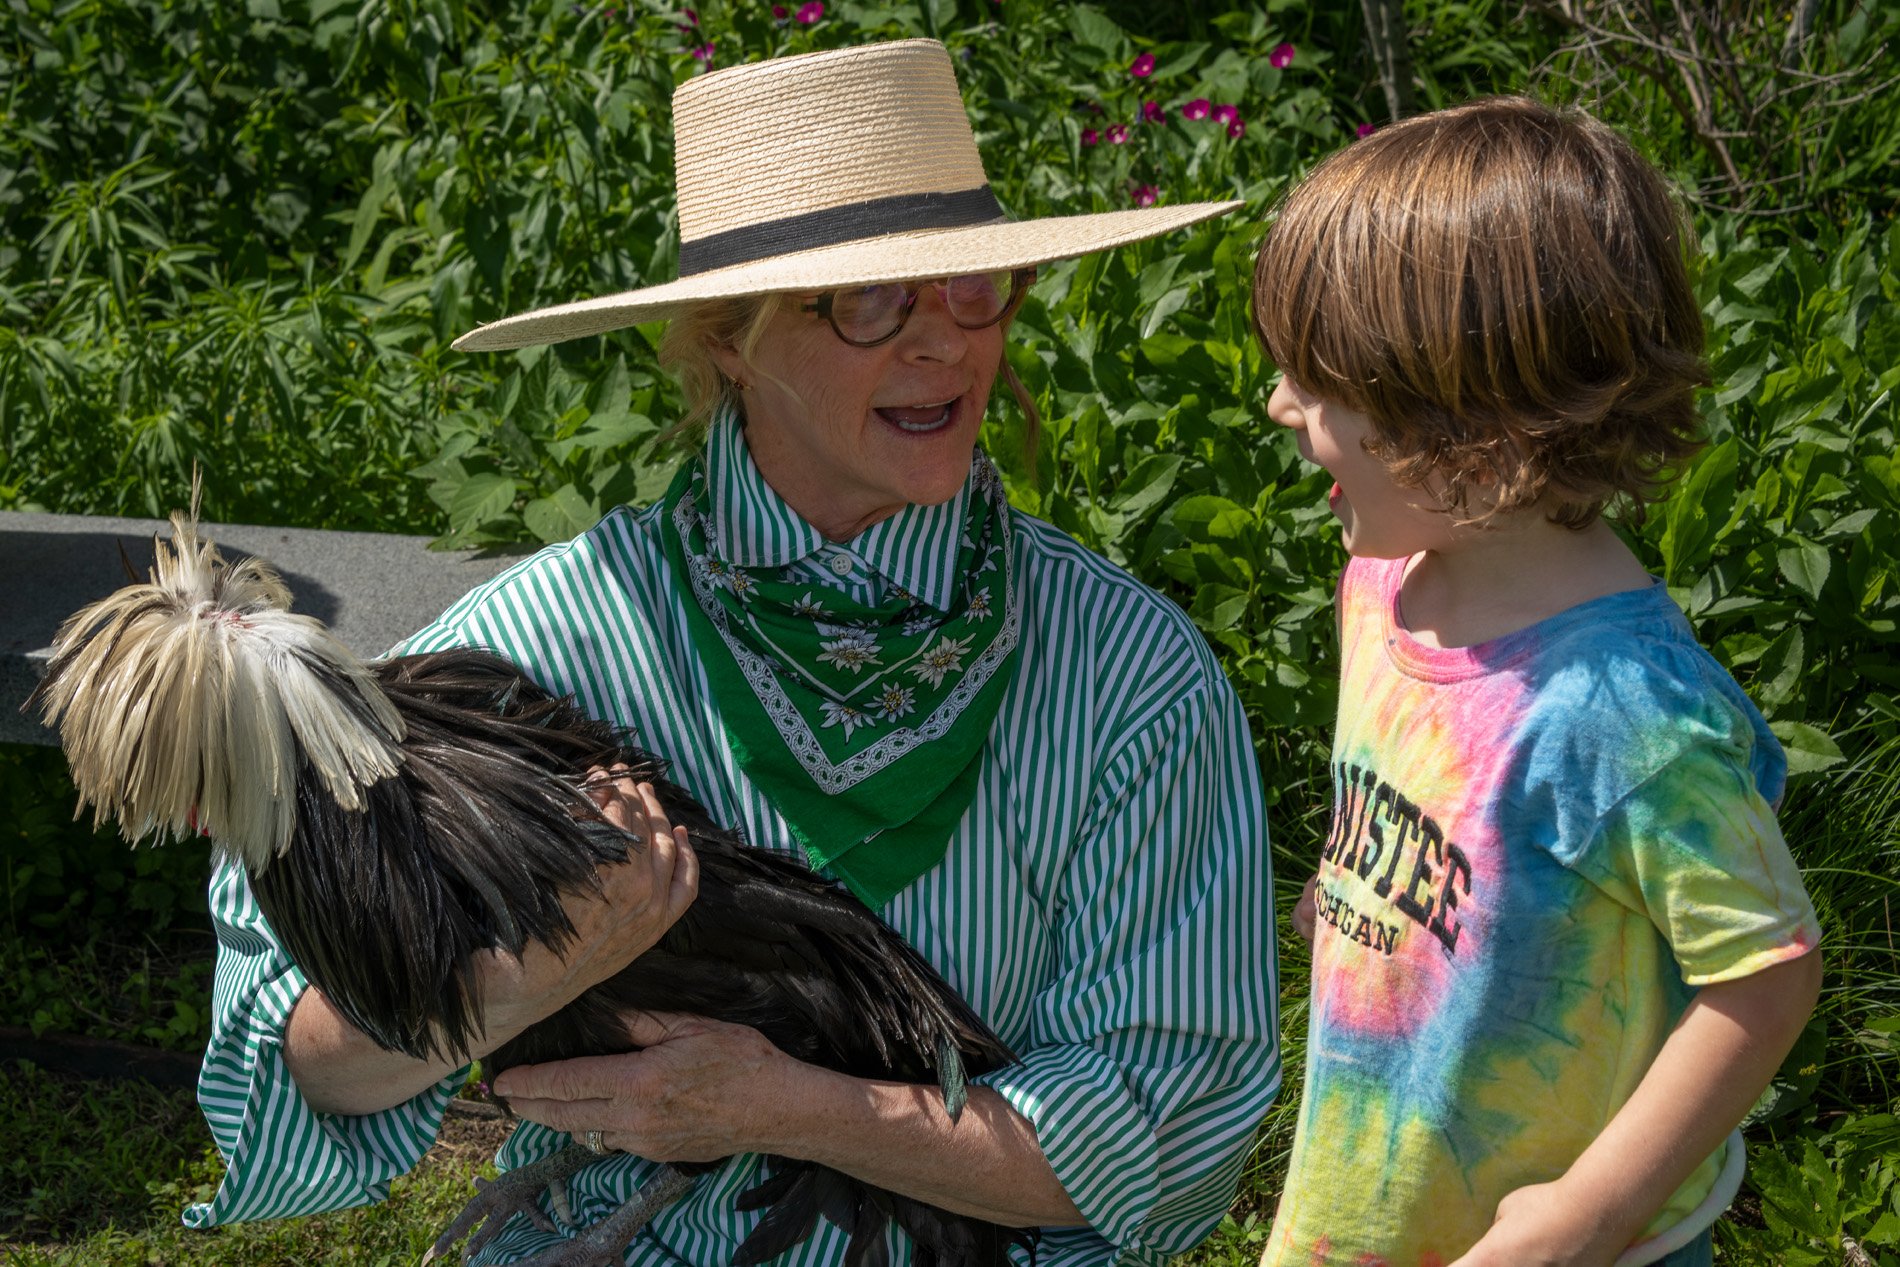
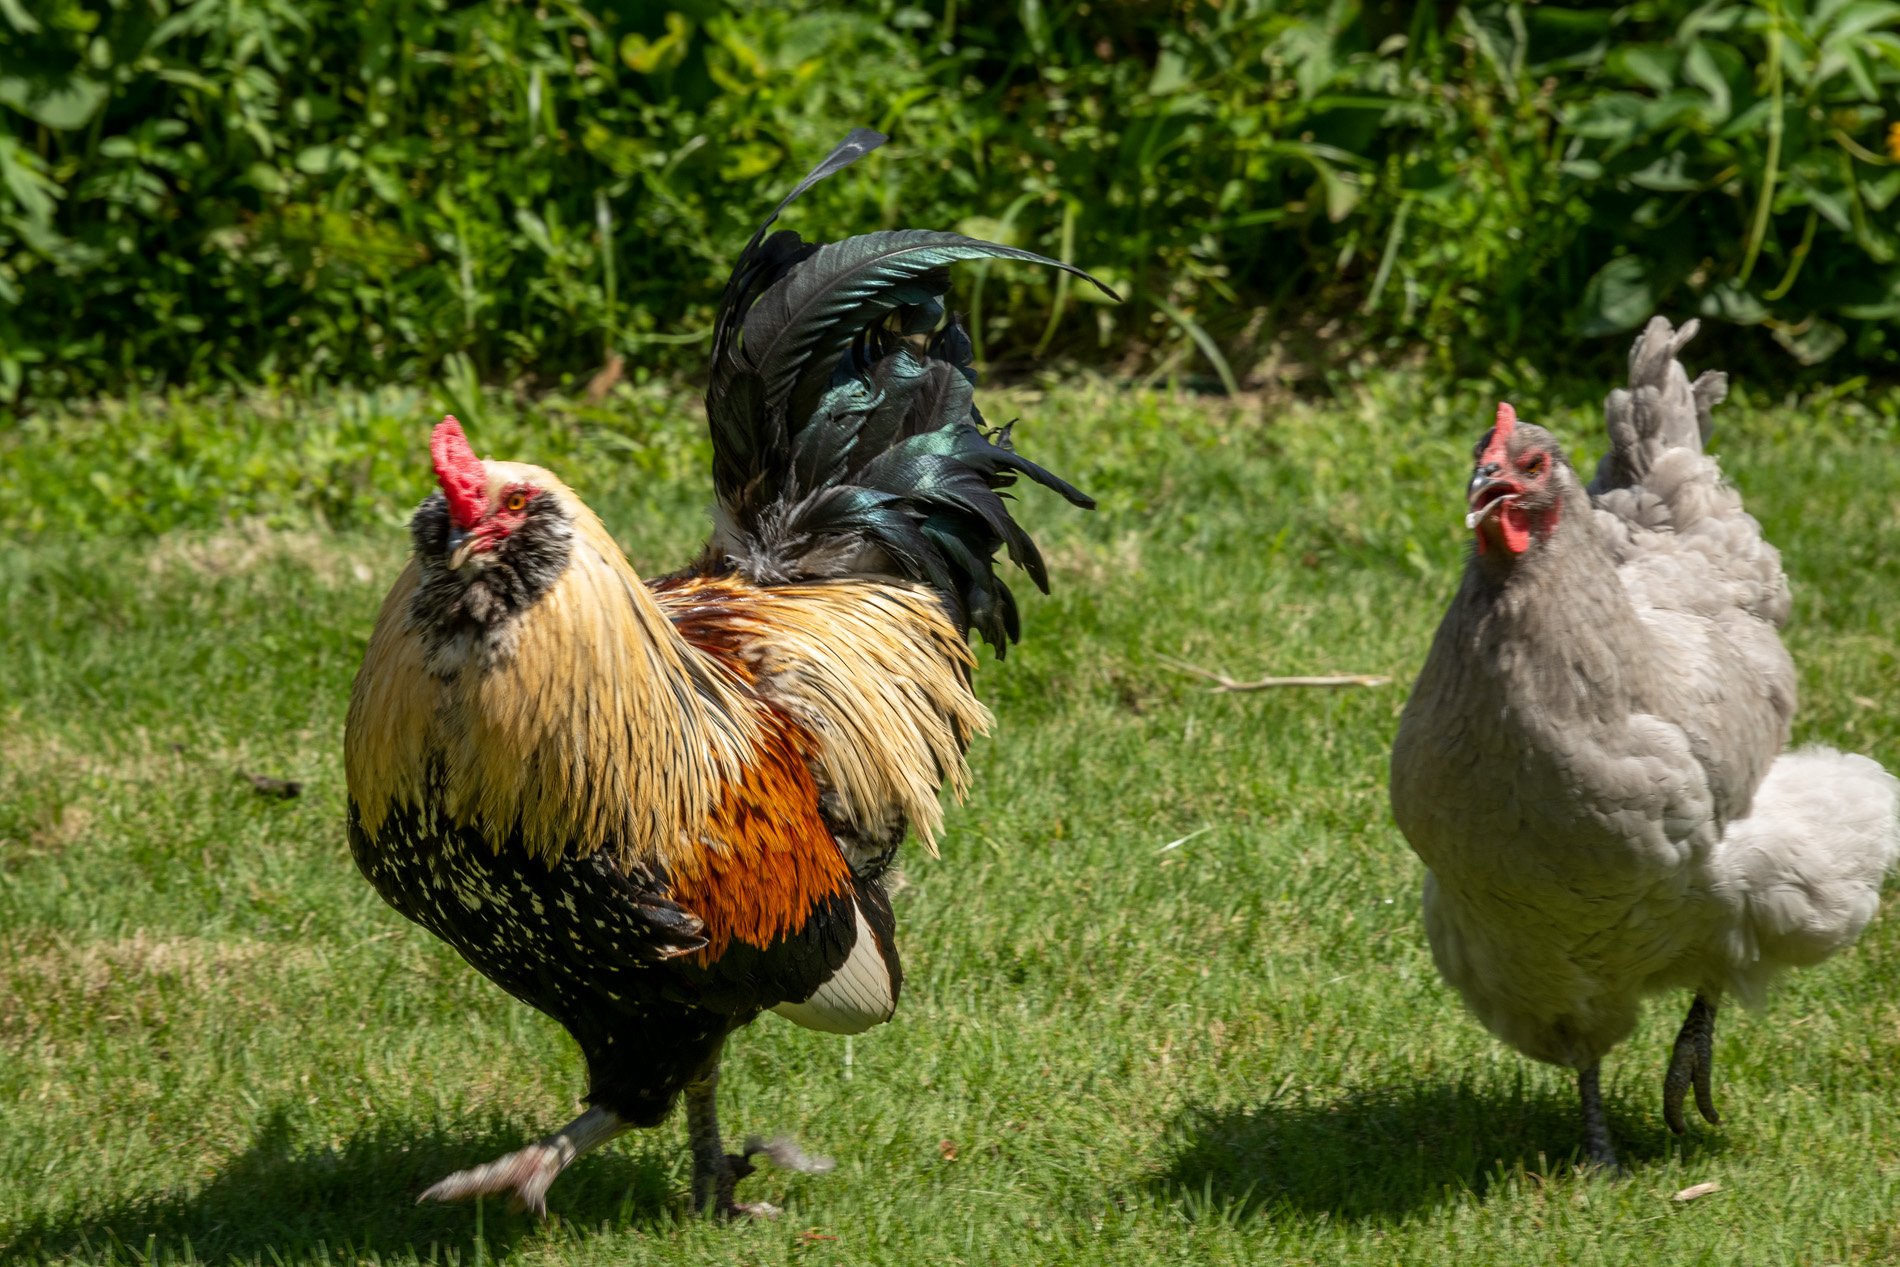
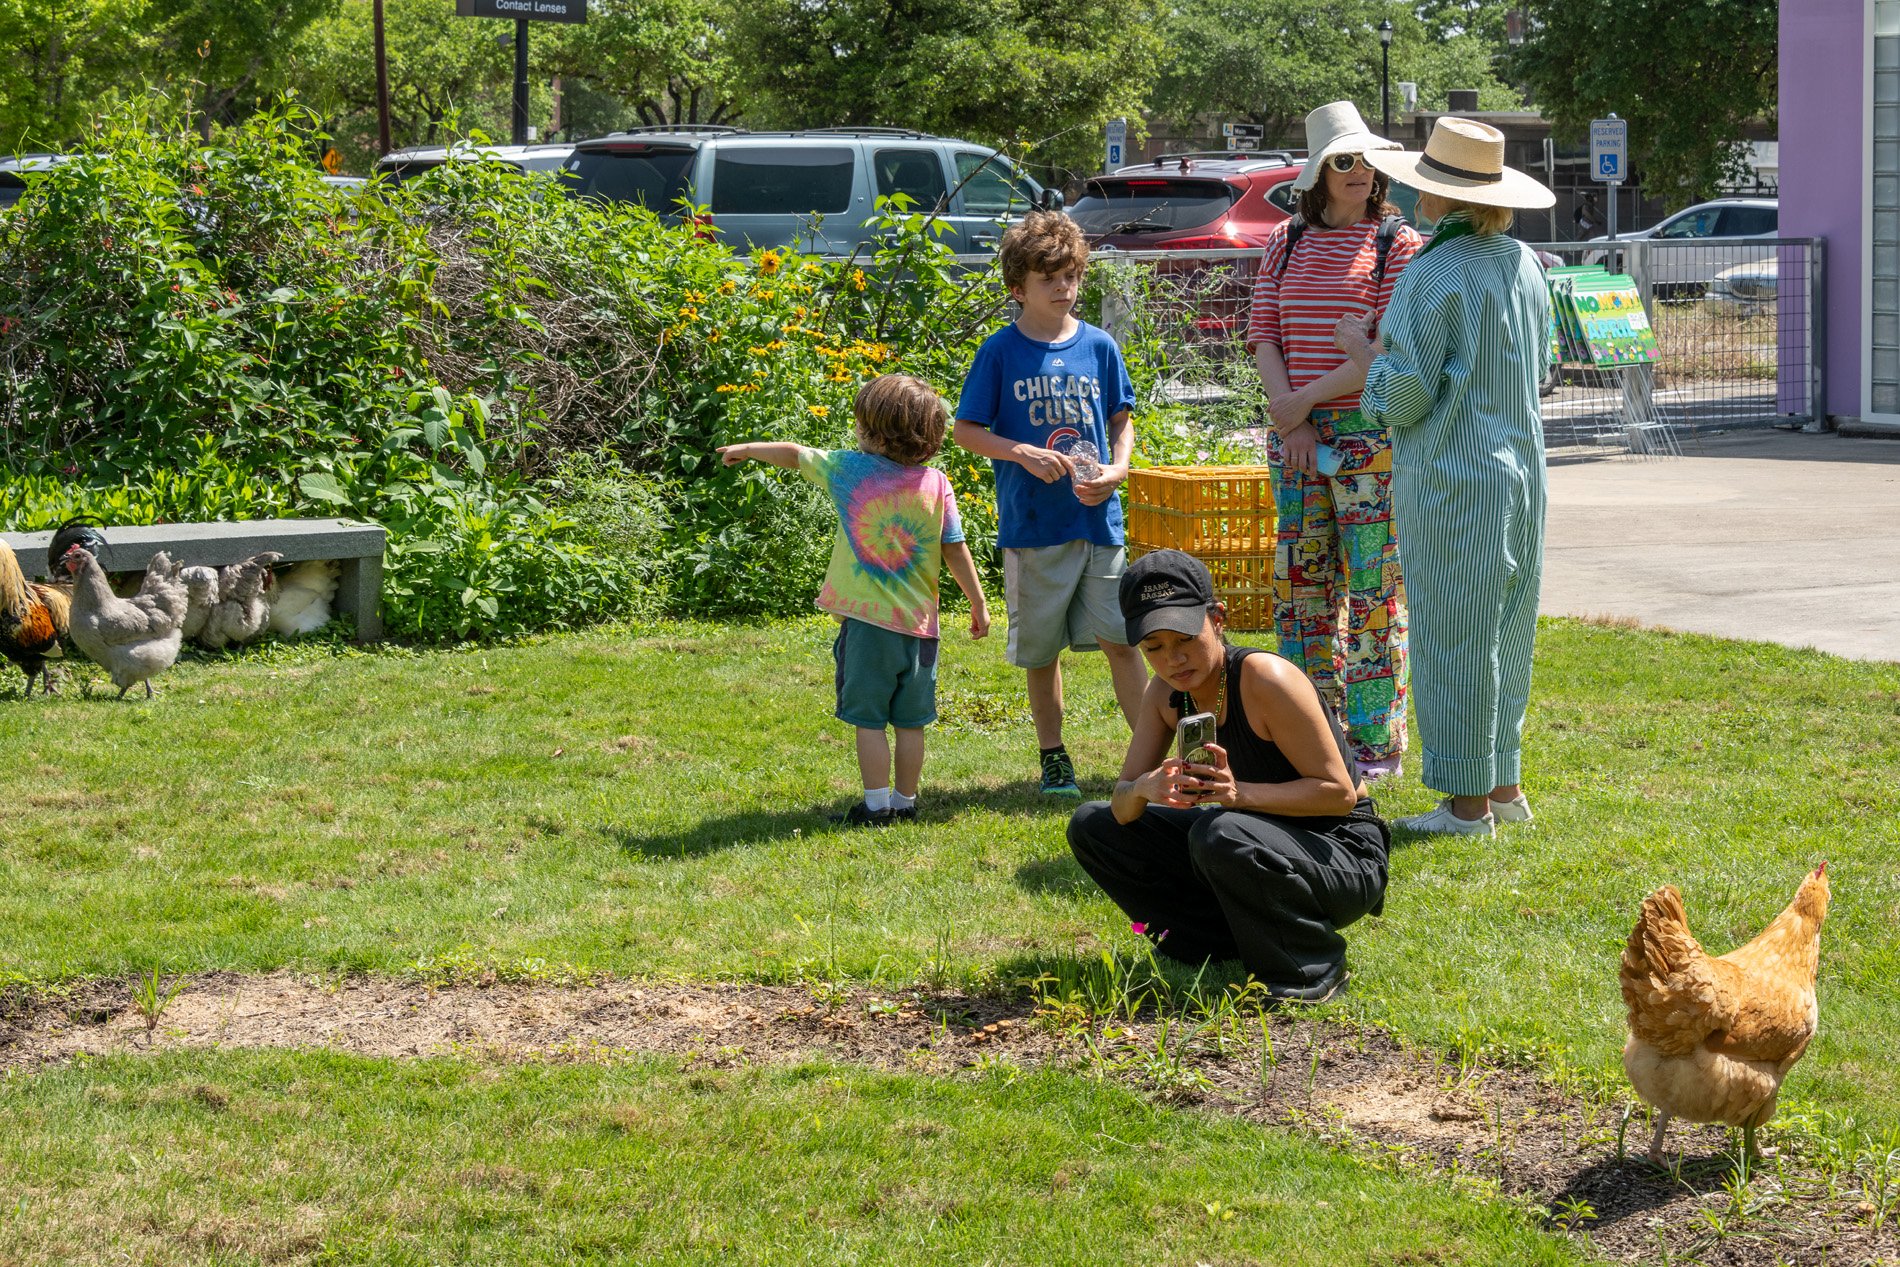
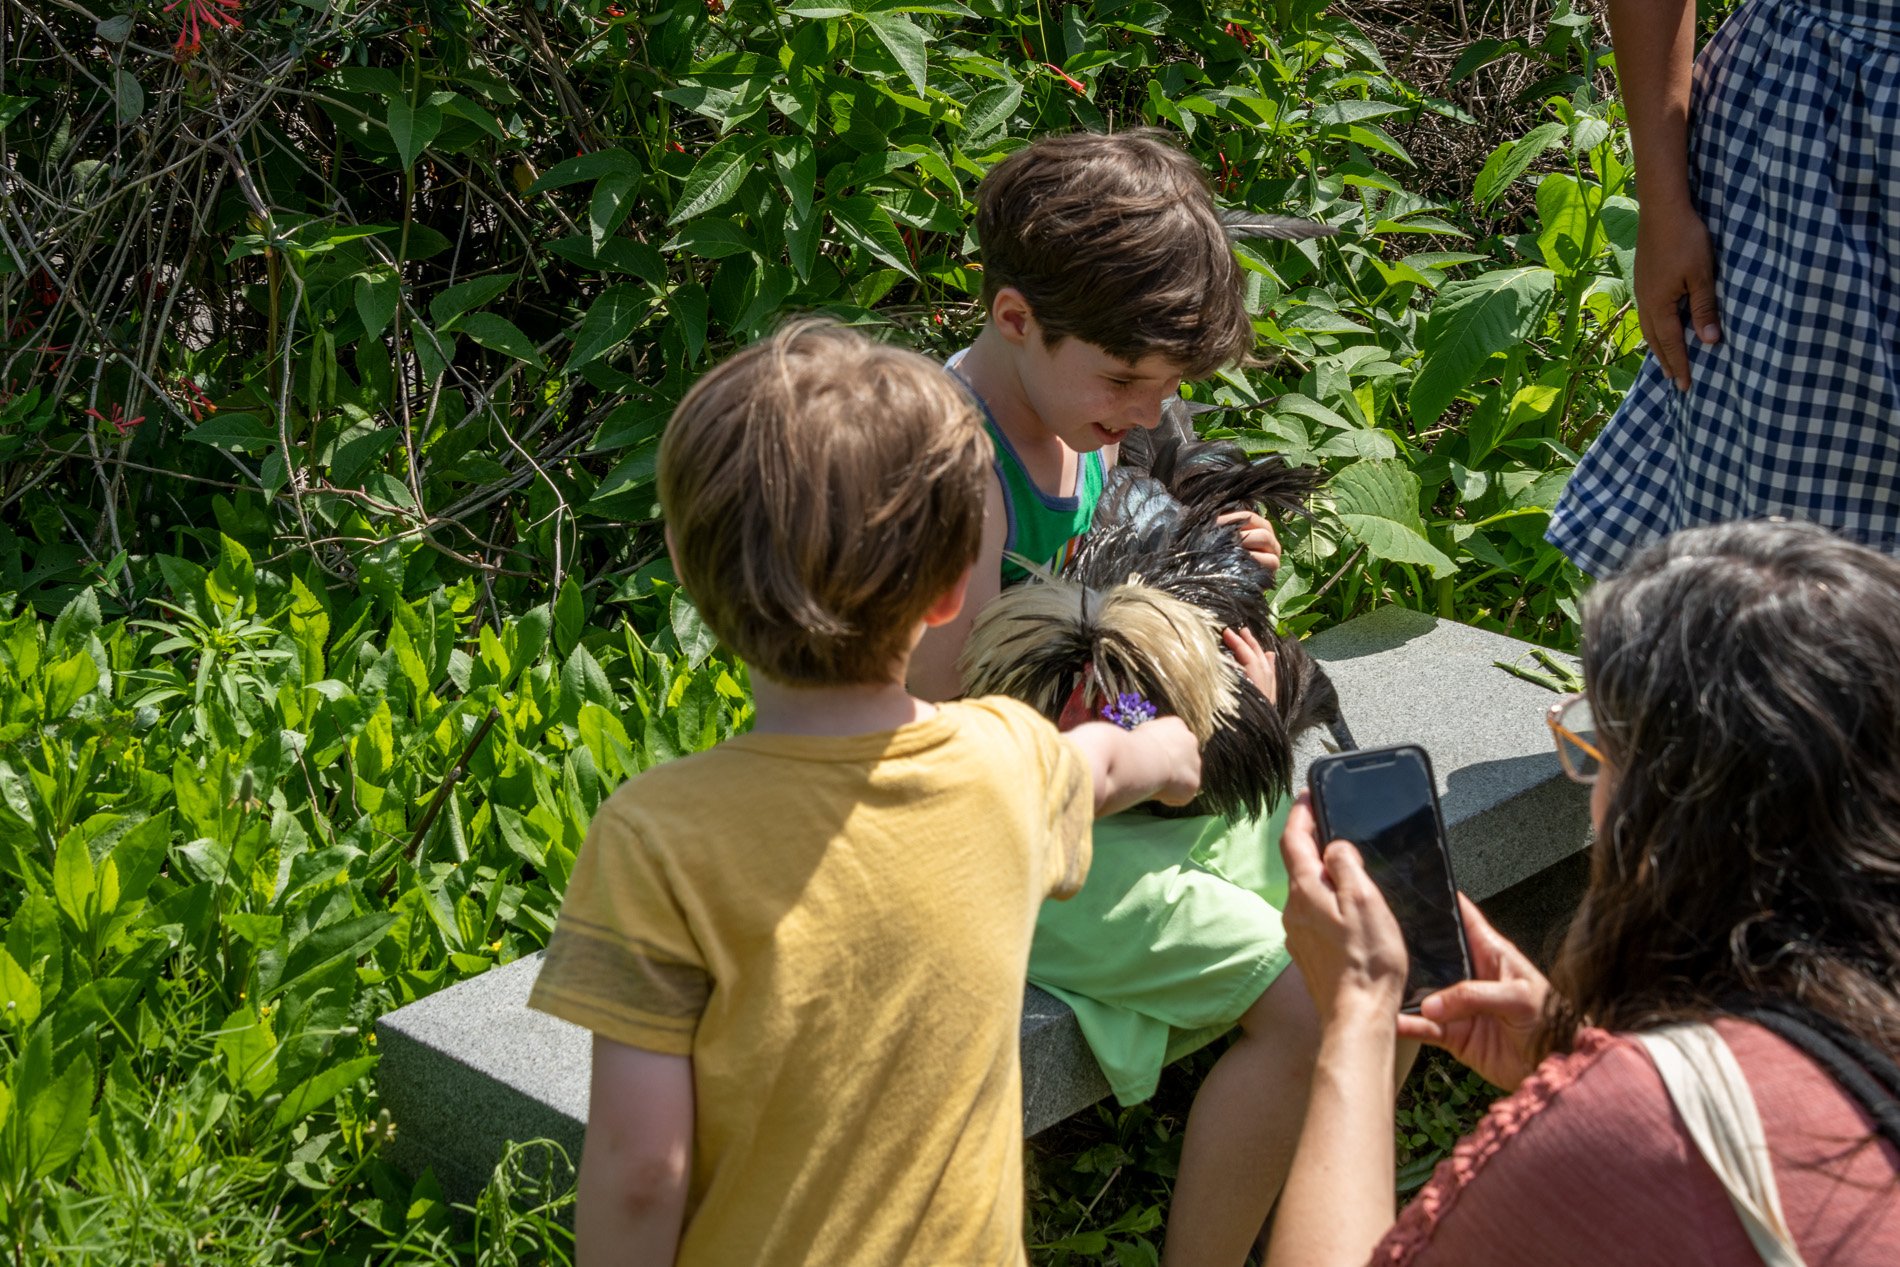
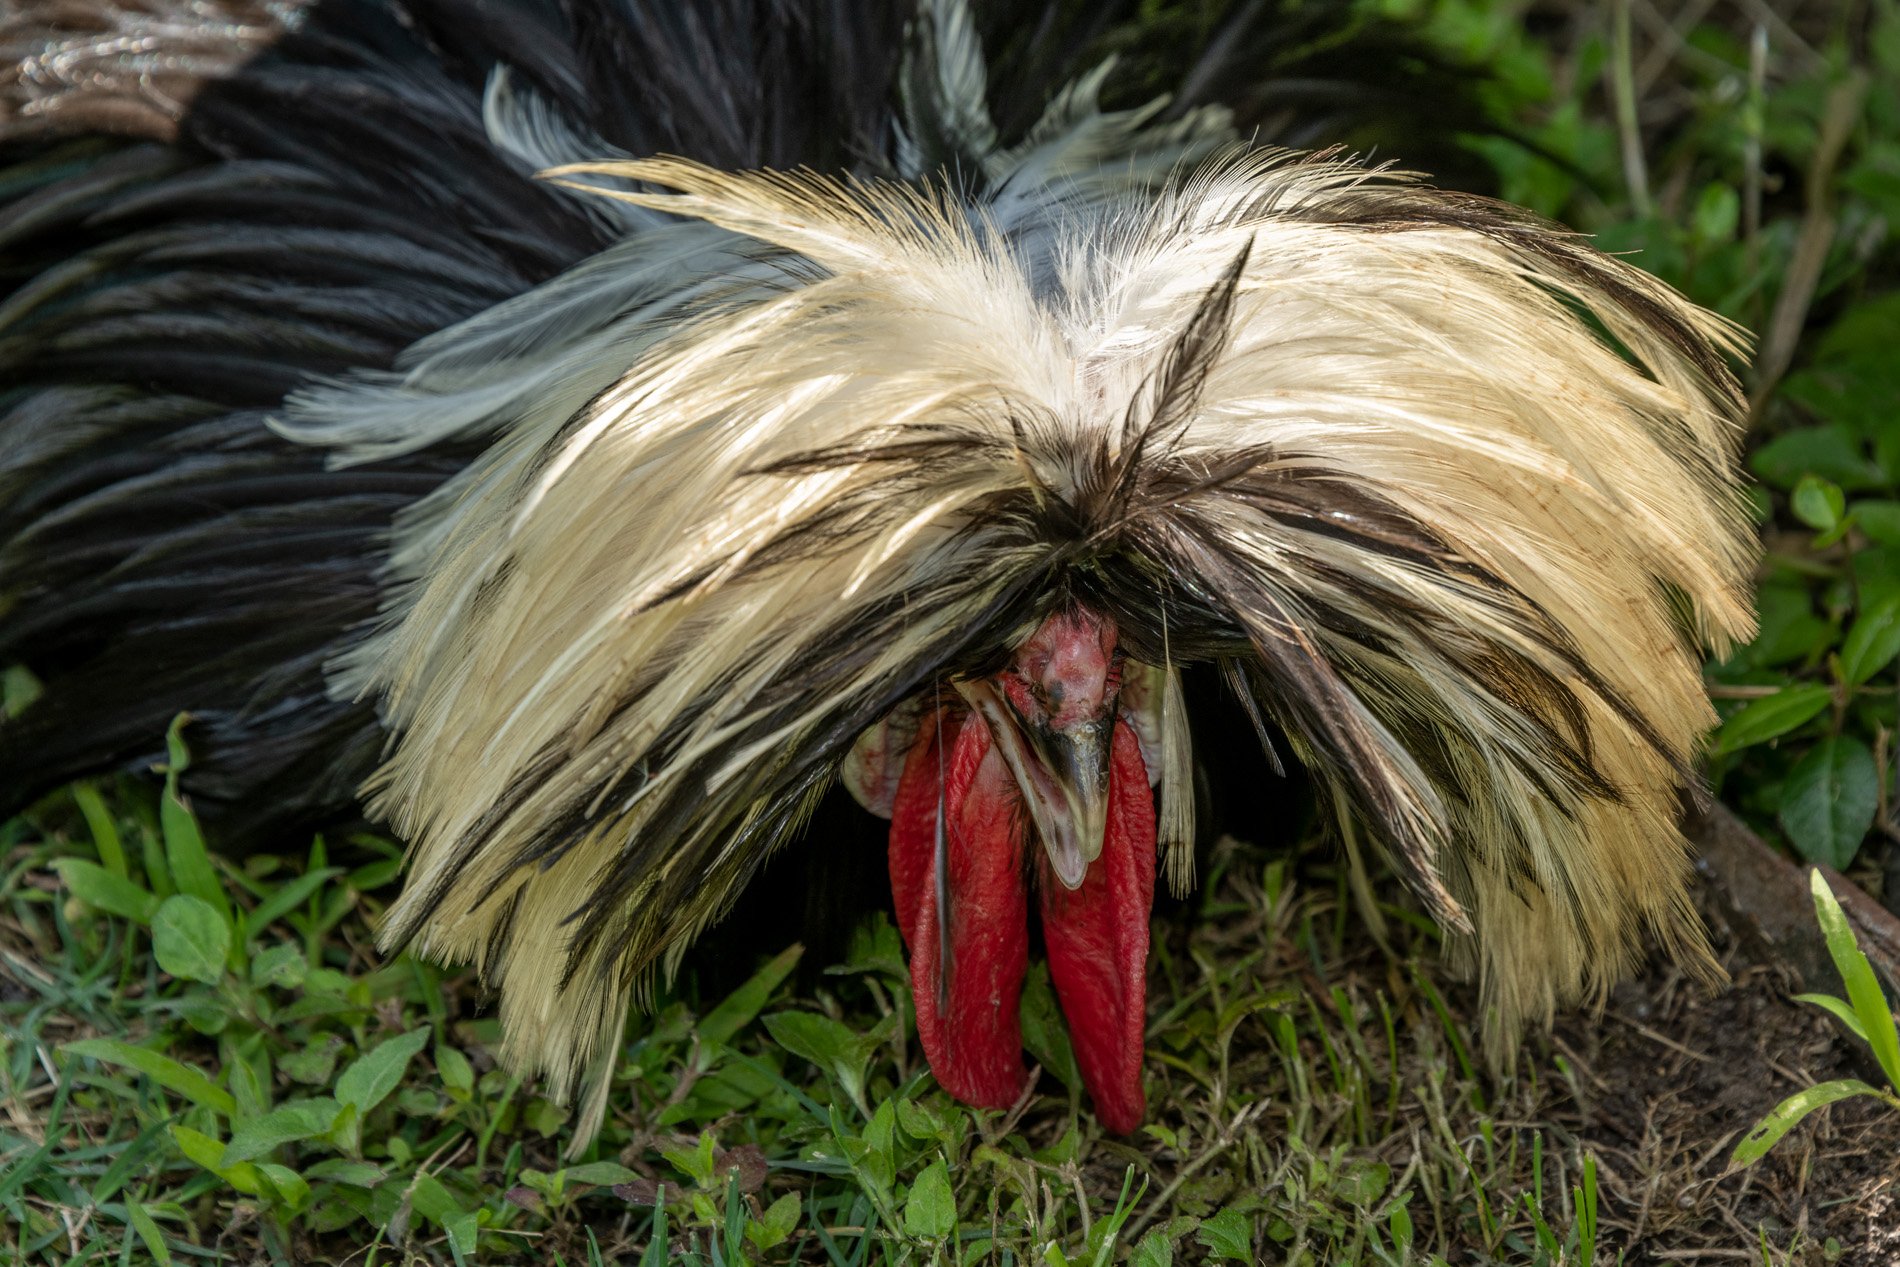
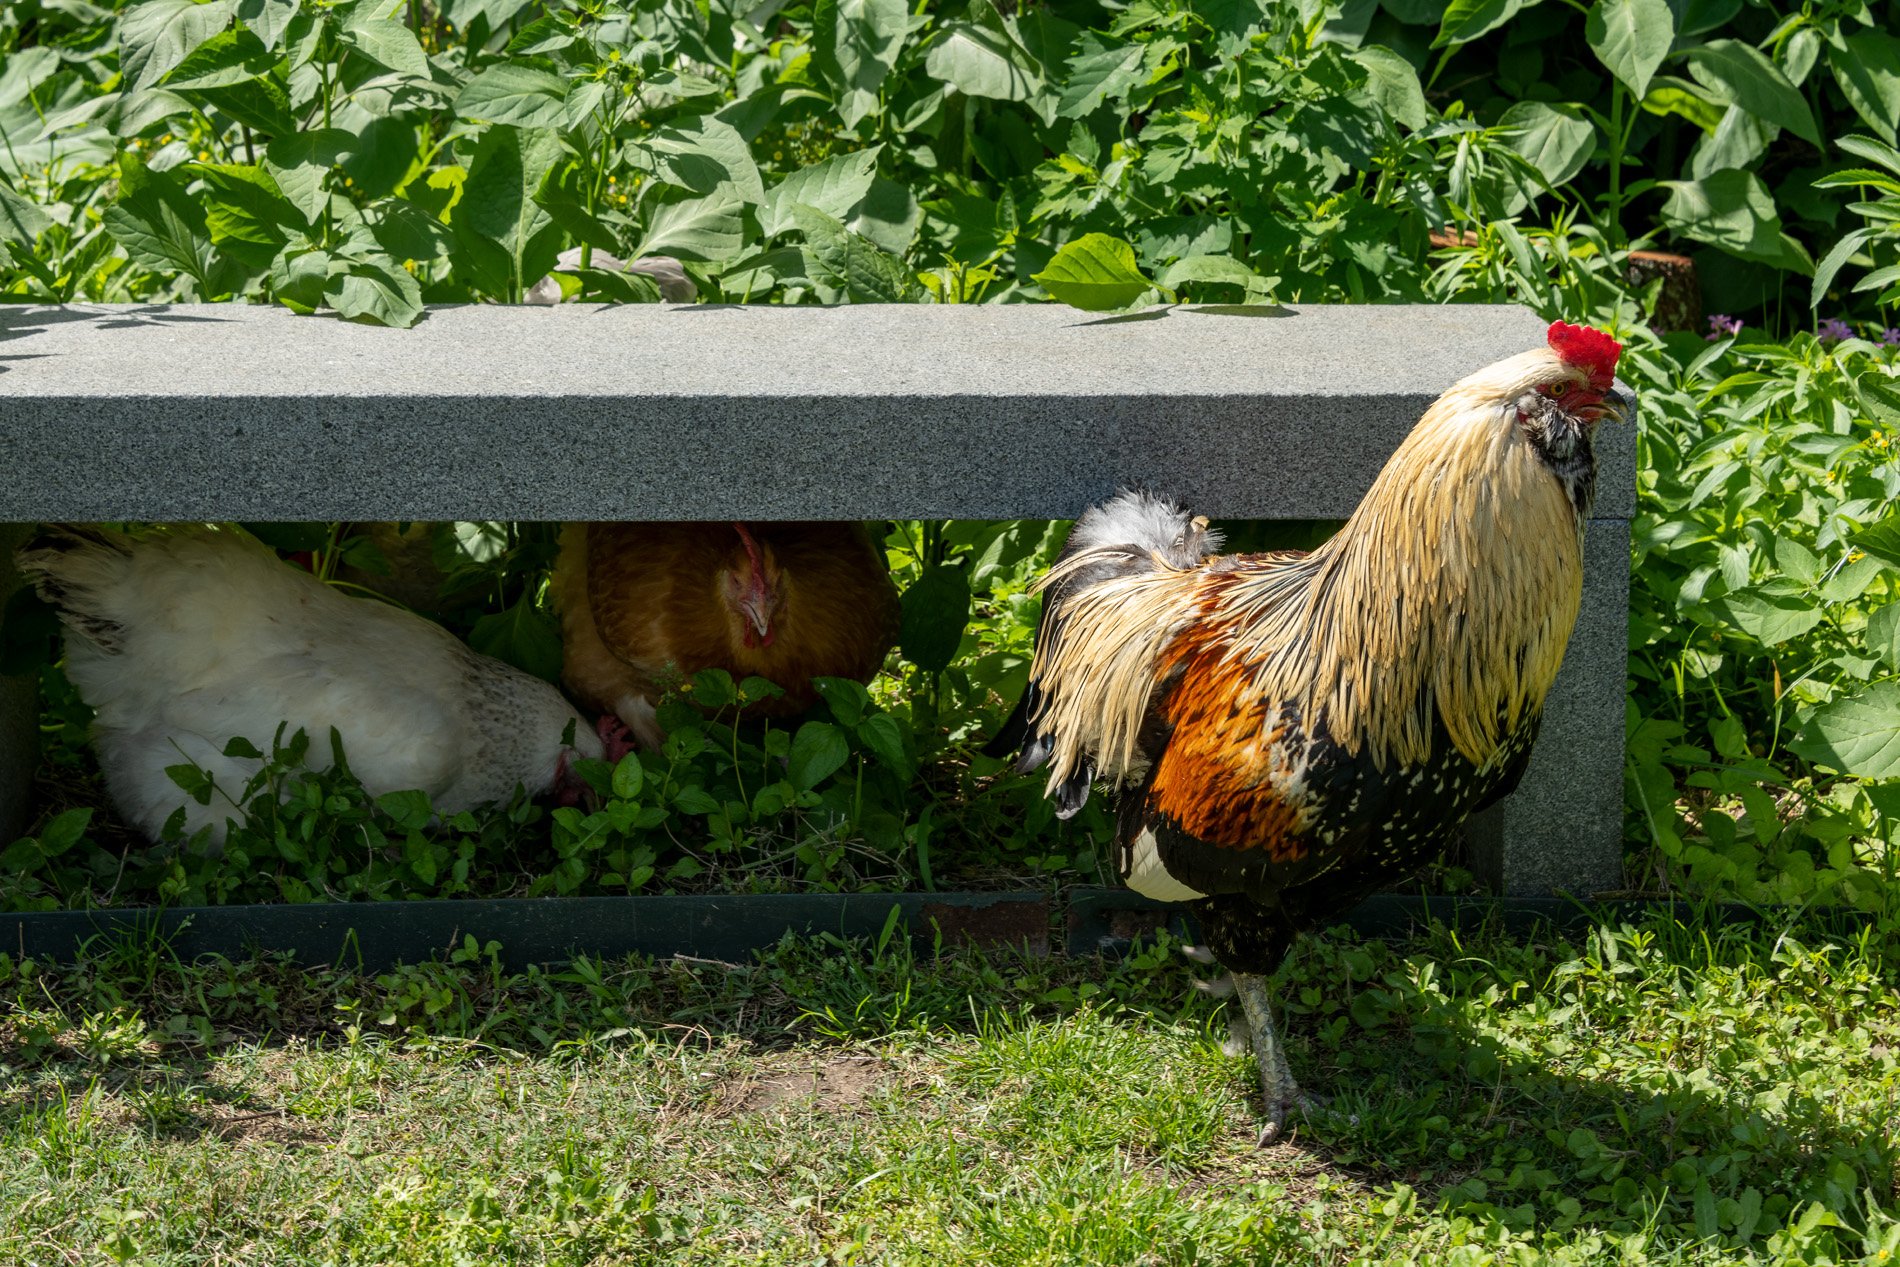
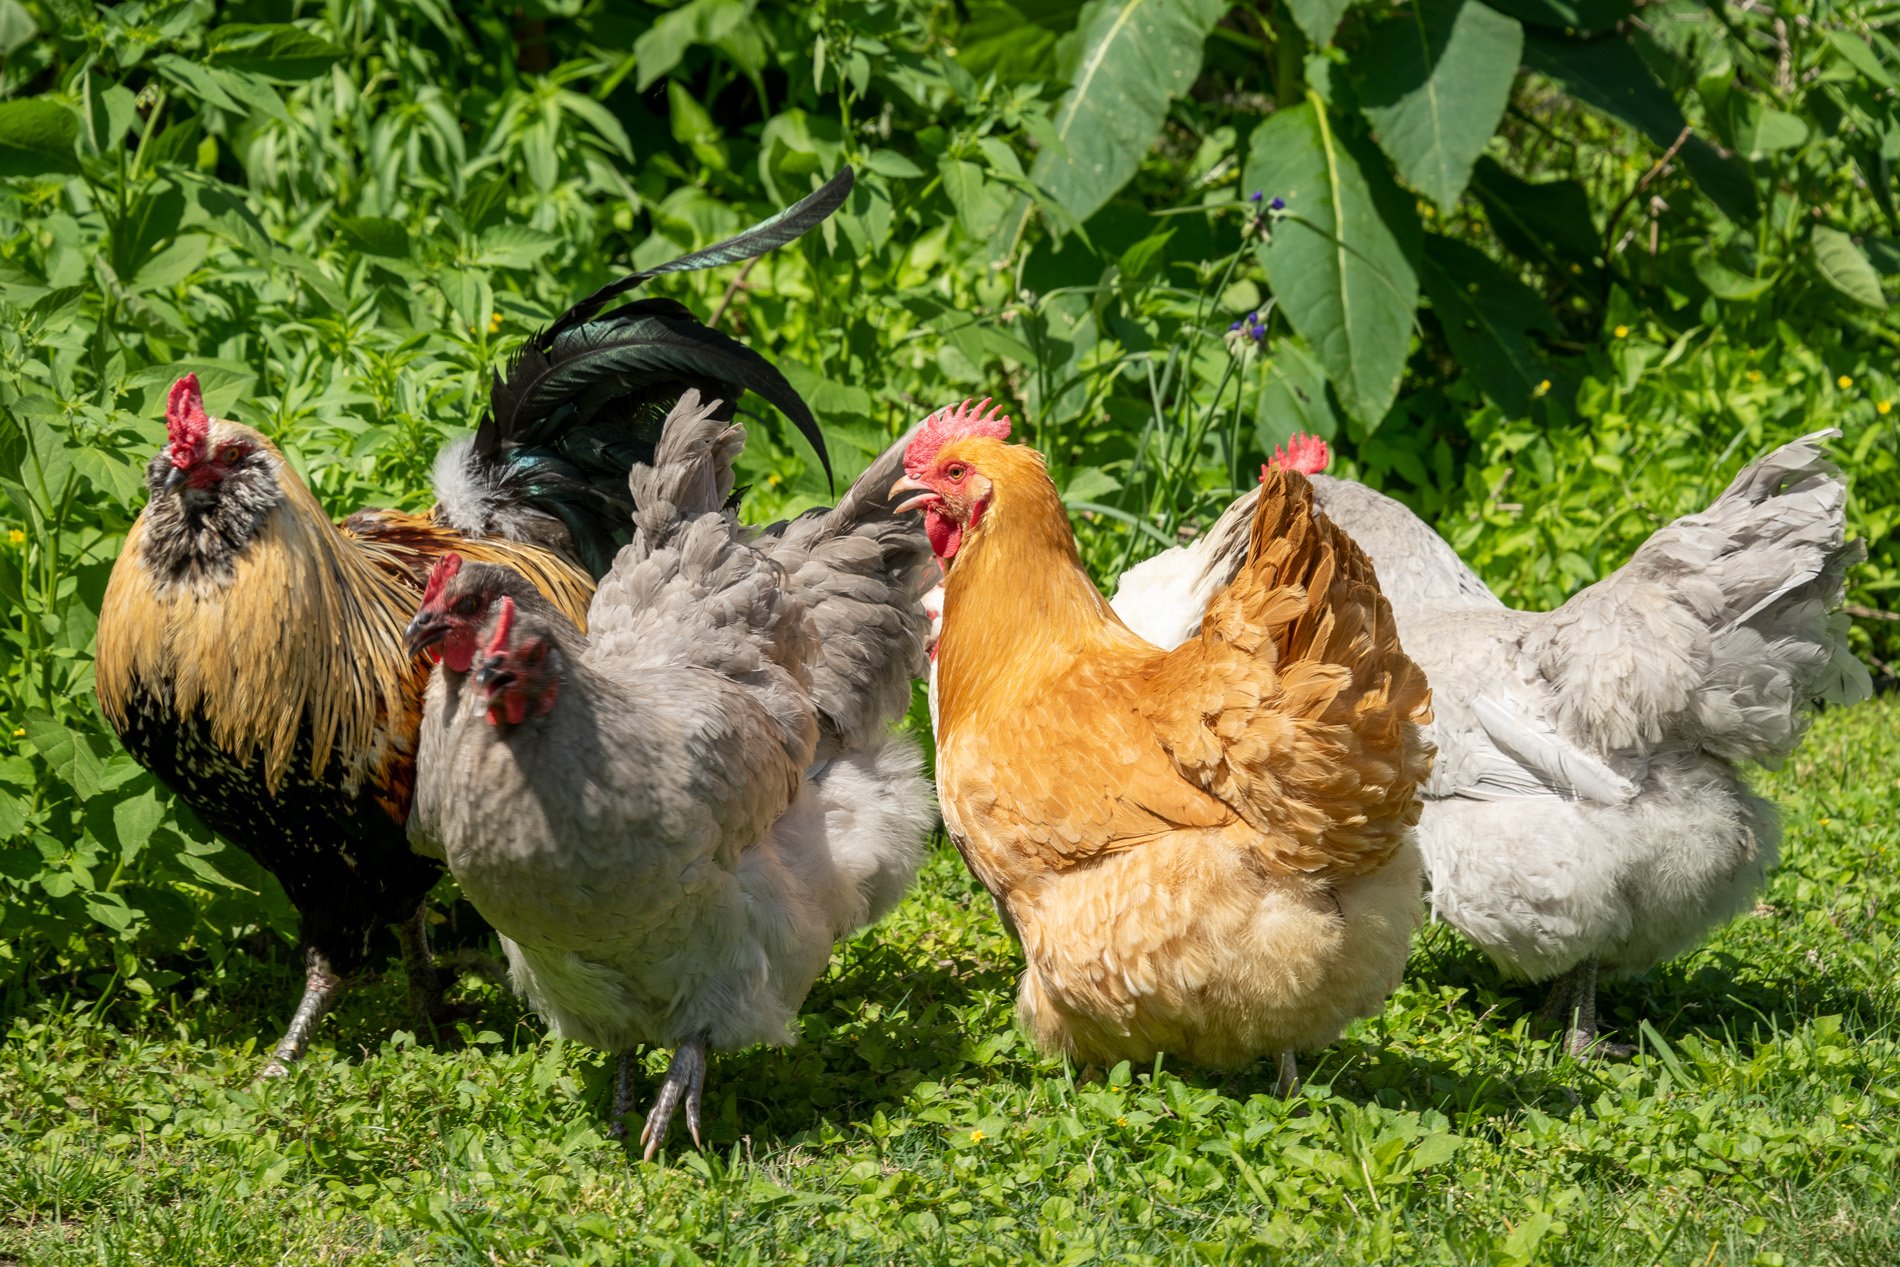
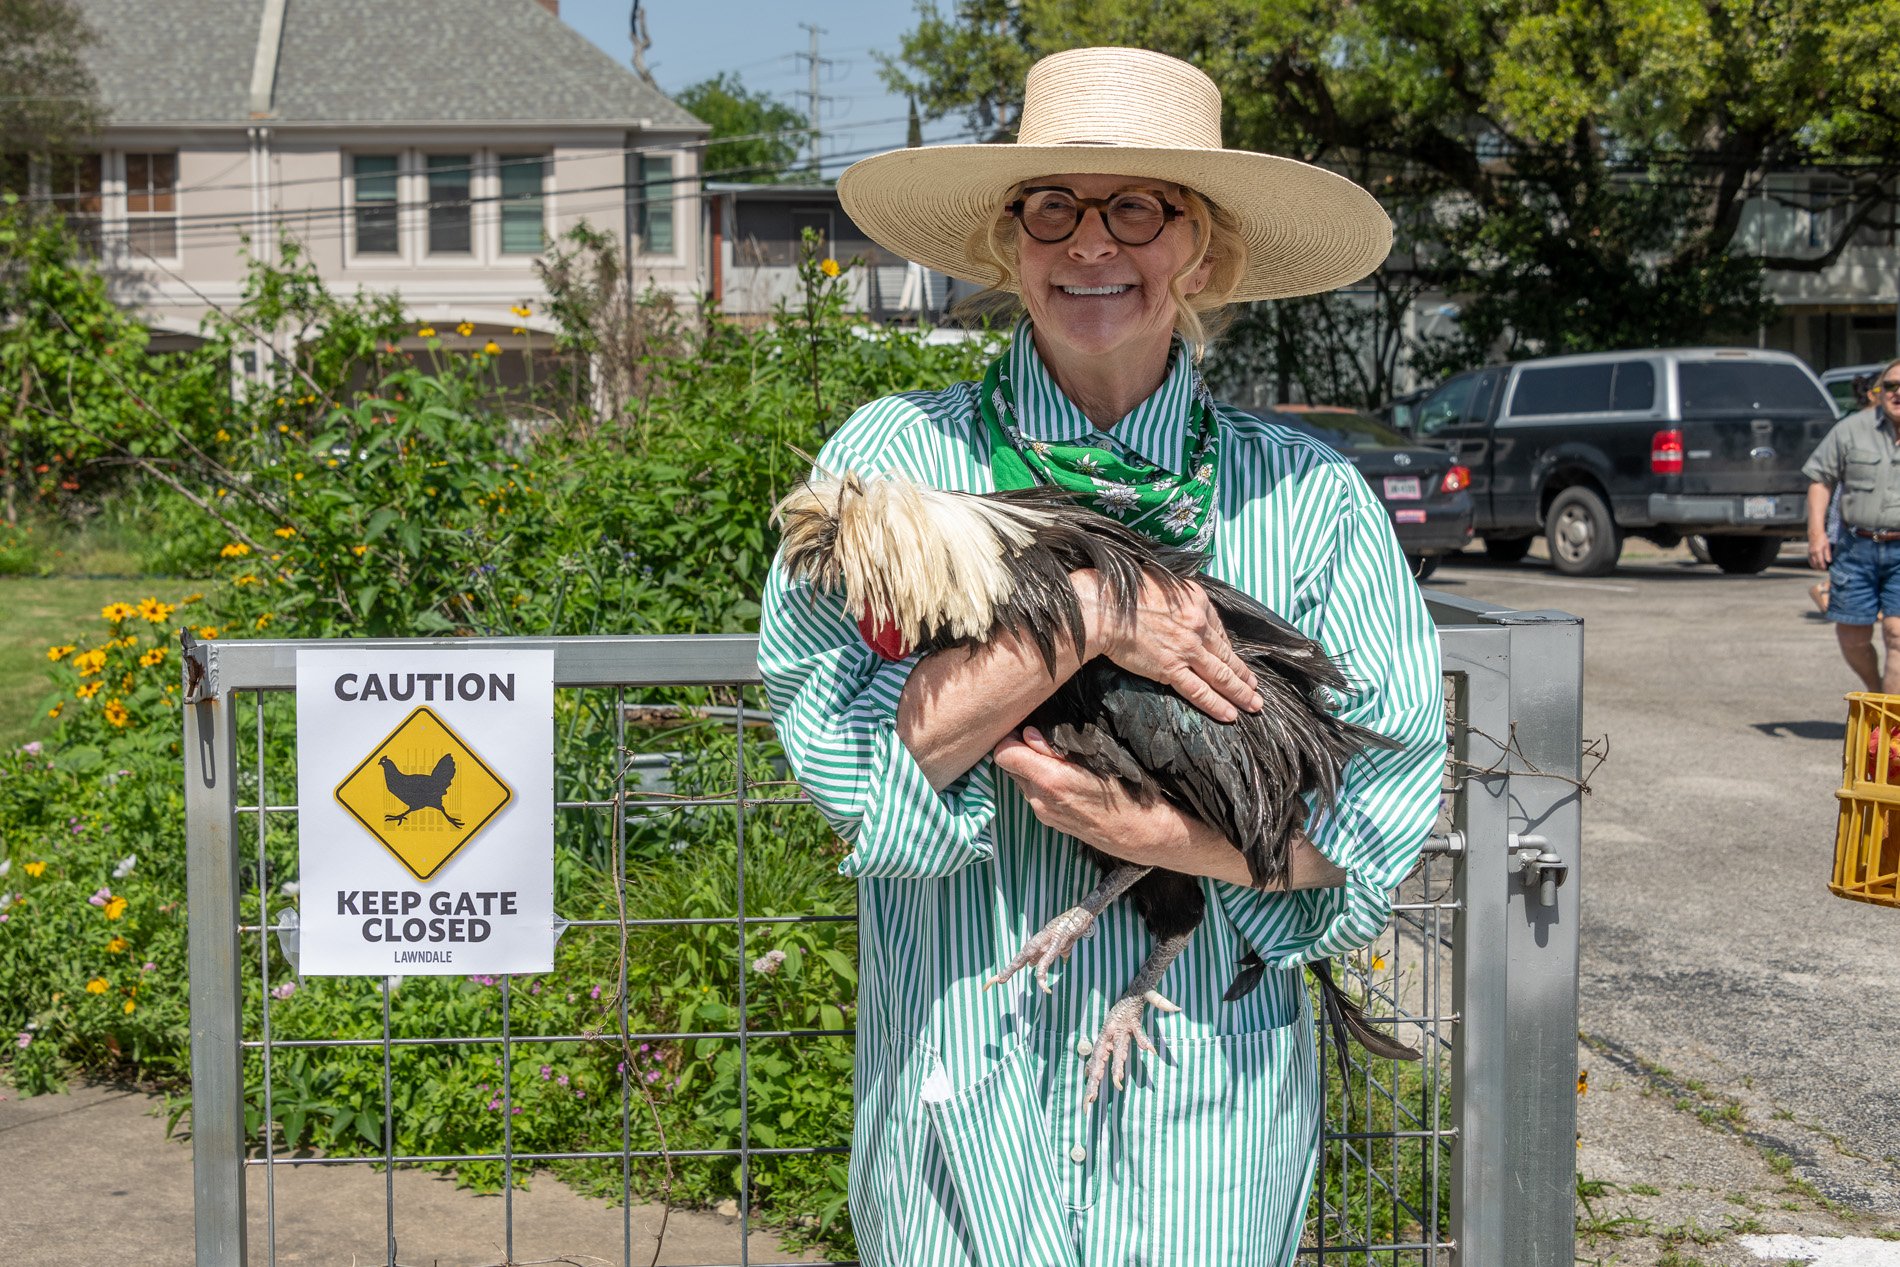
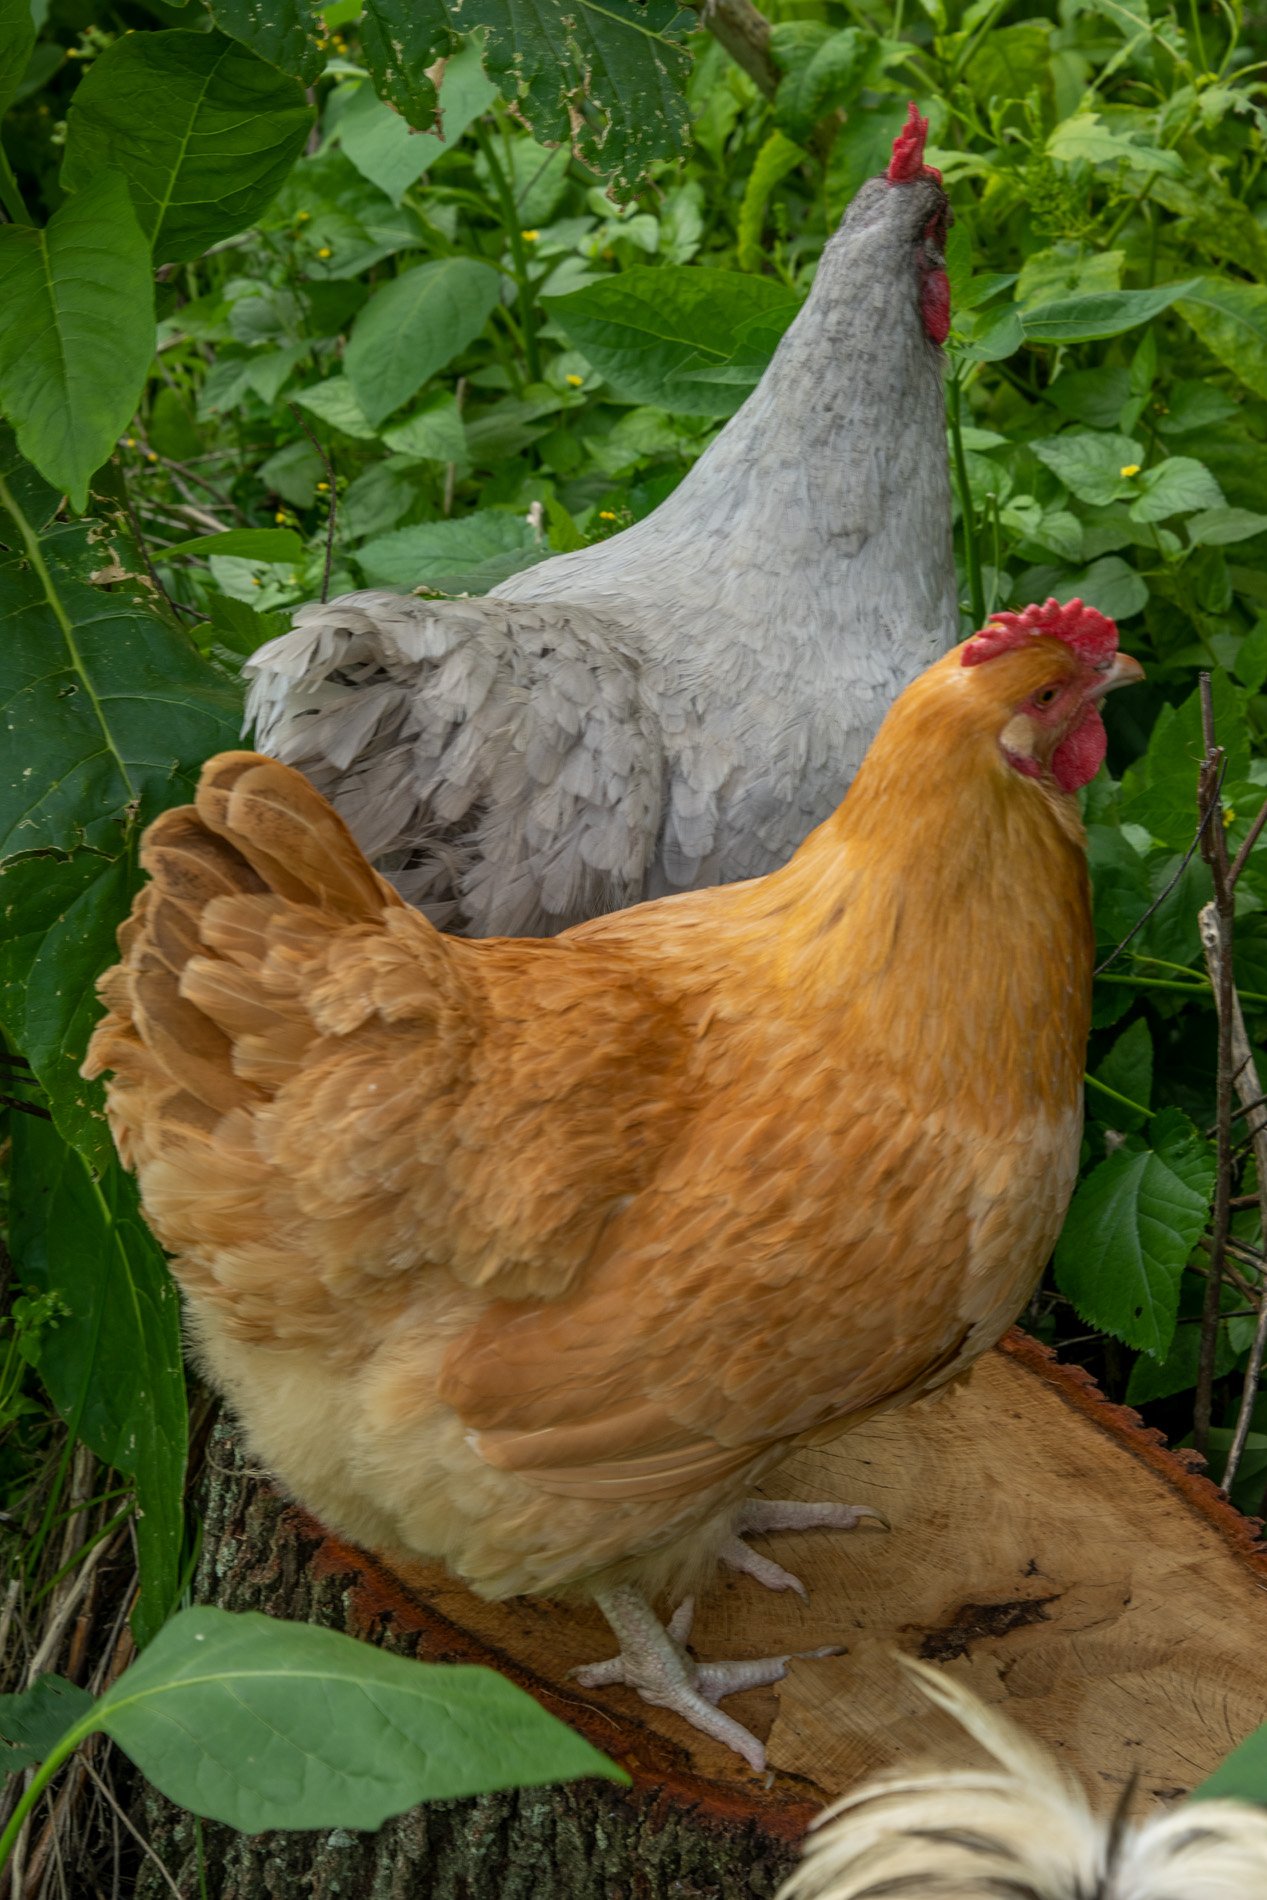
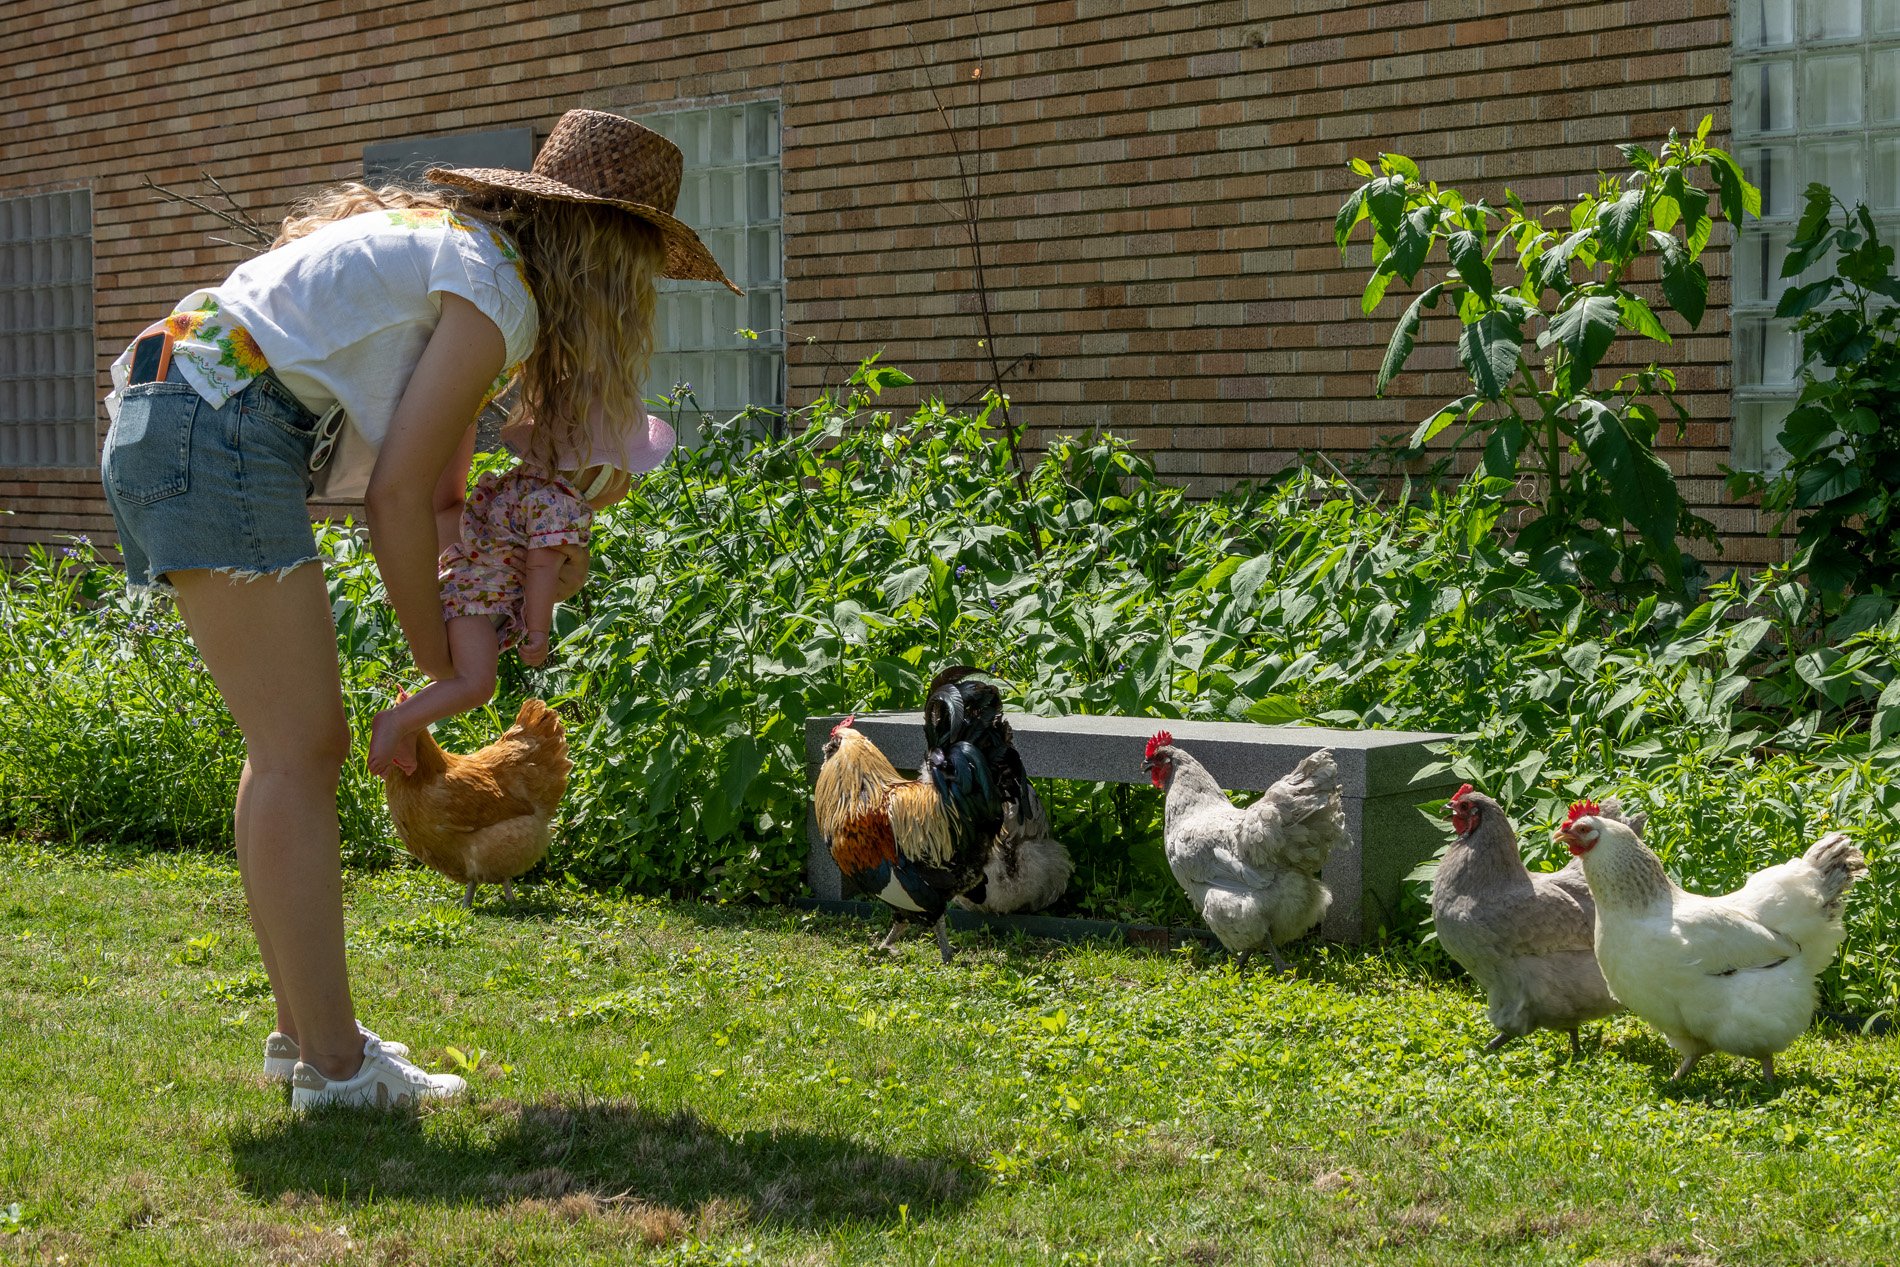
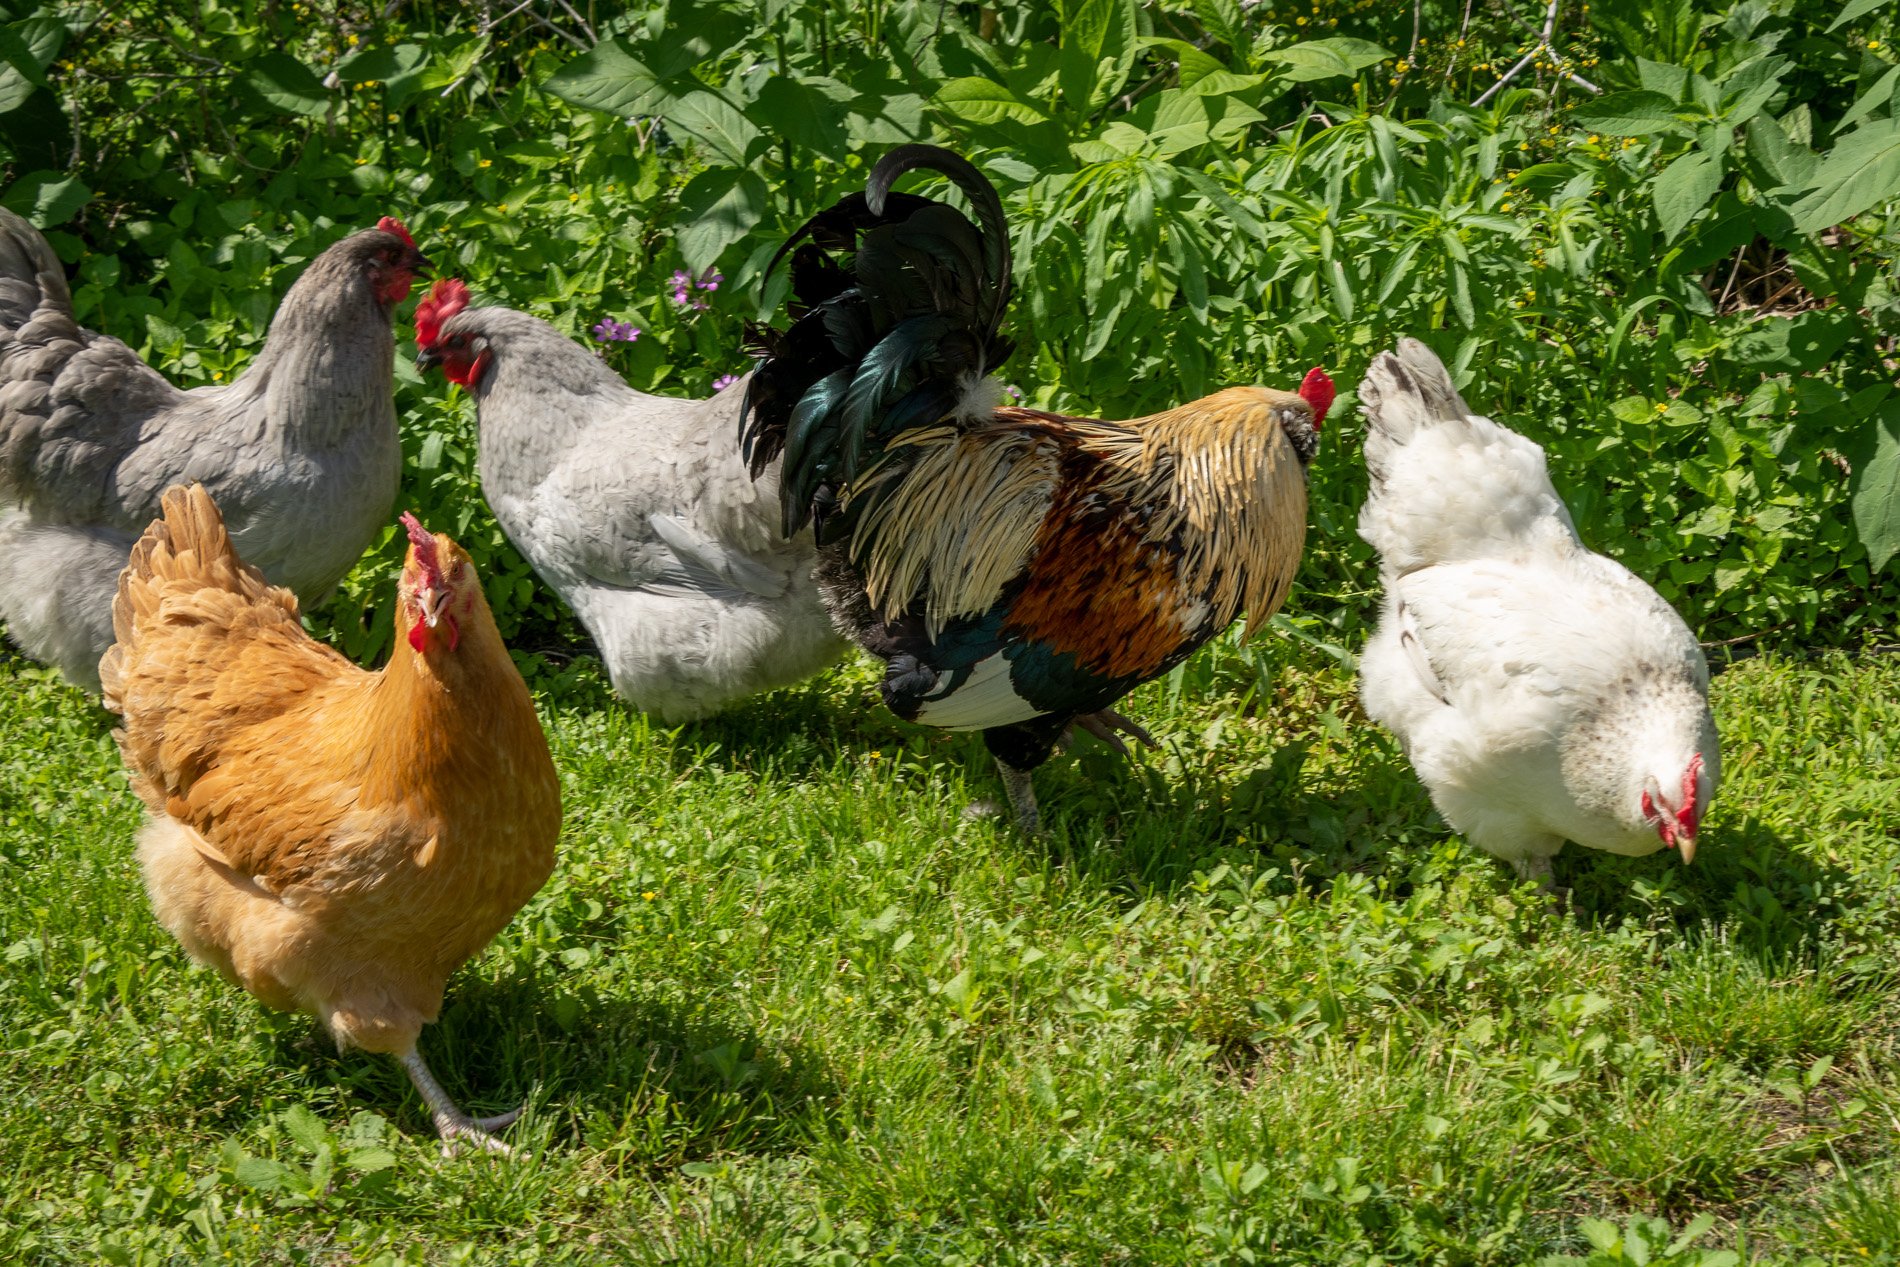
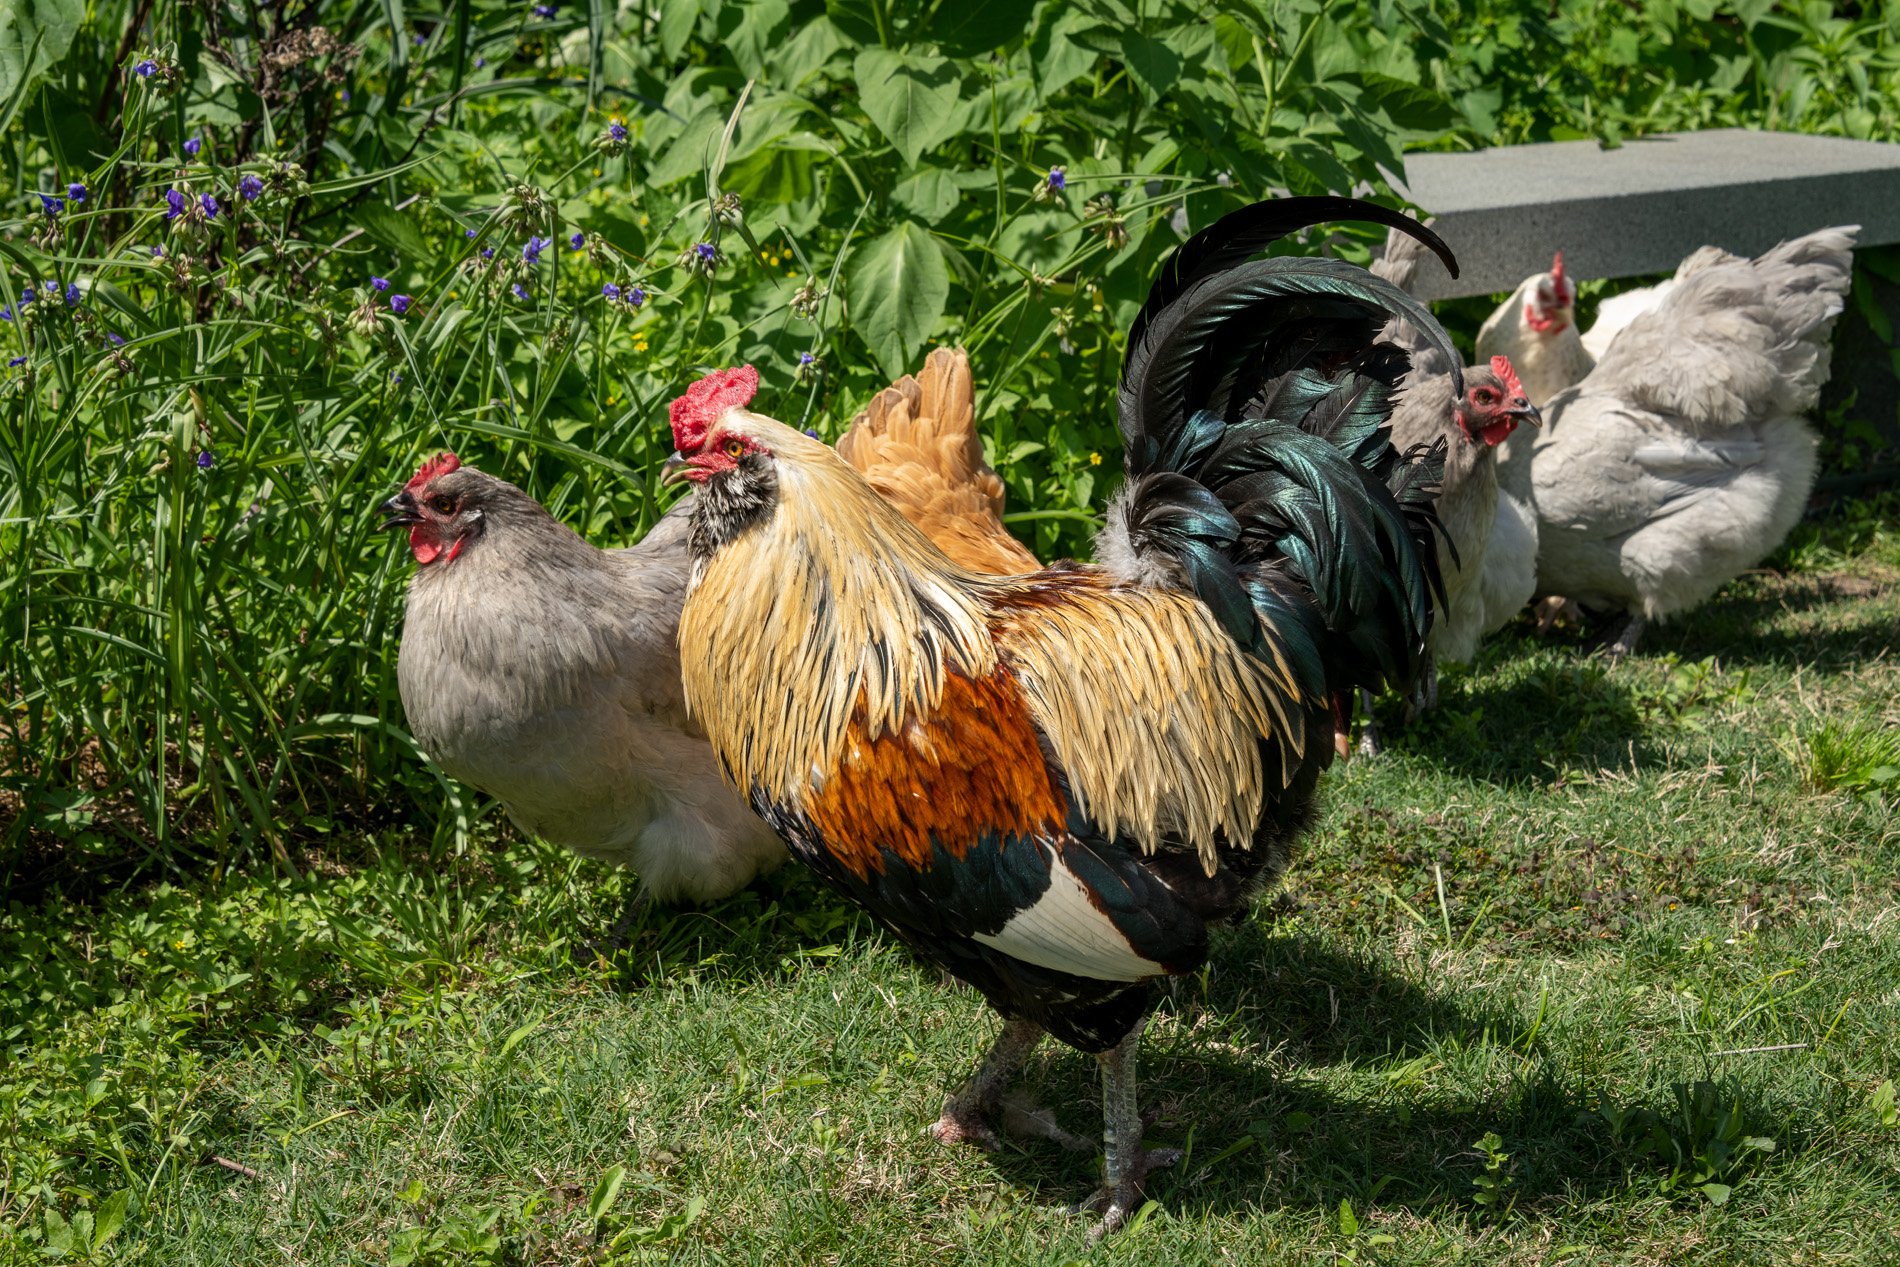
Eight chickens and two roosters were installed in Symbiosis, April 1, 2023, from 11:00-5:00

 There's more than eggs when it comes to urban chickens. Peck and Scratch is a throwback to when every family had a symbiotic relationship with these quirky feathered friends. It was common knowledge that chickens are miraculous energy transformers; they effortlessly clean up weeds and bugs from living soil while providing families with a more sustainable and cost-effective alternative to chemical pesticides and herbicides. Plus, their waste is invaluable - it replenishes the soil with much-needed nutrients for plants to thrive. In addition, the protein-packed eggs they lay contain all the amino acids necessary for promoting brain health for early childhood development.
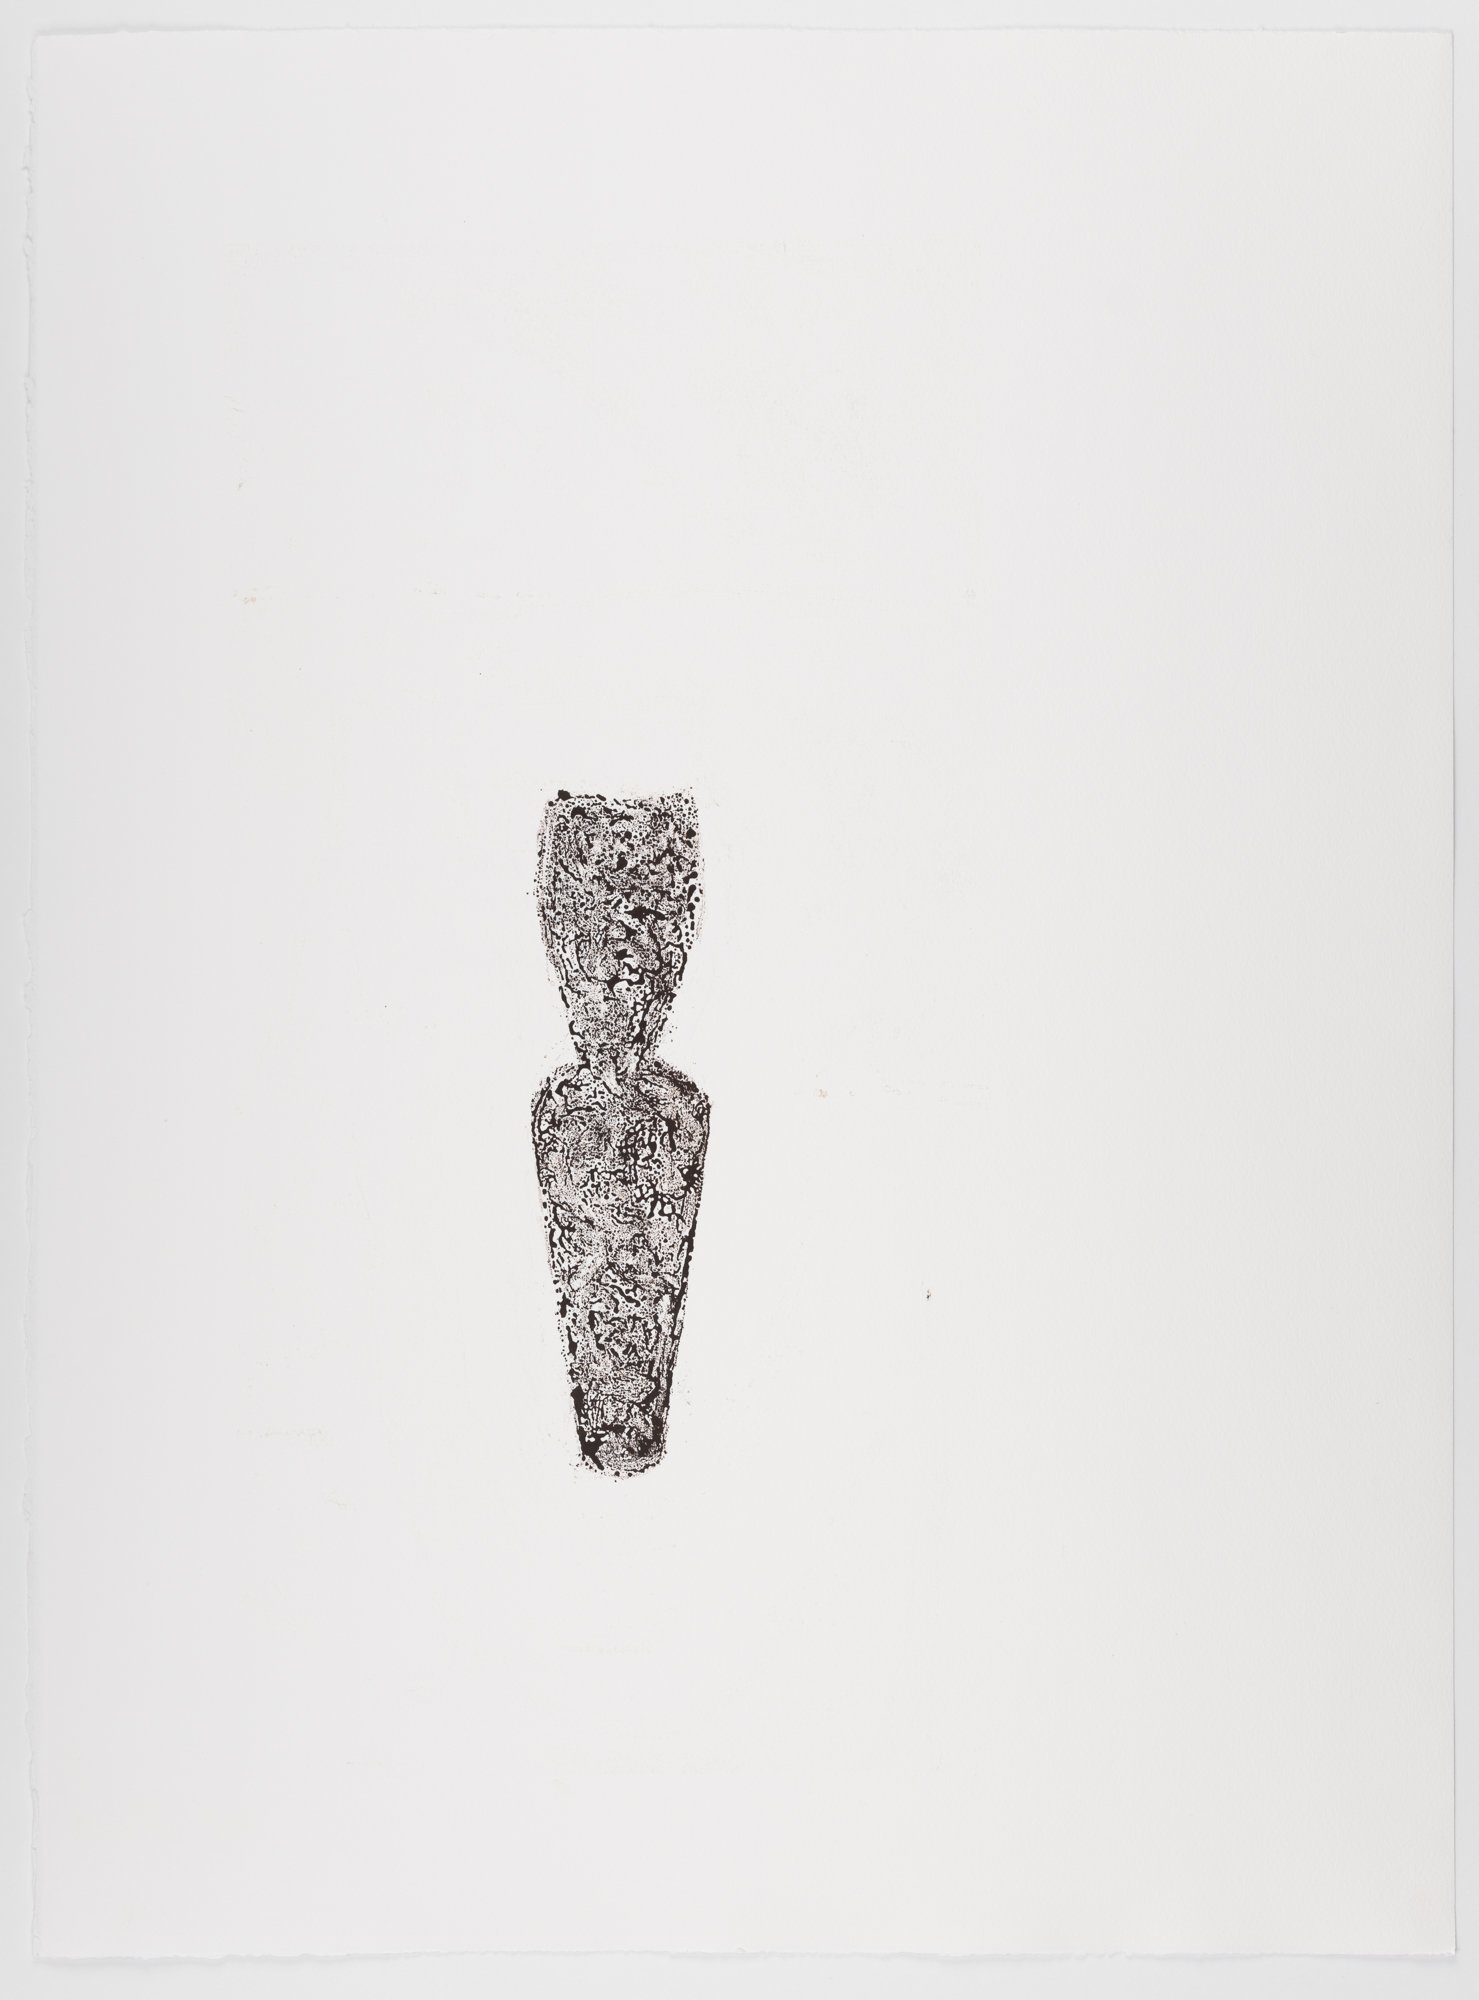
By offering a cozy environment, refreshing water, and a lush habitat, we're showing gratitude towards our curious and joyful friends and providing them a safe home away from potential harm. Instead of supporting factory farms, our chickens deserve to thrive in an ecosystem filled with living soil and all the essential components they need to lead happy, healthy lives.

It's time to think outside the (takeout) box and invest in the power of urban chickens.

Expecting a grandchild- sunflower

It is a heart warming privilege to craft something from the heart for two special souls my son Griffin and our precious daughter in law Alex both who have deep ties to nature.
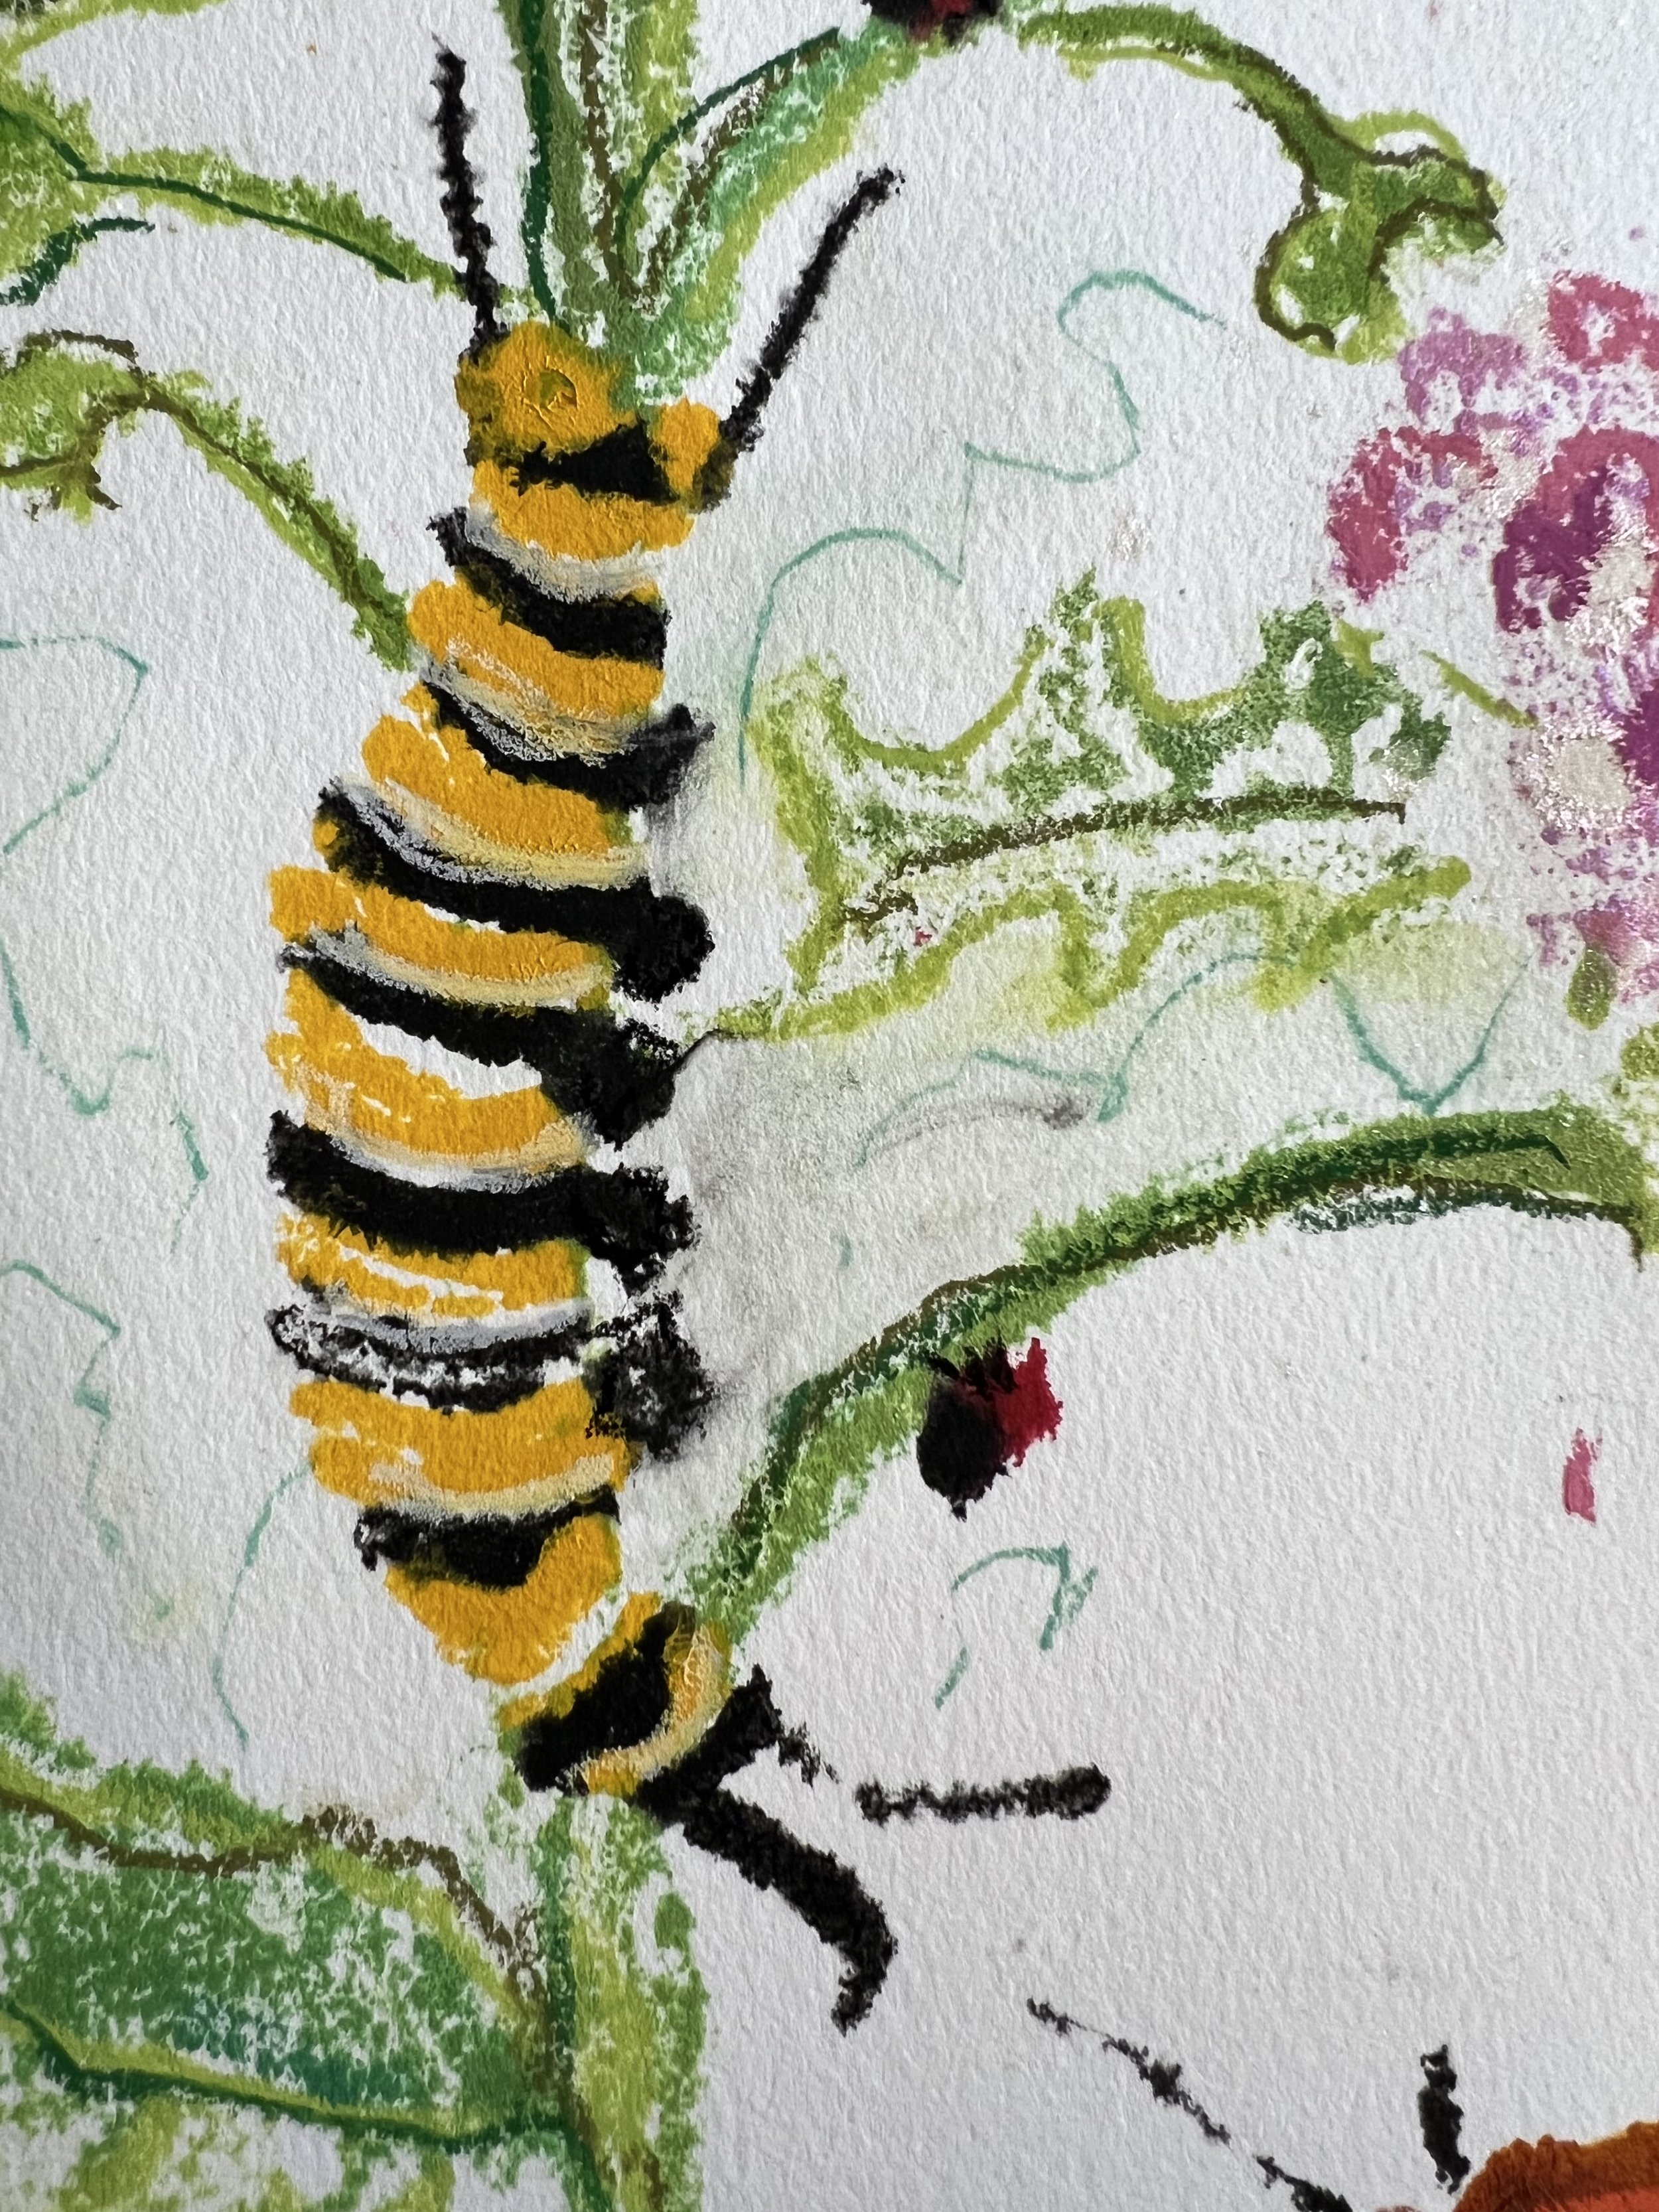
Around each giant sunflower bloom lies bountiful tiny creatures and details designed specifically for their new born’s imagination. Being able share my joy as these parents-to-be anticipate the birth of their little one makes me feel truly honored!

"Baby klement’s Ecosystem"

watercolor and pastel monotype

30" X 44"

Field mouse and  American beautyberry

A Field mice enjoying a snack of American beauty berry

Gulf Fritillary caterpillar in the “J” stage of metamorphosis.

Monarch caterpillar, aquatic milkweed, Monarch chrysalis, Purple coneflower, wasp, dragonfly

On a personal note- Griffin and Alex have not picked a name so I think of our future granddaughter as Sunflower.