One of the most coveted words an artist can hear or receive in an email is “invited”
I am so pleased and grateful to have a piece selected. 🙏
Seven cyclist
Your Custom Text Here
One of the most coveted words an artist can hear or receive in an email is “invited”
I am so pleased and grateful to have a piece selected. 🙏


Seven cyclist
What a relief, I was able to get the piece in my car and to the sheet metal fabricators. .


The sheet Metal fabricators did a beautiful job leveling the steel base.

With this cold weather it is nice to get out of the garage and working inside my studio.
I will take down all the drawings, I want them to be very pressed for the exhibit and I need a clean wall to use as a backdrop as I work on the next stage of the sculpture . In order to press them I bought two pieces of sheet rock to press them under. I also stack my bronze hats on them for extra weight.

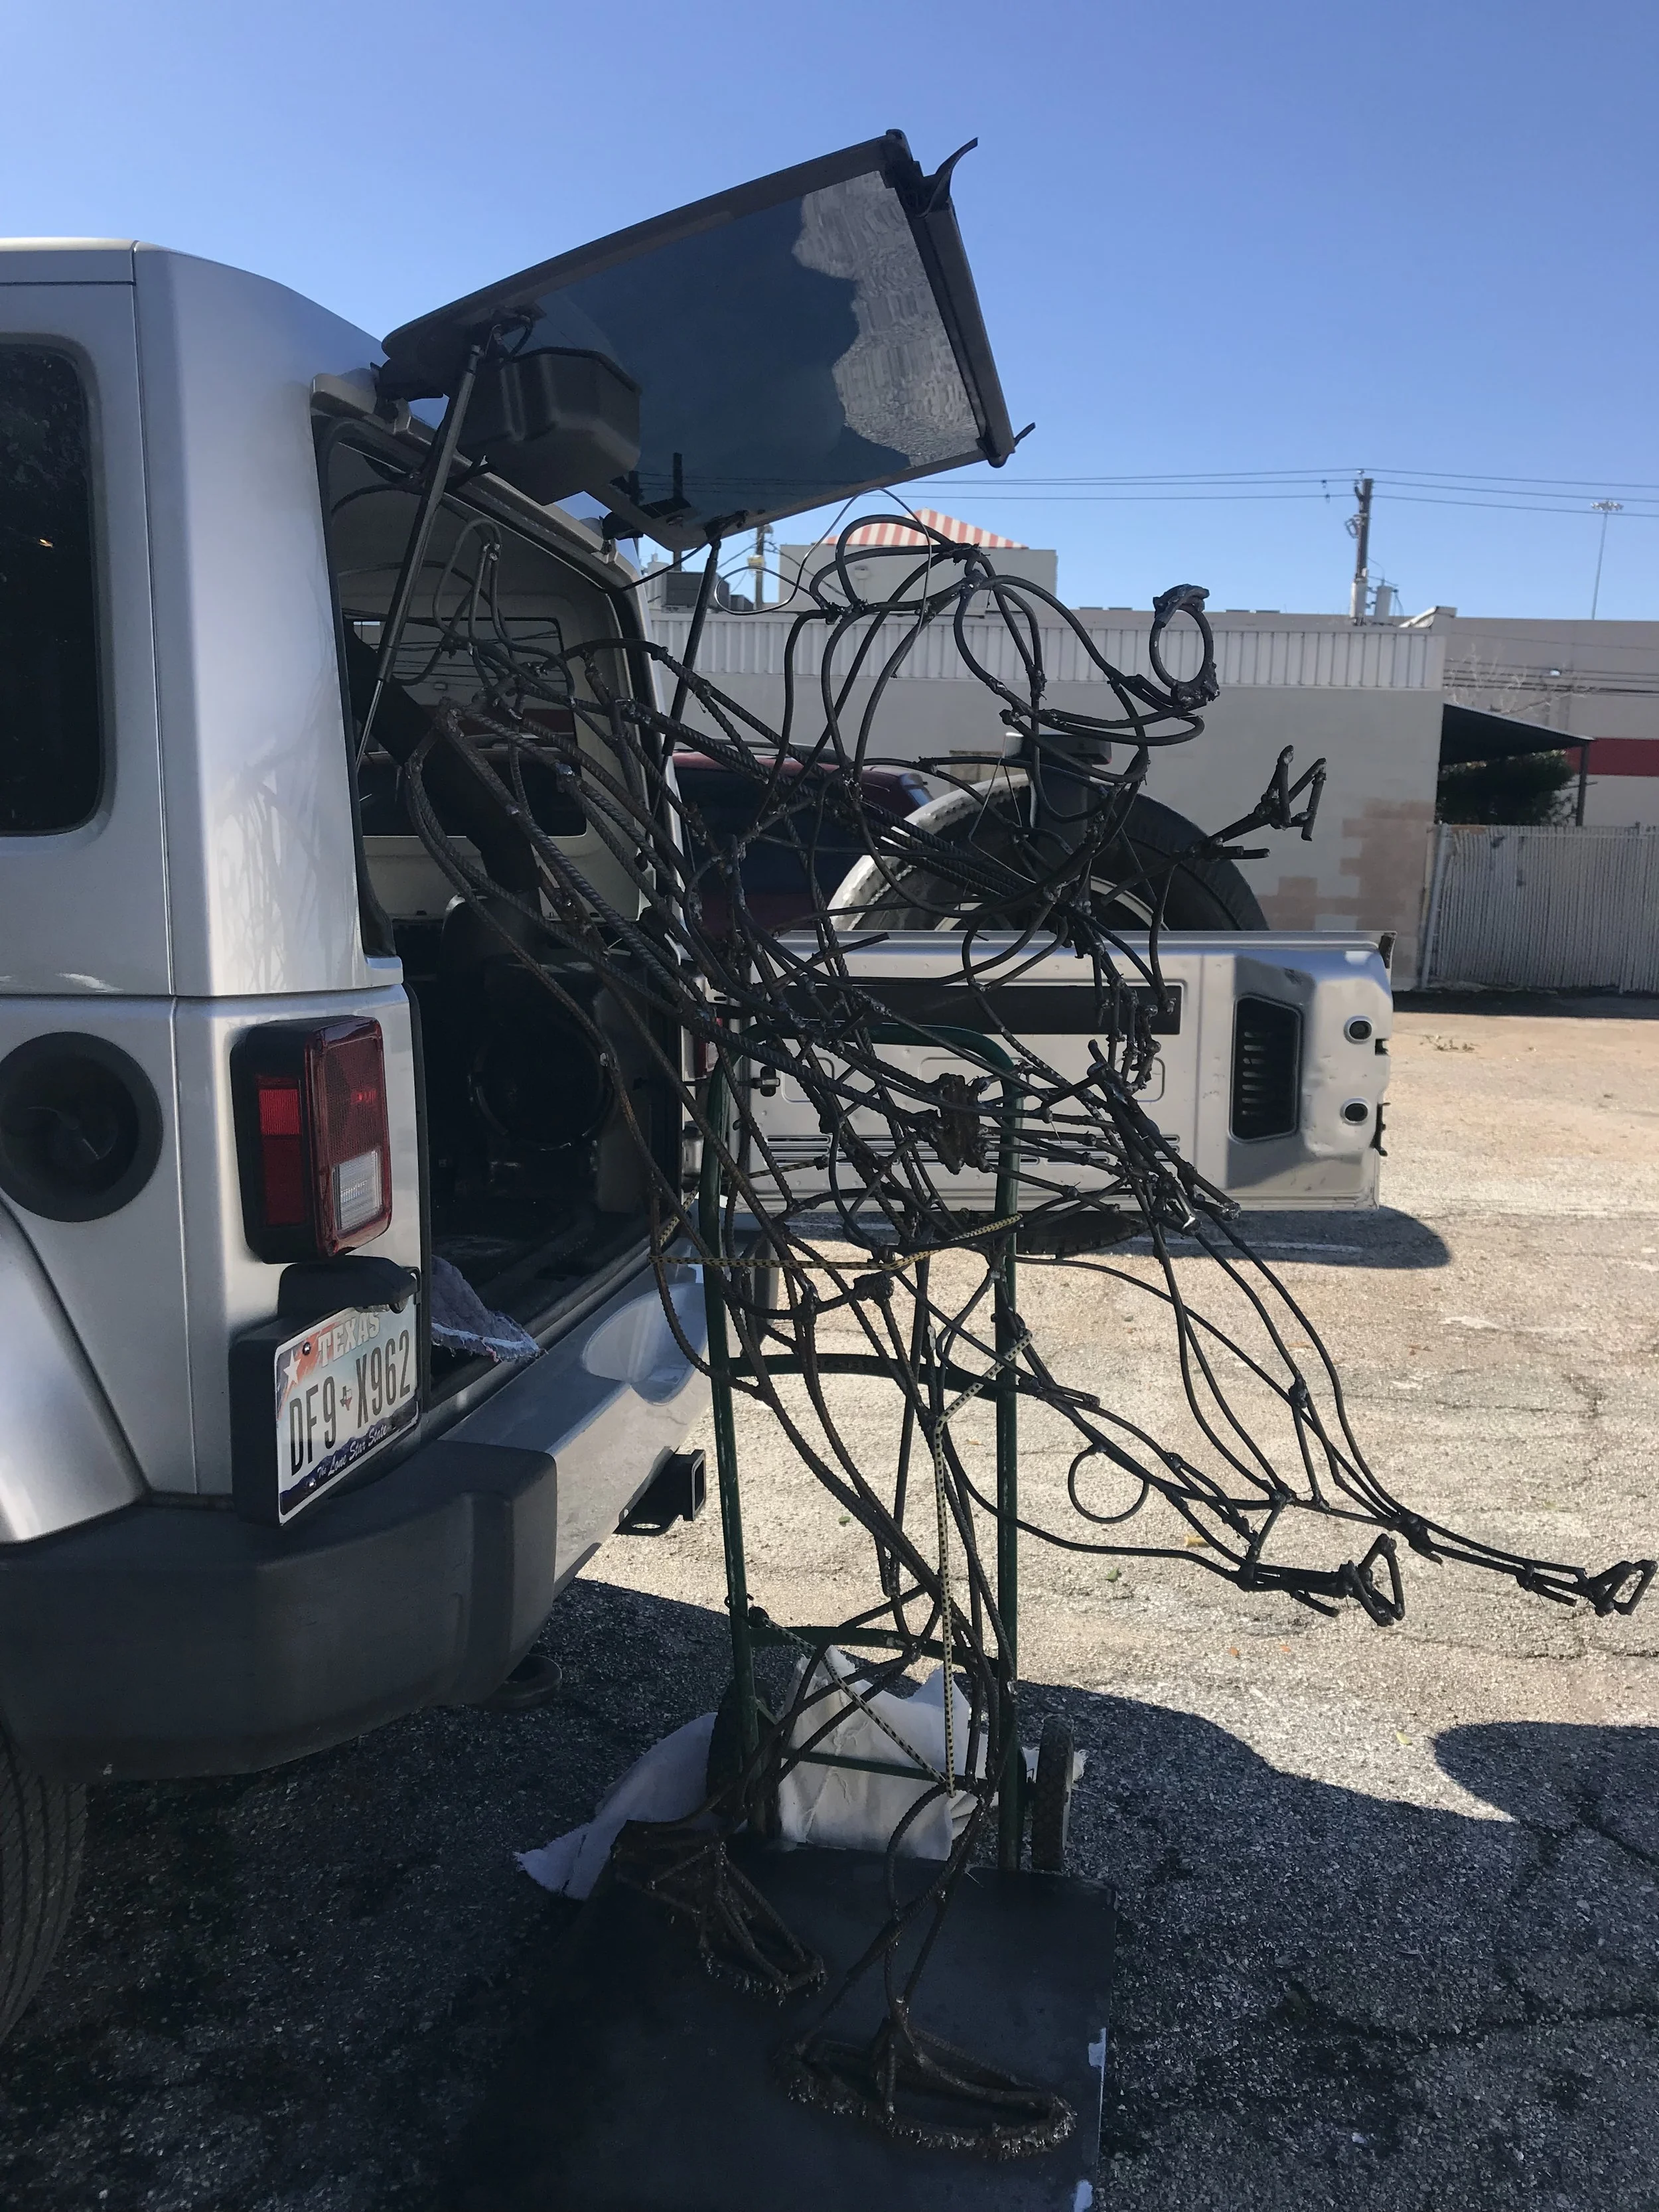
I unclamped the armature from the dolly to load it into my car and........... Houston, we have a problem! The base has warped from the heat of weld on the feet. The base is a basic potato chip. Fixing this is beyond my welding capabilities. This is a job for Blumenthal Sheet Metal. I think if they can weld basically a 2” wide frame around the edge, that would level the edge. It would still bubble in the middle, but that will not matter. I just need an edge that rests on the floor.

I will find out interesting he morning. 🤞
I added the man’s thrown back chin, a suggestion of his head shape, and reinforced his wrist and hands. I also added the pig’s tail, reinforced his hoofs, and a added a suggestion of some very big ears.

from the front

From slight left

Left side

The back side

The right side.
Hands, hands, hands= frustration
I thought I had a really good plan of attack: draw out a hand the size I want, measure how big each bone should be, cut the bones, and tack them together. Once they are tacked together, bend them into position. This is where the frustration began. Some of the tacks would either not bend or some would break, and I would then have to reweld them. I did finally get them all together. I was mentally exhausted, so I decided to attach them permanently to the arms tomorrow when I am more refreshed.
I did just tack them just to see how they look.
I hope I like them tomorrow.
FYI - I put really big welds on the knuckles because I like knarly fingers with big knuckles. If you deal with livestock, you probably have some pretty banged up fingers. :)

Digits barely tacked together

Left hand gripping Mr. Pig

Right hand gripping Mr. Pig

Both hands

The grip
I am getting close to completing the armature.
My day started with an empty tank. I was ready to roll and I had to run refill my argon tank. :(
really irritating

Refilling my Argonne tank.
After lunch I finally got to work. Yesterday, I started the pig’s groin. I figured a pig’s groin looks like a dog’s groin. Not true - I decided to double check, and it turns out pig groins are pudgy and round. Dog groins are more like an empty bowl. It’s good I checked!
Here are images I used for reference. I googled “pig groin” and .....you don’t want to do that. People only post images of pig groins that a Veterinarian should see. I then googled “carrying a pig”. The below image shows how pudgy their grojns are.

Once I lay the lath over the armature, it will look a lot different. It looks weird now. I only put the armature at places that protrude. In the concave places, I will press the lath in. That is why the nose looks bizarre.


I can’t wait until tomorrow to do the hands. :)
The tension is starting to build.
For this piece to work I have to be able to show the strain or tension between the man and the pig.
The pig is huge and would have been extremely heavy to pick up. And pigs are not comfortable being carried, he would have been squirming like crazy to pull away from the rescuer.
I added the man’s head outline first. I want his head to thrust back to add to the tension between the man and the pig. Then I added the largest part of the pig's stomach. I need to know where the biggest part is in order to figure out where the man’s arms and hands are going to be gripping the pig. The man's hands will be just above the larges part of the pig gripping it tightly.

Front view

You can now start seeing the tension created with the pull of the man’s head and his arms vs the pigs legs.
Note to self on the head- make the armature on the small side, I can always add plaster to make it larger.

From the back

I still need- pig ears, tail, and to finish the pig’s legs and abdomen. The man needs his head, hands and more definition or volume on the arms.
INSPIRATION-
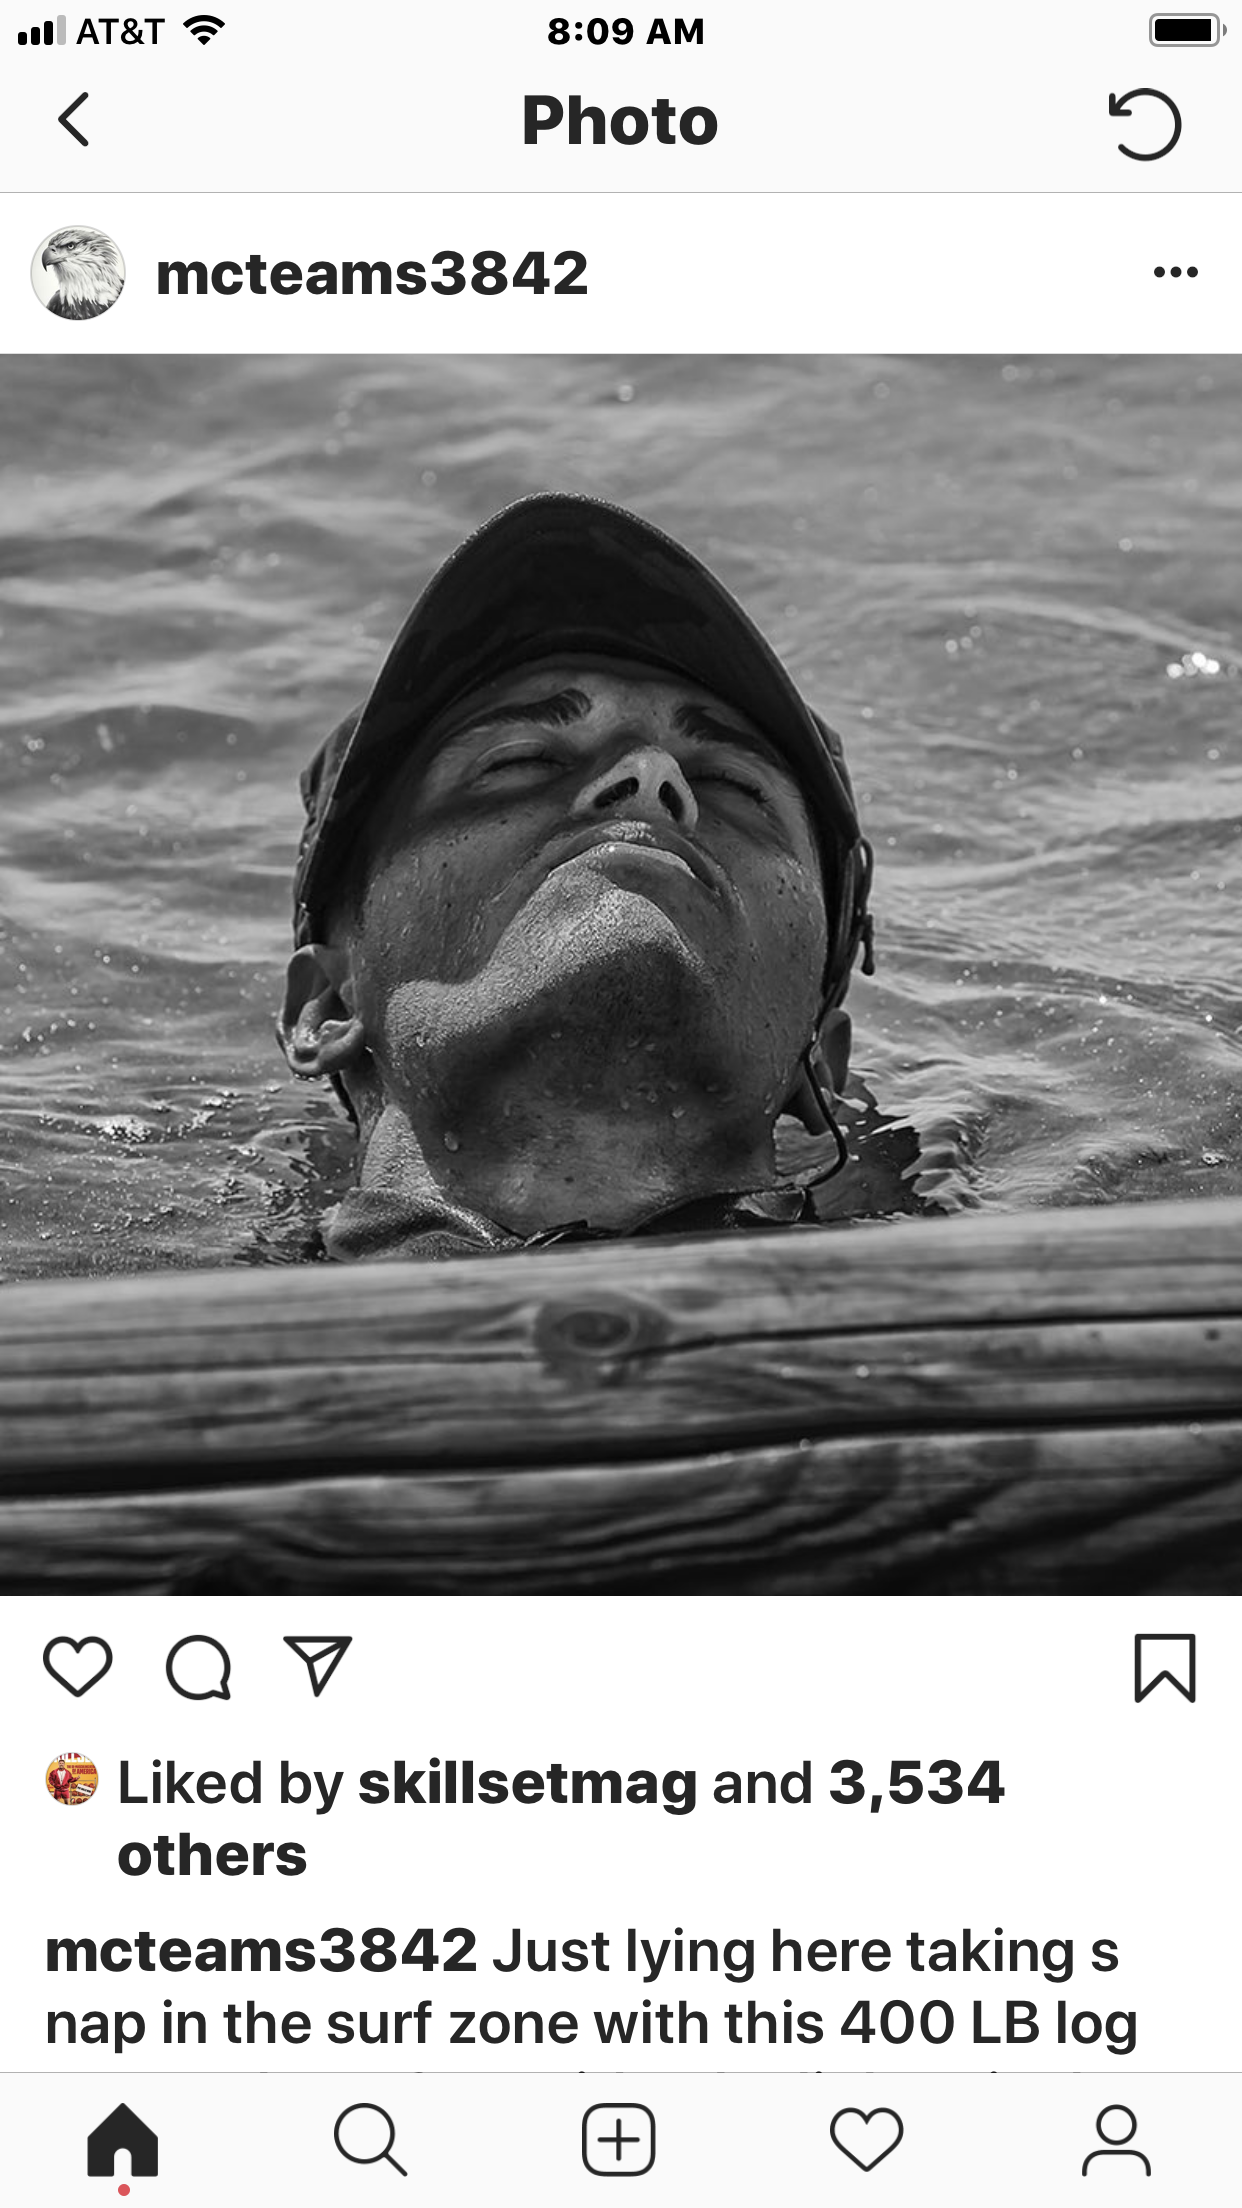
I am always looking for inspiration to use when sculpting. I follow @mcteams3842 who photographs Navy Seals in training. When I saw the image below I thought of the energy needed to of lift a big pig. I took a screen shot and saved it to my file of photos I look at when working on the piece. I would love to have the rescuer’s head this far back ....... I will have to experiment with it.
I highly recommend @mcteam3842 for amazing photography.

I am thinking of putting a cap on him and loved the brim on the below Navy Seals cap. instagram is a treasure chest of inspiration.

Chest, hoofs and dewclaws


Upper chest connected

Hoof and dewclaw

Hoof and dew claw

Hoof and dew claw
Today I made and attached the 2-4th legs and 3 hoofs.

View from the front

Left side view

View from the back

Right side view
The legs are only attached by 1 piece of pencil rebar at this point. Once I know exactly what position I want them in I will attach them at 2-3 more locations.

Pig nose

Building up the nose tip.

Aerial view

Nose and snout

side view

back view

The other side

Front view- pig nose, snout, back and 1 back leg, clipped to rescuer

Side view of rescuer and part of the pig.

View from the back.

Right side view.
Today I adjusted the shoulder width, started the chest and connected the back extensions at the top.

View from the front


View from the back

I might need to trim up his chest tomorrow. Grrrrrr
My work day was short today.


Today I spent a lot of time cutting off and rewelding. The upper leg/booty was too big. After four hours it now has a trimmer.


I am trying to decide if I need to reinforce the lower half of the body or move on. Once I reinforce the joints it is a lot more difficult to make changes. If I move on without reinforcing the welding joints, the piece could fall apart. That is my dilemma.
Connecting the legs and reinforcing them.

Building the hips and connecting the legs

Side view

View from back


I create triangles to give the piece stability and strength.

Left side view with triangles

View from the back

view of the right side

Using scraps to create triangles to strengthen the ankles.
Looking back, I can now see the hips are not right and are exaggerating the movement. I will have the movement exaggerated when the piece is finished, but for the armature, I will have to tone it down.
This sculpture is about the movement and the energy of rescuing livestock (a pig) during Hurricane Harvey. Today I have to decide on where the figure's weight needs to be to best balance the sculpture and express the energy of hoisting the swine to safety. The photos I took of Griffin while he was walking helped me committe to the foot placement. For the weight, I need new reference photos taken from each side. I am fortunate that my husband is always agreeable to posing for me. We wrapped a stool in a towel to stand in for the pig. Below are the new photos.

View from the front

View of the left side

back view
Step one - I find or take a photo to use as a reference. Many times I take screen shots from videos I find online. This time I took photos of Griffin and Alex. At the time I was planning on sculpting “The Guy In the Astros Cap”. I had Griffin carry Alex and I took photos as he walked. I can still use the pictures of Griffin walking. Alex is too cute and tiny to stand in for the pig. I will have to wing the pig.

Photo if Griffin’s feet.
Step 2- I start with the armature for the feet, piecing them together from the small leftover scraps of my last sculpture.

Left foot, right foot

I really like the pigeon toed aspect of this photo.
Even though I like work from photos I feel free to change anything I want.
You can see the rough coat on the underside of the bench. I am ready for the second application of concrete.
I have flipped the bench over and will work from the top to the bottom. You have to work from the top to the bottom because the process is very messy.


Step 1. Protect the bronze birds by covering them with plastic wrap.
Step 2. Paint the lath with a concrete bonding adhesive.
Step. 3 Make a slip from the concrete and the bonding adhesive. Paint the slip onto the piece.
Step.4 Apply concrete by hand.
Mateo. 5 Remain calm, enjoy the process.

It turns out my bonding adhesive is old, as a result my concrete does not want to stick together. I am grateful I am only working on the scratch coat. I can fix anything that falls off when I apply the final coat.

I like this branch growing around the other
Things did not go as planned as I worked on the bench. My bonding adhesive was old and the cement just was not sticking. And marriages do not go as planned. The lesson here is just roll with it. I will get new bonding adhesive next week and the next application will go smoothly. It is not worth getting upset over. The fun part of marriage is having someone go through the rough spots with you, someone who makes the rough spots not so rough, maybe even fun. Look for the good in every situation, it is there. Make your problems work for you.
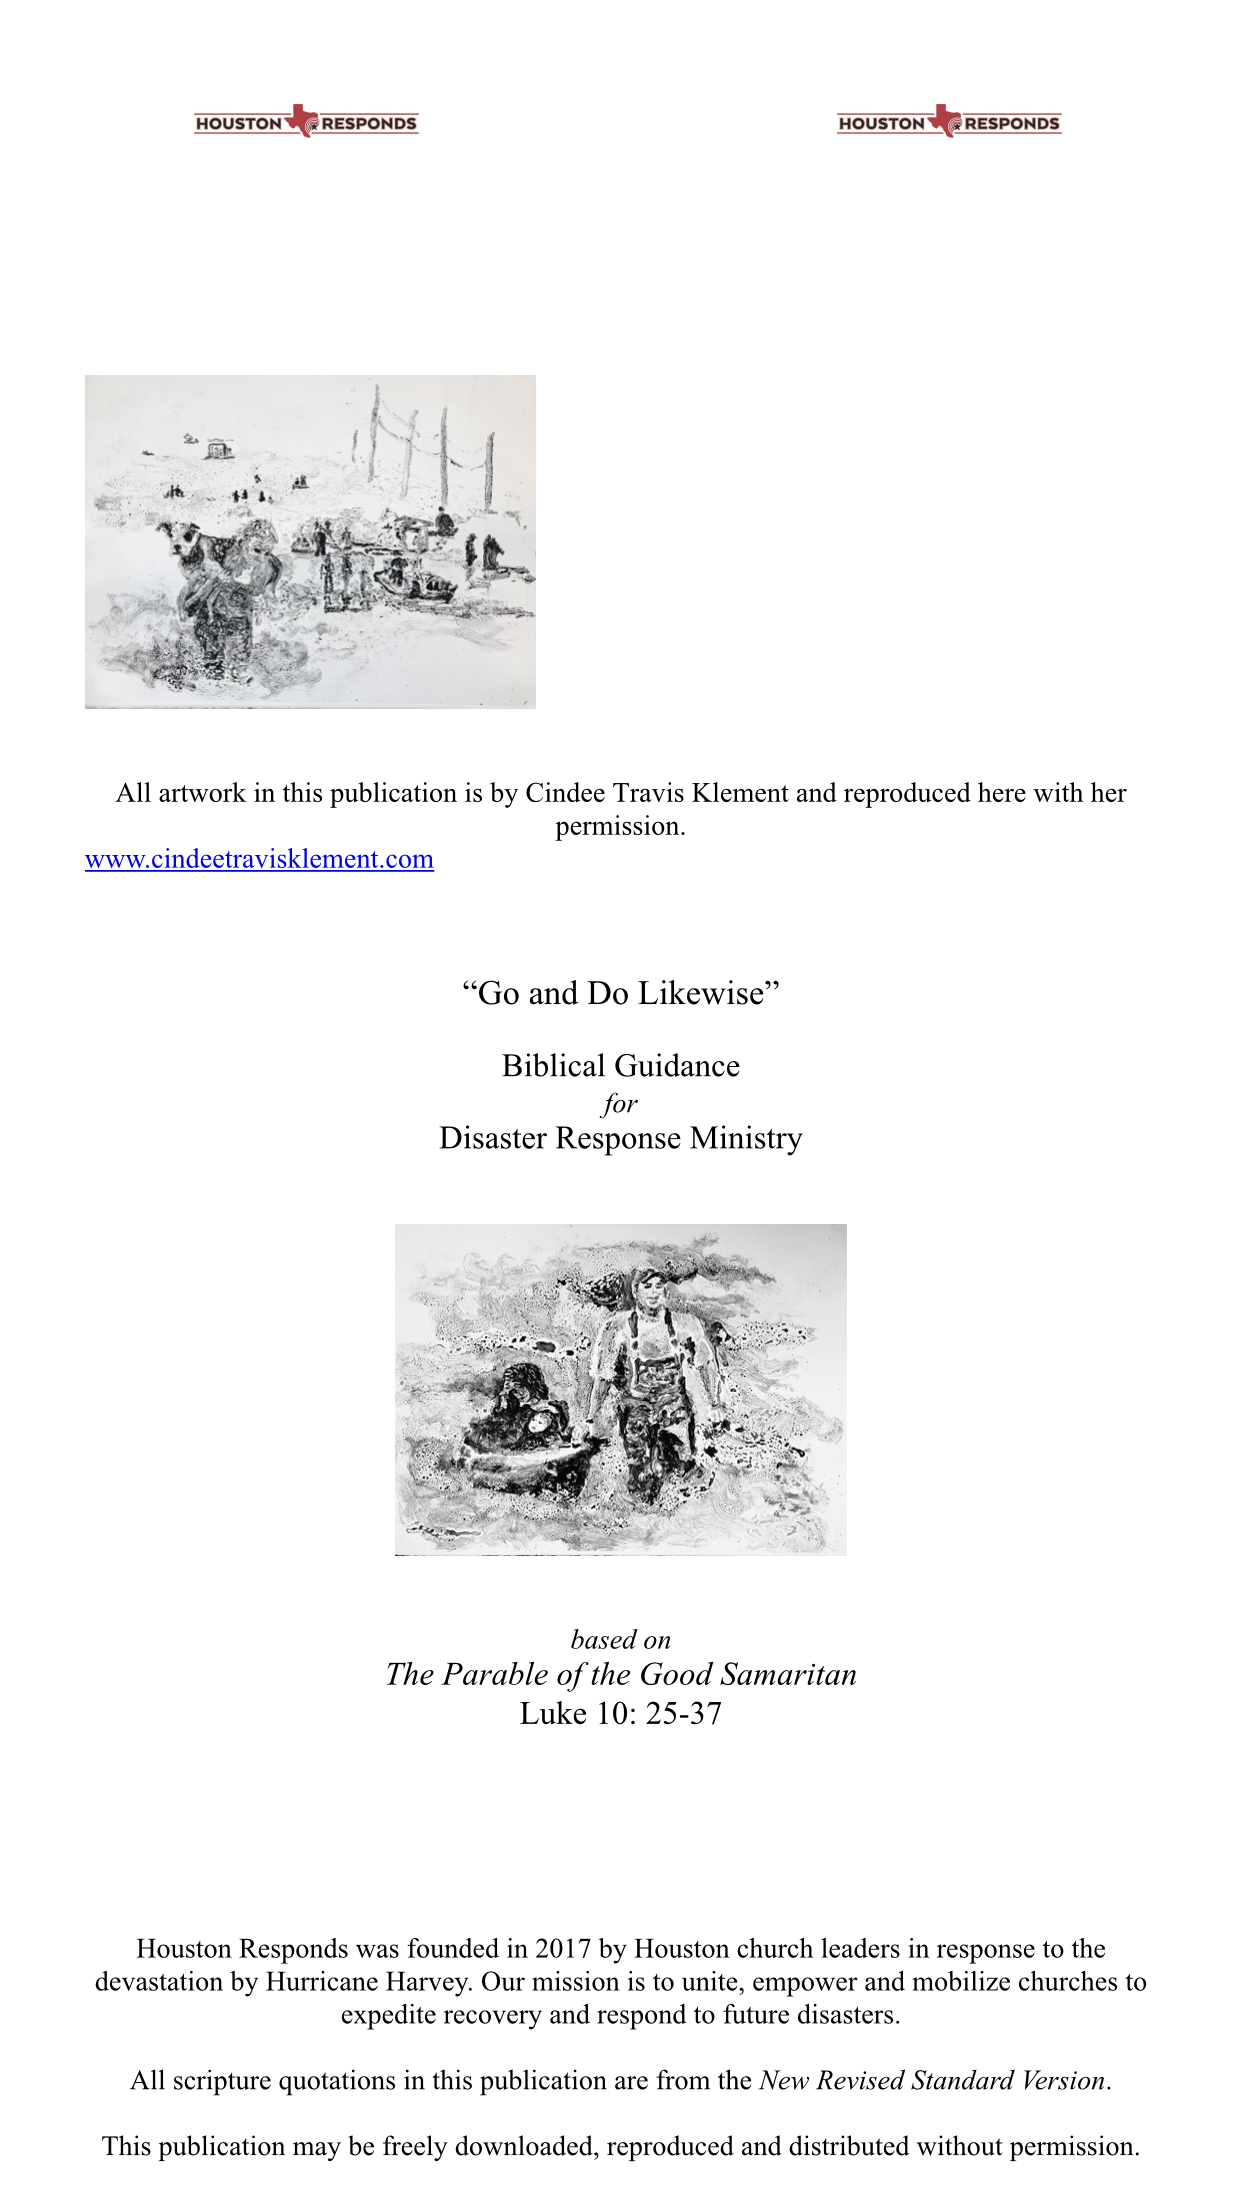
Back in October I received a phone call from Jeff Schultz of Houston Responds. Jeff was holding a conference the following week for local churches. He was trying to recruit volunteers to help those who still need help getting their lives back after Hurricane Harvey. He needed images for his Bible study booklet. I was thrilled to help out. I never received a copy of the booklet, but here are a few screen shot from the email he sent me.


I am expanding my regenerative agriculture/sustainable living work. This additional work will air the devastating impact that pesticides have on pollinators. I have decided that, to portray the reported impact of pesticides on this basic ingredient for life, the artistic language for communicating this message will be scale, placement, technique, and media.
Scale- My paper is 44” T X 30” W. The pollinators size will be magnified approximately twenty times.
(Should I go bigger?)
Placement- The bee will be on its back, and dead at the bottom of the page.
Media- I will use watercolor as it immolates the water properties of pesticides.
Technique-I will attempt to apply the media so that It speaks of the pesticide spray, pollen dust and disintegration. Getting the perfect technique down is one of trial and error. Below are trials I-VI.

Attempt #1

#2 getting better.

#3 is the ghost of #2
On day two I have decided to try adding more colors in the black and maybe blast it with a spray bottle of water and then print it.
11/20/2018
Day 2

Glysophate #4
I added color more color but it is not showing up as I would like. The wings are much better.

glysophate #5
I added more color and.......in this photo you can’t see it. In person it is Subtle. I kind of like it.

I sprayed my plate with water after the last print and now I wait for it to dry. It is in puddles, it may never dry.

Glysophate #6
It has occurred to me that, working with individual bees, I am not addressing the colony collapse and disorder that will result. Should I? Do I need to?
Any thoughts to share?