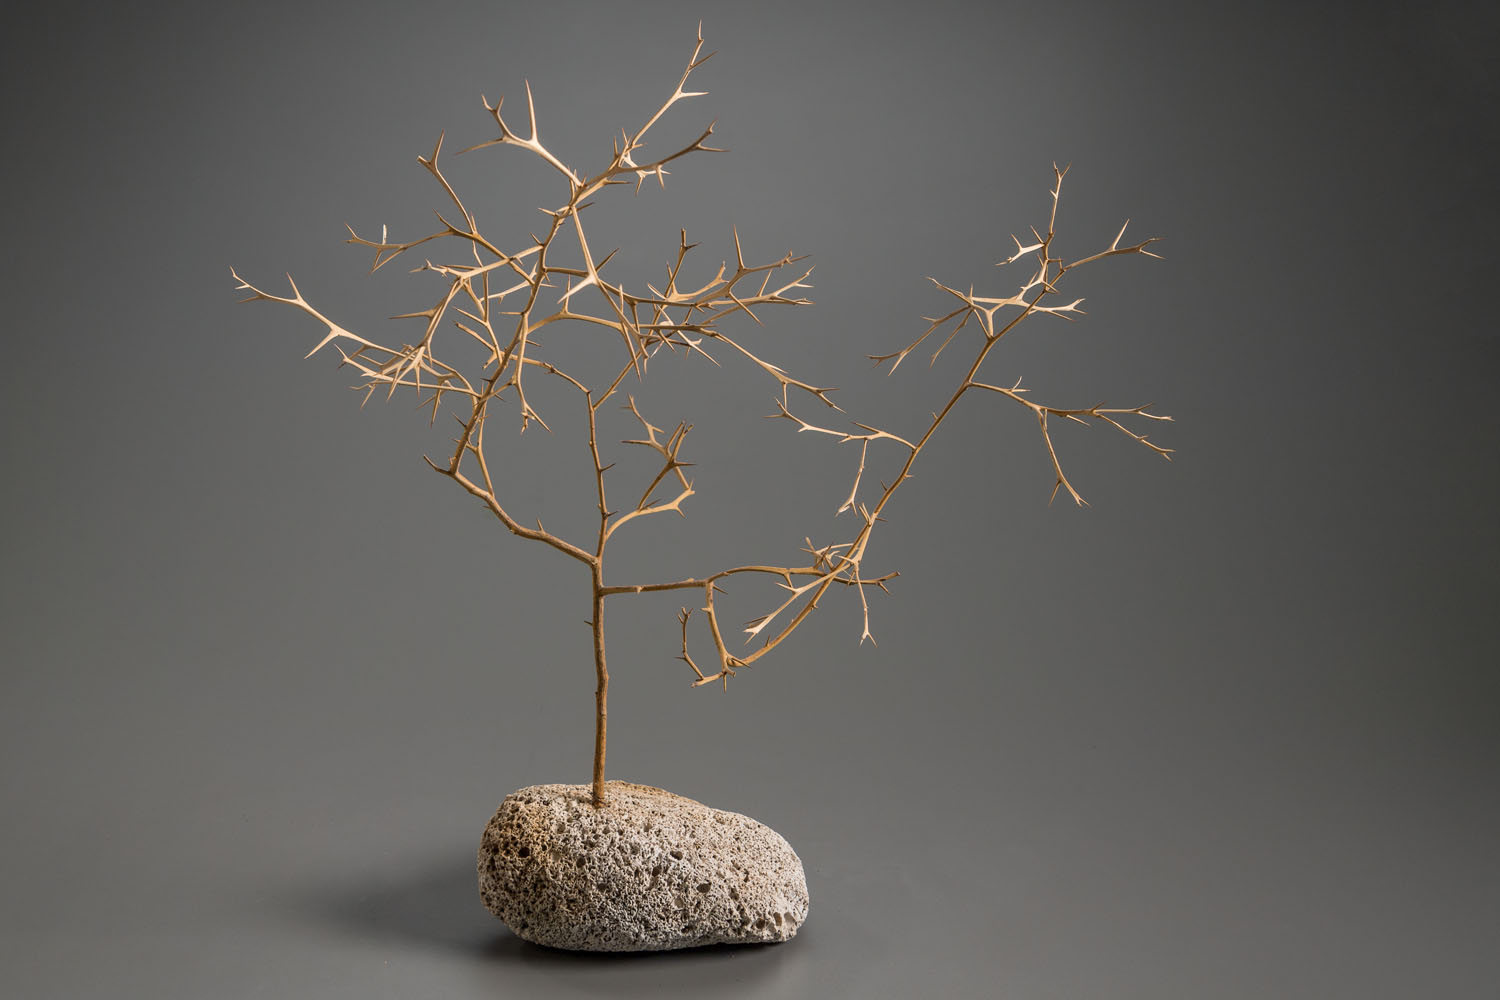
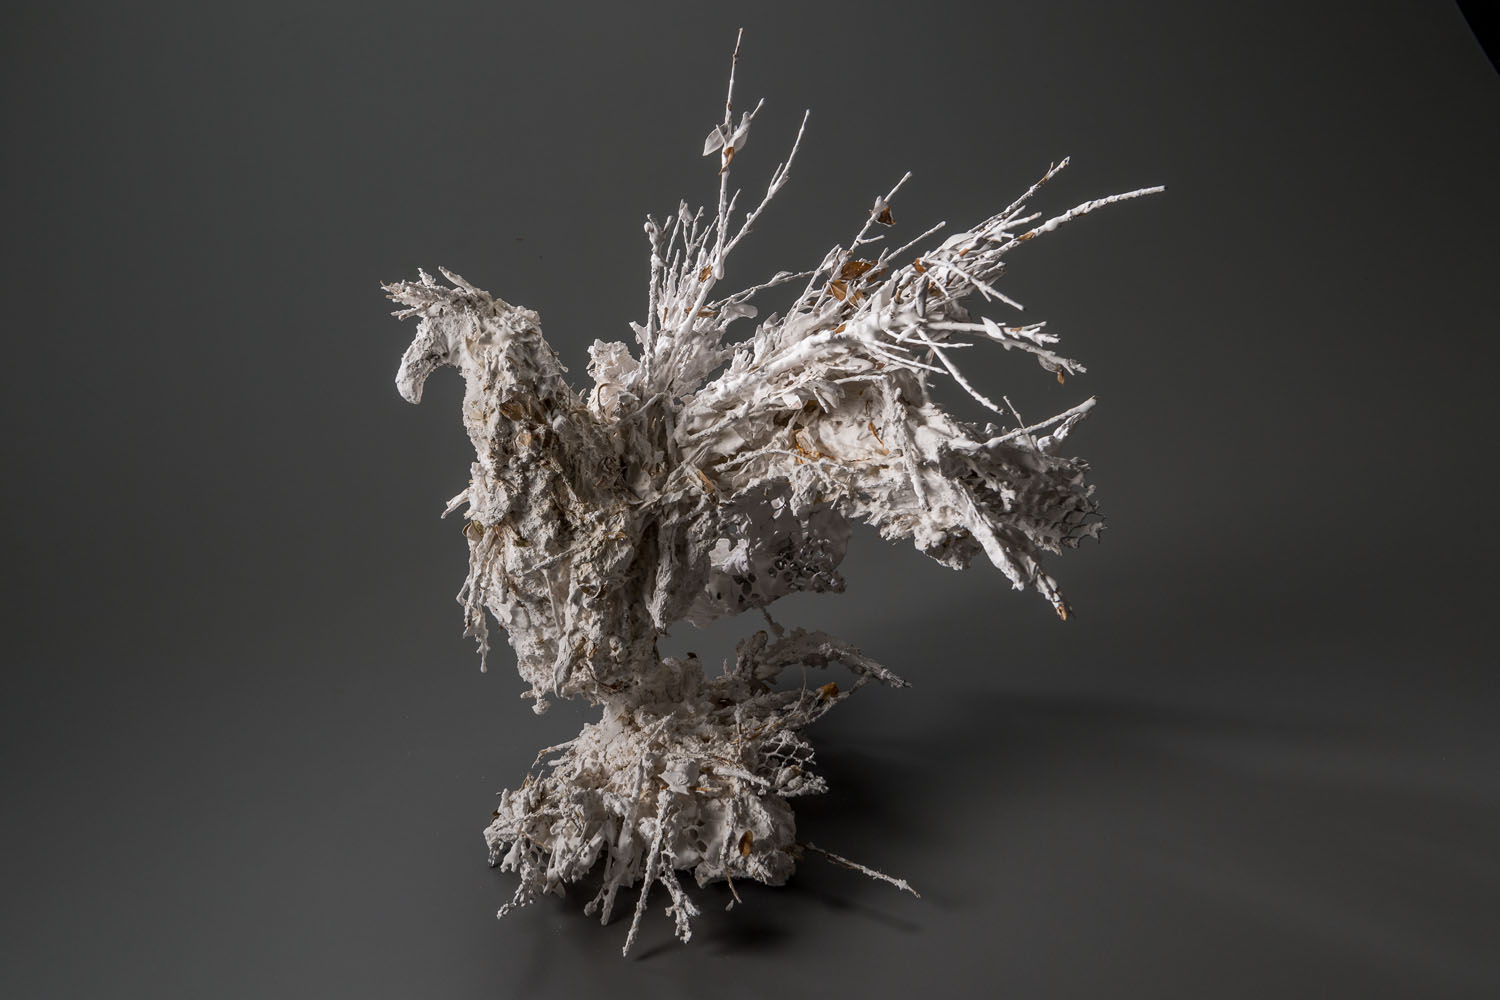
“prickly bird” Peace pigeon project. Fall 2016 I started a project - an experiment with new materials. I made a new sculpture every week, with a different material. My subject the German beak - trumpeter pigeon. He is graceful, interesting and conducive of expressing energy. Picasso drew this same pigeon and called him a the peace dove.
“gust”
1/19/2018
I am starting two new pieces for my “gust” series.
Here is the first one viewed from every side.
I have two coats of wax on it. Now I need to clean off and wax that is clumpy and make sure it does not loose its shape and character. Then I can begin the molding process to cast it in bronze.
“score” #19 tieing down the lath
The lath is what holds the concrete or plaster to the figure. Concrete liquefies with movement so the lath has to be tied securely, it can not have any play.
The tools
I use a hammer to manipulate the lath and to smash the sharp edges of the cut lath. The pliers are used to tie or twist the ties to secure the lath to the armature. The clippers are used to cut the lath.
Materials
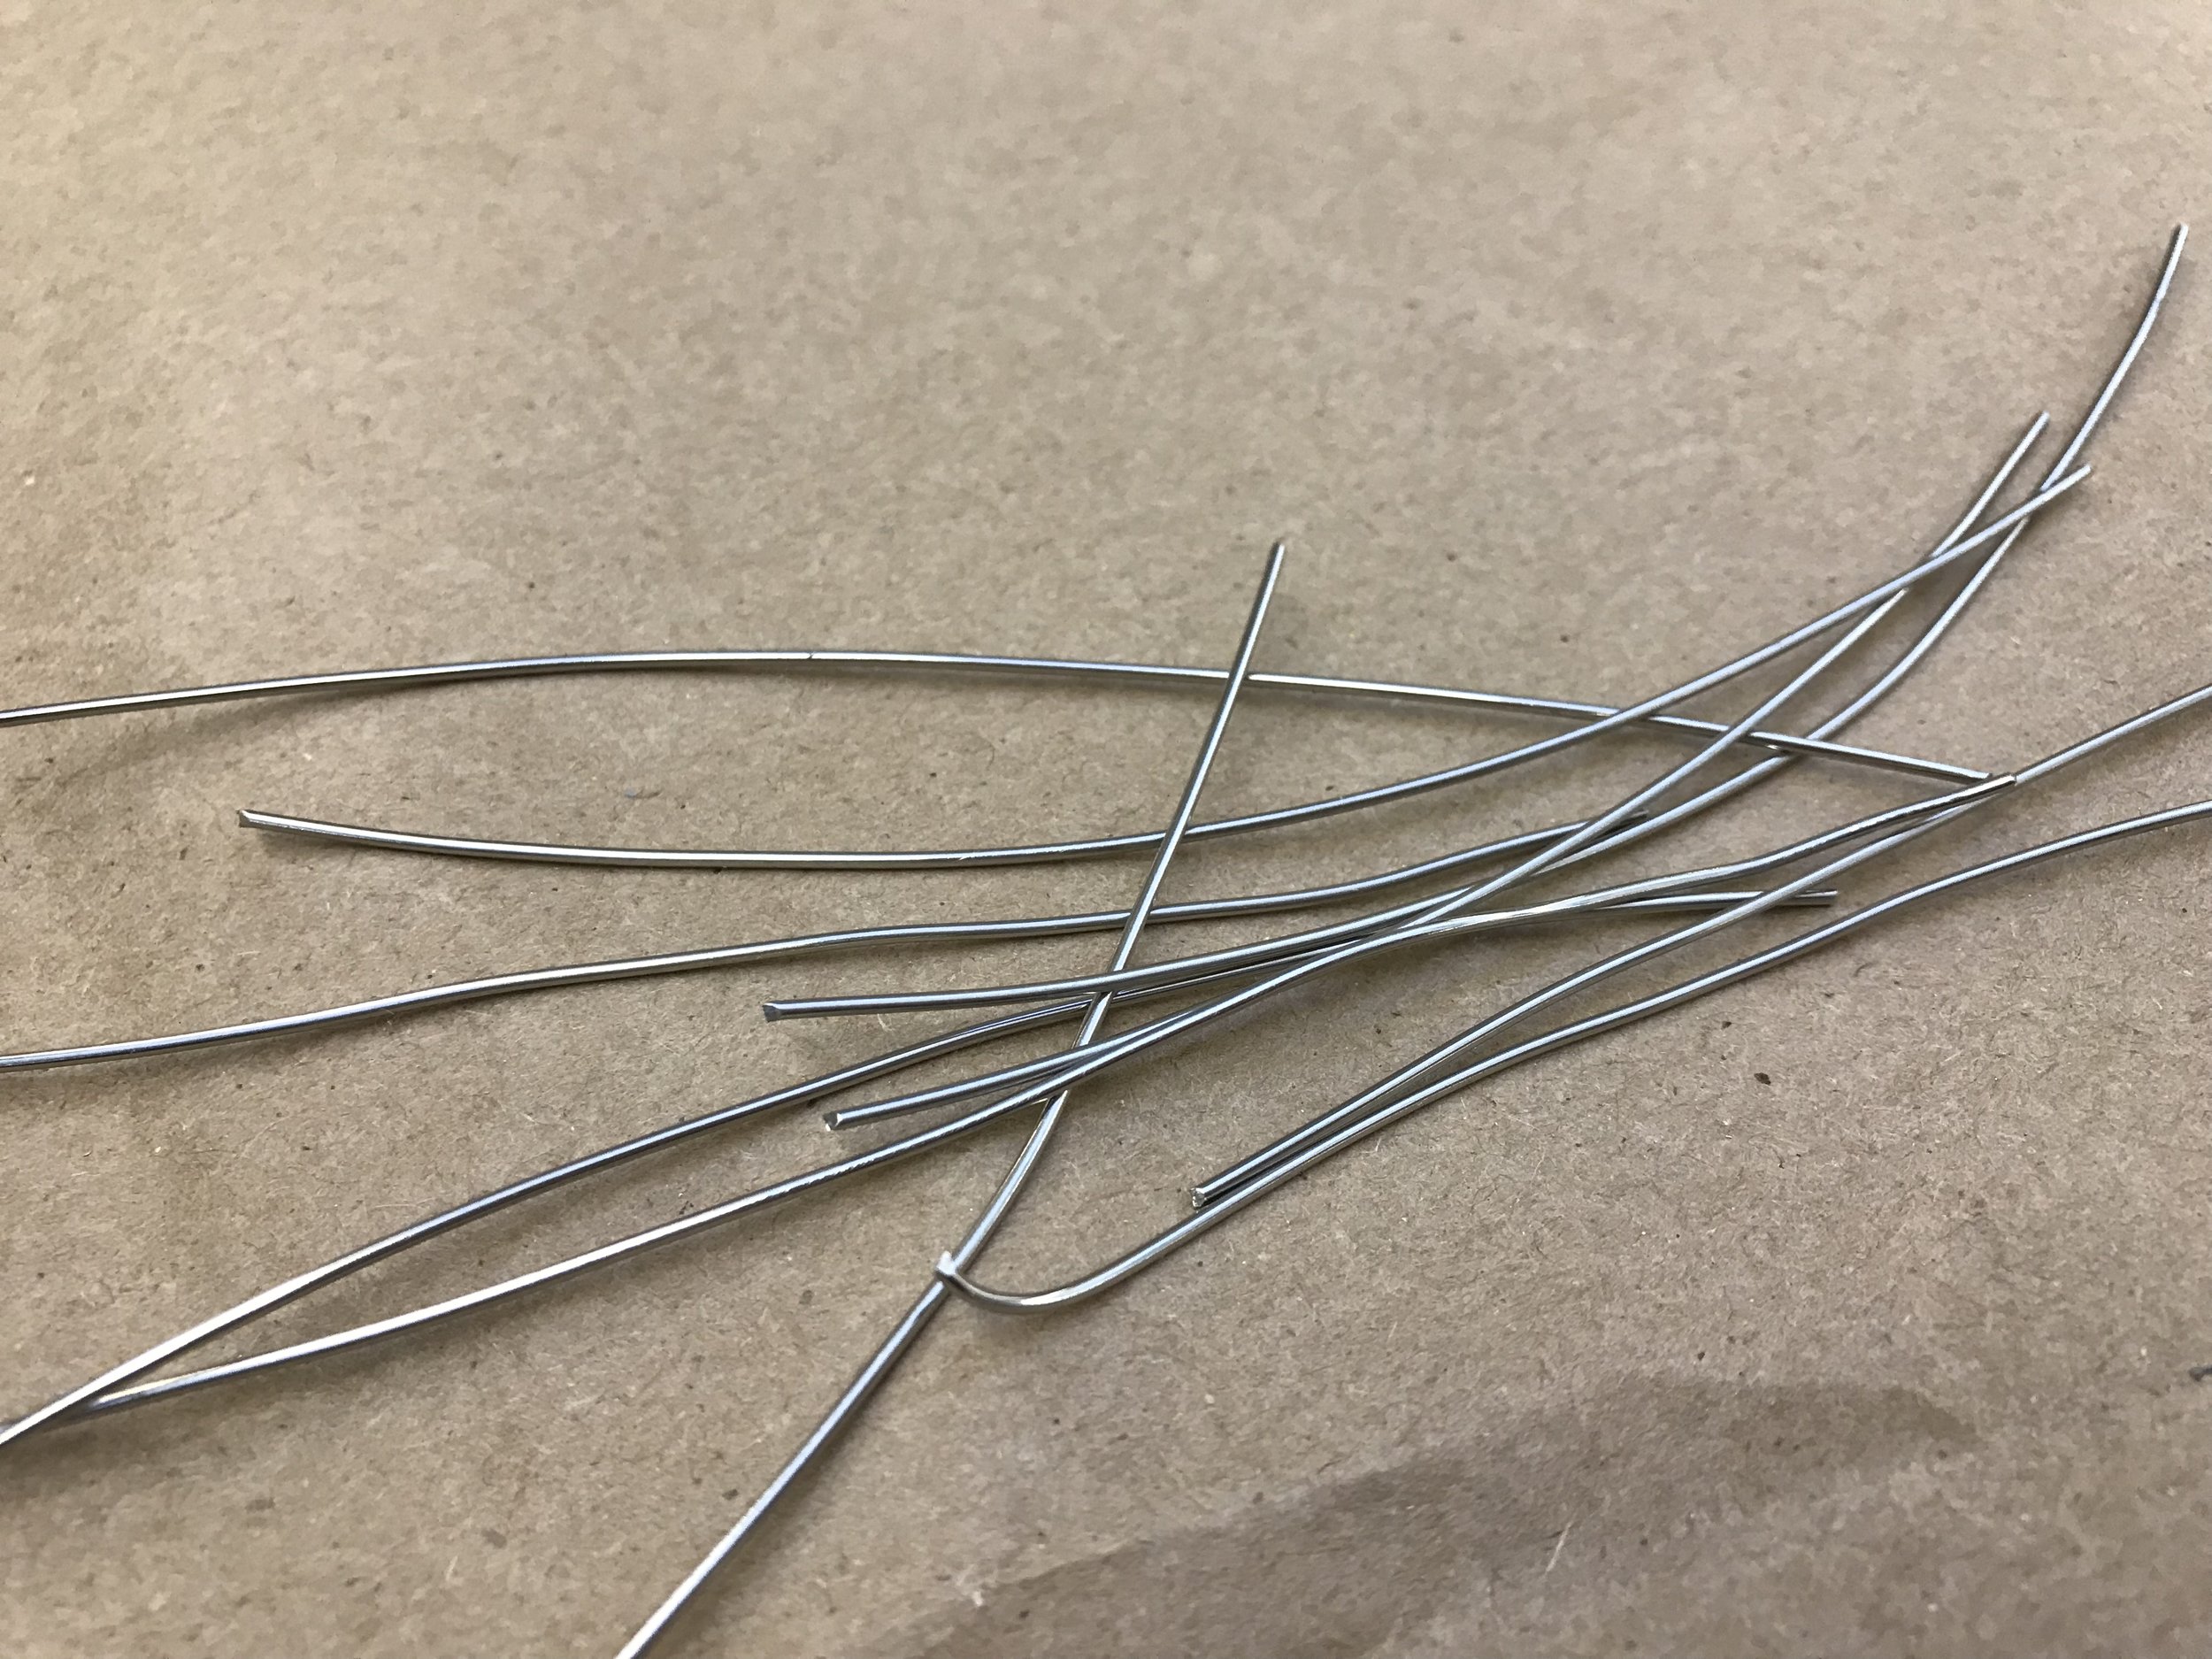
Small piece of cut lath and stainless steel wire.
The Stainless steel is cut into small pieces that is used to tie the lath to the rebar.
Lath tied down with small piece of stainless steel.
The tie is clipped and the sharp end is folded under.
Lath ties to the rebar
“Score” #18 the lath
I know have supports on the ground and I am comfortable that the piece is not going to fall on me. In the end I may cut them off. Right now they stabilize the piece and they are not visually distracting to me.
Now to start adding the lath.
I started with the right arm and hand.
Jumping around I next added his right coat tail then his left arm.
Left arm
Left back of his jacket
1/16/2018
working on the folds in the fabric of the left pant leg.
“score” #17 un doing
1/14/2018
The rebar bar I attached to provide stability to the piece (so it will not fall on me) is visually distracting me. I anticipate the sound will engulf him from head to toe but it needs to start from the instrument and hands and then expand out. I just st can’t start from the outsideand work back to the instrument. I am going to cut off the pieces I attached for stability and re attach them more discretely.
before Cutting off the distracting pieces.
The reattached pieces are flat on the ground and only in the direction I think it might fall.
“Score” #16 making it safe
January 11, 2018
This winter has had many events. All good events that have distracted me from working on this piece.
Today, I get back to work.
Step 1- Right now, I am welding on it in my garage home studio. However, I will need to be able to get it into the doors at my Glassell studio when it is completed. The widest door opening is 34” maximum. I can go wider, but the depth will have to be within 34”.
My second concern is stability. Right now, it is stable and balances on its own, even with the wooden violin in the proper position. The energy of the music will project primarily forward. Since it is steel and concrete, it will be very heavy and has to balanced, even if accidentally pushed from any side. So, before I can do anything else, I have to widen the base in order to make it safe.
It is raining today, so I will cut a bunch of random lengths, grind the ends to a point inside. When it stops raining, I will take them outside where I bend them.
Rebar cut a variety of lengths.
On a grinding wheel I grind both ends of each piece into a point.
I use this brace that is attached to the utility pole behind my garage to bend my rebar. Sometimes I have the put all my weight on it to bend the bar.
I stick the rebar through the hole and bend it a little and keep sliding the bar and bending until I get a curve I like.
And some times I take it out and stick the other end through and then bend it again.
These are ar ready thank go.
trying different ways to create a strong base
I use magnets to hold the rebar so I can stand back and look. These pieces are for stability but they can’t look like they ar for stability. If the position of the rebar works then I weld a tac to hold it so that I can then look at it without the red magnets. If I still like it I finish welding the two pieces securely.
The red magnet holds the rebar so I can step back.
These pieces are within the 34” and will keep the sculpture from falling forward if it is pushed from the back or from the weight I will be adding to the front.
I am feeling uncertain about what I am doing so I am going to stop for now so that I can look at it tomorrow with a fresh eye.
Gust
This is to be the first hat in the series (best laid plans). Like the last hat I poured this fall, it had cool spots that did not pour. I am going to finish it and consult with a commercial Foundry, Legacy Fine Art Foundry, regarding patching it.
I will use an angle grinder and cut the sprues off level with the felt.
All the chasing is completed here.
After legacy fine Arts Foundry matched it.
I think it looks amazing. They did a great job.
The next step is for me to add the felt texture to the patches.
Score
Loading him up for my last studio visit of 2017.
I love the shadows he makes on my brick wall.
Peace pigeon project
After 12 months I have finally had these pieces photographed. Nash Baker took the photos, I think he did a beautiful job.
It is a large body of work and I had to choose what should be shot and What would not make the cut.
Artist statement
In the fall of 2016 I decided to experiment with sculpture materials. I challenged myself to sculpt a new sculpture a week, each week in a different material. As my subject, I chose the German beak crested trumpeter with leg muffs pigeon because he allows me to express a lot of movement and energy. I have many drawings and a bronze sculpture of the German beak trumpeter. From a sculpturing point of view, his feathery feet keep him balanced without a pedestal allowing for lots of the expression of energy and emotion.
It turns out that the bird known in the US as a German beak trumpeter pigeon is the same bird that Picasso drew as the peace dove. Everyone knows His famous "peace doves". This particular pigeon was given to him by Henri Matisse. It is described as a Milanese pigeon. Possibly it was from Milan, but you can tell by the fancy feathers on his feet that it is a Germanbeak-crested trumpeter with leg muffs. In German and French, the term pigeon and dove are interchangeable.
I am no longer committed to sculpt a peace pigeon a week but I don’t hesitate if a material or found object jumps out at me to turn it into a sculpture. I was not able to photograph these until the end of 2017.
http://www.arttimesjournal.com/art/reviews/May_June_10_Ina_Cole/Pablo_Picasso_Ina_Cole.html
Feather finery
plaster and yard clippings
“gust”
This hat is planned to be the 2nd in the series.
I ended up with cool spots in the pour resulting in spots that the bronze did not fill, big spots that did not pour. :(
I am going to clean them up and see what can be done to save it.
The sprues are cut to the stub
I have cut the sprue stub off flush with the felt.
I have repaired the texture .
“gust” patina and playing with the artist statement
10/17/2017
Another Thursday night of applying the patina to yet another hat.
Woven in felt, every hat tells a story, shaped with memories, recording beliefs, and veiling sorrow, some eloquent and some twisted. Cradled in our imagination, they blow in strange, wonderful ways, spinning from generations that are inhabited by our respect to balancing our present responsibilities and fears. In generations past, in fable and in legend, hats sheltered spirits, represented people and occupations, and defended against the elements.
Peace pigeon #22
Last fall I started a project - an experiment with new materials. I made a new sculpture every week, with a new material. My subject the German beak - trumpeter pigeon. He is graceful, interesting and conducive to expressing energy. Picasso drew this same pigeon and called him a the peace dove.
http://www.arttimesjournal.com/art/reviews/May_June_10_Ina_Cole/Pablo_Picasso_Ina_Cole.html
I can't seem to stop the project. Here is another pigeon, I found him on our afternoon dog walk.
“Score” #14 armature of the face and head
11/15/2017
And just in time as I have a studio visit tomorrow with Patrick Palmer the master of heads.
full face frontal.
Below is the head and body from every angle
Front right
front
Front left
left
back left
Back
Right side
Front right
close up
“ Score” #13 armature/tails
11/14/2017
The figure is wearing a tux with tails.
View from the backside of the piece- I added the back of the pants leg and jacket tail on the left side of the figure.
full body view
Both jacket tails welded in.
“ Score” #11 armature/fingers to hold the bow.
This piece is abstract but, in order to capture the gesture I really have to understand where the musician is exerting his energy in regards to how he holds the instrument. I found the below link online that talks about the proper way to hold the bow. I also researched how to hold the violin. It is held with the chin and chest leaving the fingers the ability to move up and down freely.
http://www.singingwood.com/violin-bow-hold/HowToHoldTheViolinBow.html
The fingers that hold the bow.
The left hand is missing all the fingers. That is the palm and back of the left hand. I will work on the fingers tomorrow.
“Score” post #10 right arm
I have attached the right upper and forearm, hopefully in the right place. I am welding the armature for the concrete part of the sculpture. Attached to this armature will be the metal lath that the concrete rest on and the additional wire that will extend outside of the Concrete showing the energy of the music created by the violinist. I see the violinist as a pedestal for the sculpture. A very specific pedestal.
Right arm and torso
front view
View or right side
View from back
Left side
the bayling wire head head is a stand in. It was laying in my studio.
“Score” post #9 repositioning the left forearm....
....to hold the muIcal instrument.
I need to repositioning the left forearm to hold the violin. I have a bailing wire face attached to you he neck of the armature to help me visualize where the head would be.
front view
left side of front
left side
backside
figures backright side
Front right side of figure
I am excited that the piece still balances on it’s own, however it is starting to want to lean forward. In order to keep it balanced I will add the right arm next.
Why are some people ready, why do some people know the moment?
People ask me all the time where do I get my ideas. And I too am fascinated by where creativity comes from. I do not believe it can be taught and for most part it is not easy to describe as creativity, it is one of the great mysteries of the brain. However the Eudora Welty quote in Glasstire this morning beautifully states how I often find inspiration, or how inspiration often finds me.
“The title That Day underscores the viewer’s sense of being there beside the photographer and the way in which the captured moment remains ever fresh in the image, some of which were made as early as 1979. That was the year when Dallas-based Wilson began assisting Richard Avedon with his own six-year photography project, In The American West. Describing Avedon’s portraiture process in her 2004 book, Avedon At Work In The American West, Wilson noted that he would wait for what Eudora Welty called “a story teller’s truth… the moment in which people reveal themselves. You have to be ready, in yourself; you have to know the moment when you see it.” “
- gene Fowler
-http://glasstire.com/author/gene-fowler/
I guess the question should be why are some people
ready, why do some people know the moment?
a moment caught by a "gust"
“score” post #8 winging it.
11/09/2017
I decided to weld the arm pieces onto the torso. I started with the left arm and the palm of the hand. I am totally winging this. Since the piece is in motion I want the arm position to reflect movement. The left shoulder dips and the elbow digs into his side. The left forearm has to be free so the fingers can to move up and down the violin. The violin will be held in place between his chin and his shoulder/chest.
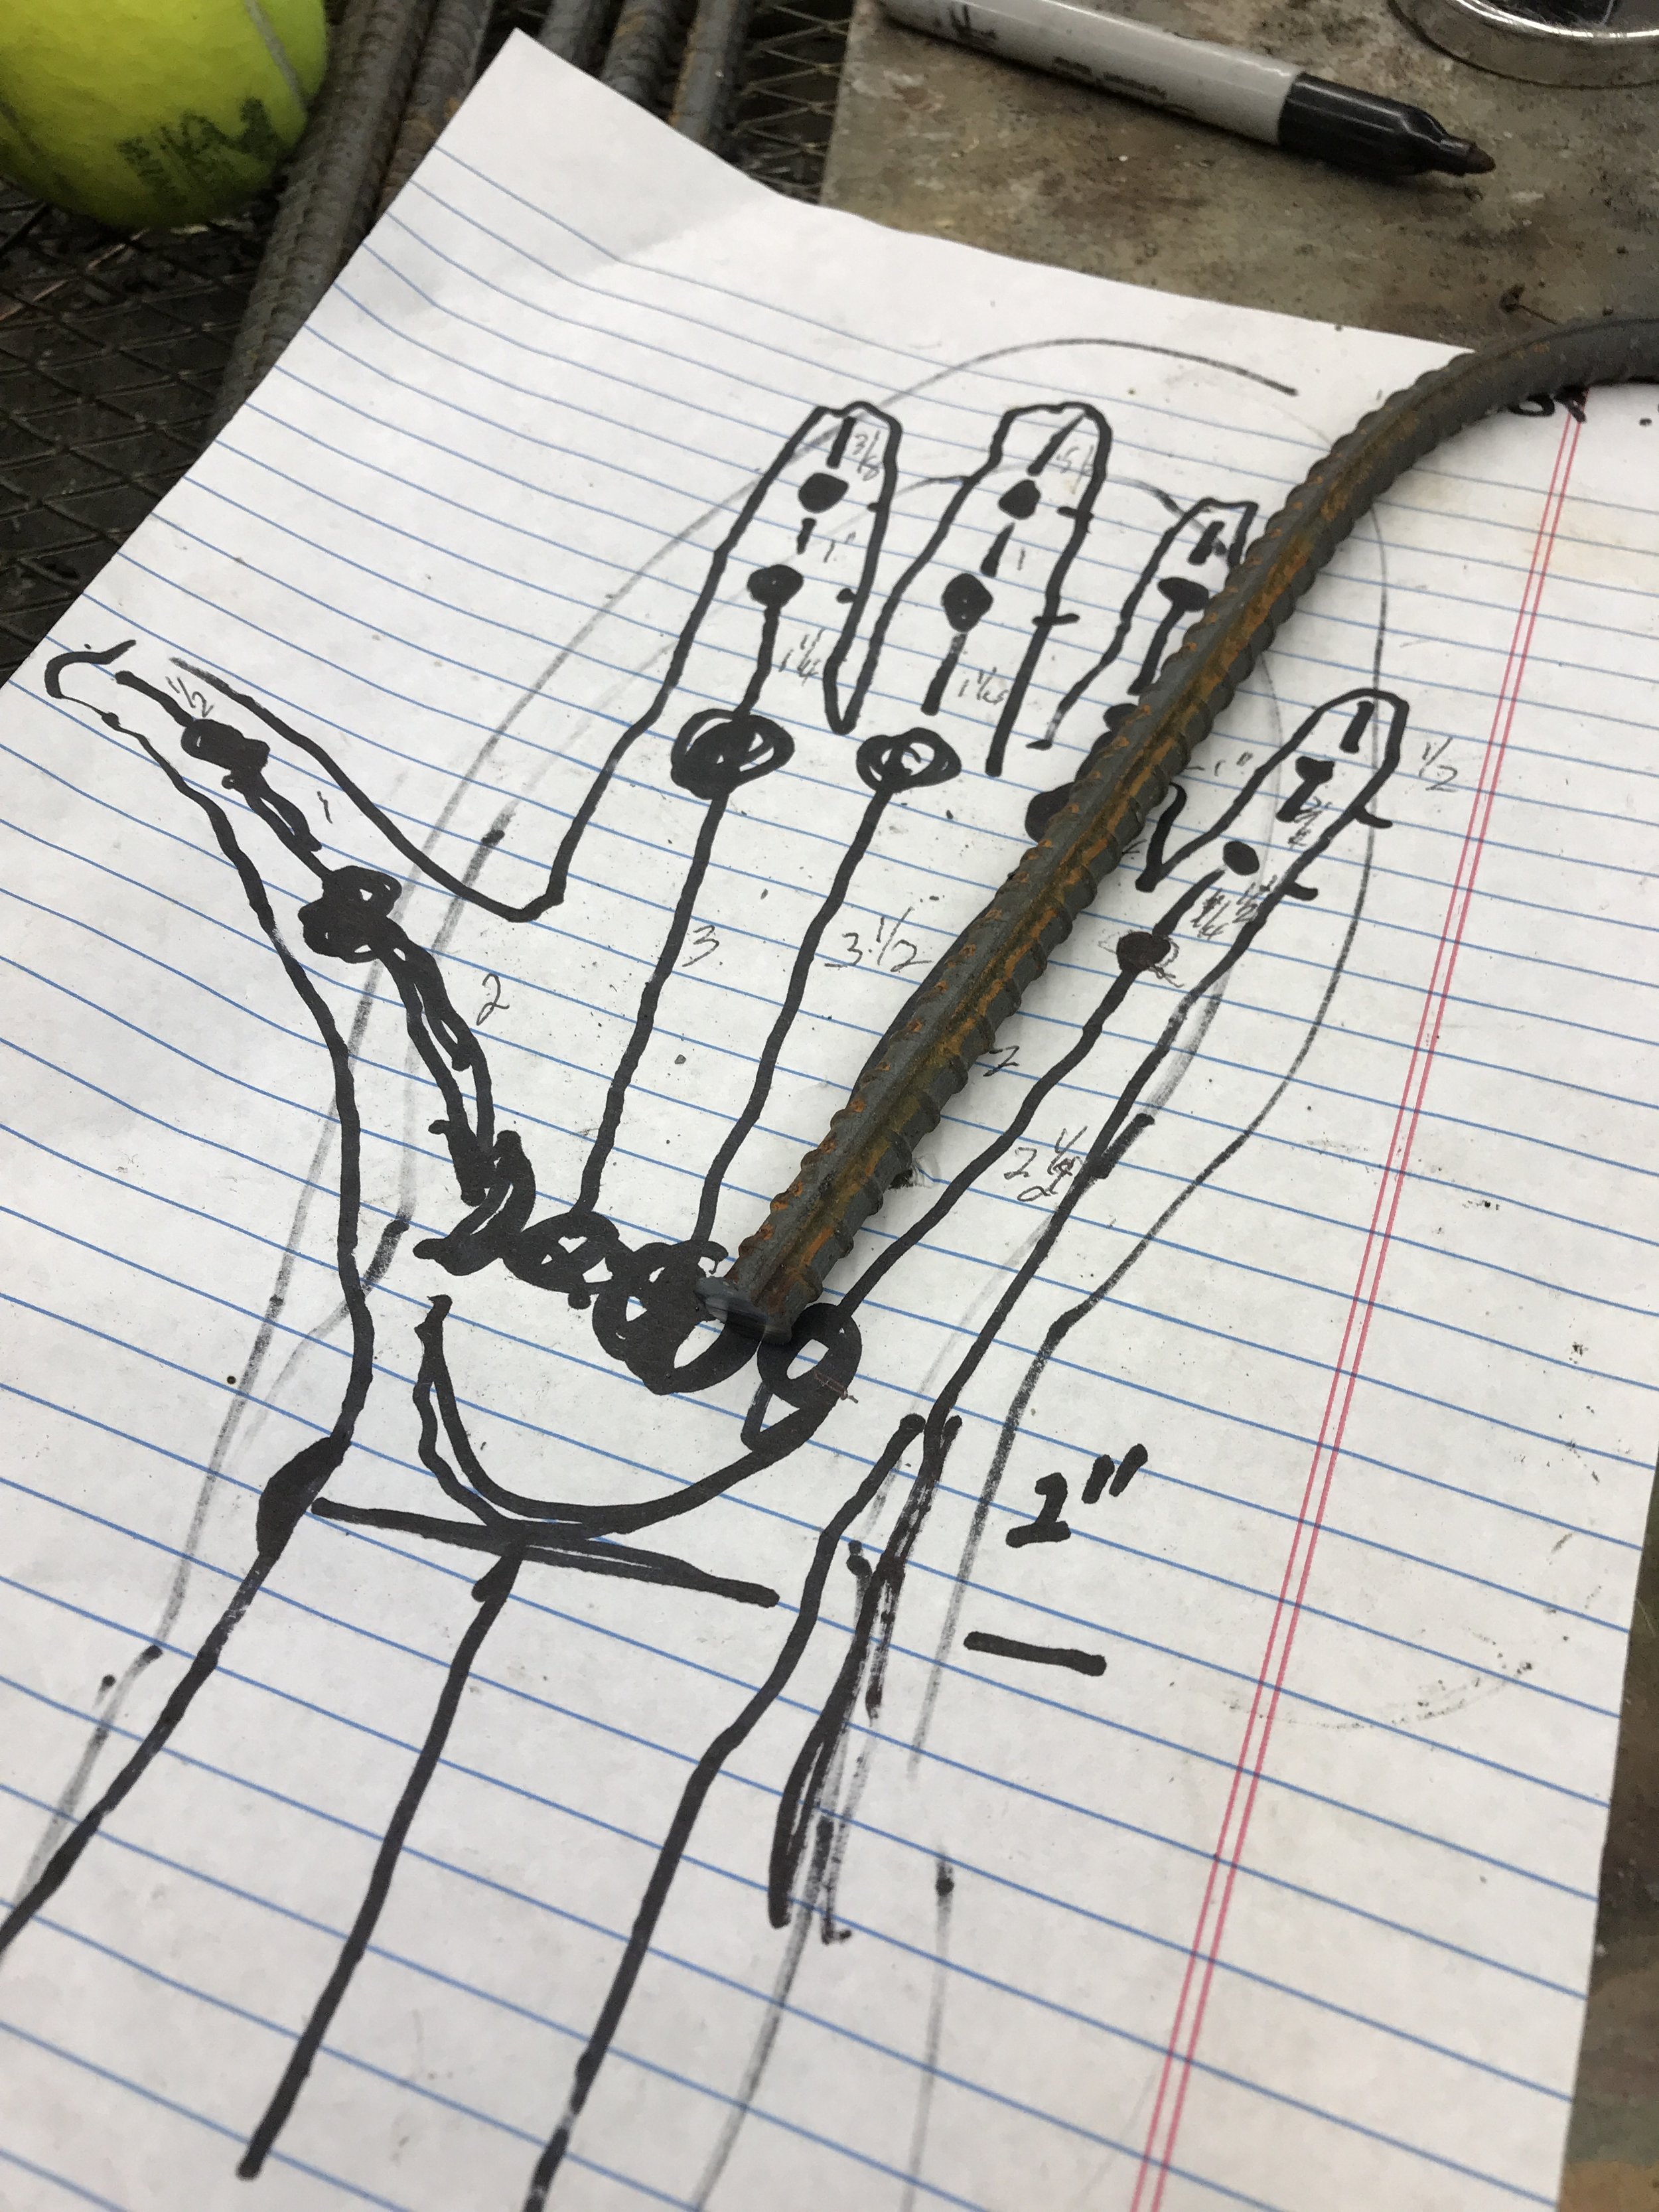
Next I decide to trace my hand to determine how long the finger pieces of steel should be. Then I draw in the bones and measure how long each finger bone is between the joints. My hand is smaller than the figures would be but by the time I add the lath and cement it should be the right size.
My hand pattern with bone measurements.
The hand pattern with two pieces of the palm of the hand bones cut.
Detail of the left arm and the palm of his hand.
The bones in the palm of the hand.
Now I need to see if I am anywhere close on the angle of the forearm and back of hand. I will do this by holding up a violin to the figure.
No, I missed it. Tomorrow I will cut the forearm off and reattach it with the wrist right under the violin. Then I will look at the angle of the hand. That might also need to be altered. Totally winging it.
New piece post #7 “score”
I am ready build the armature for the head. I find this terrifying for some reason. I have this wire fac I made last spring. I have attached it to the neck in order to experiment with the size/and shape of the head.
