January 11, 2018
This winter has had many events. All good events that have distracted me from working on this piece.
Today, I get back to work.
Step 1- Right now, I am welding on it in my garage home studio. However, I will need to be able to get it into the doors at my Glassell studio when it is completed. The widest door opening is 34” maximum. I can go wider, but the depth will have to be within 34”.
My second concern is stability. Right now, it is stable and balances on its own, even with the wooden violin in the proper position. The energy of the music will project primarily forward. Since it is steel and concrete, it will be very heavy and has to balanced, even if accidentally pushed from any side. So, before I can do anything else, I have to widen the base in order to make it safe.
It is raining today, so I will cut a bunch of random lengths, grind the ends to a point inside. When it stops raining, I will take them outside where I bend them.
Rebar cut a variety of lengths.
On a grinding wheel I grind both ends of each piece into a point.
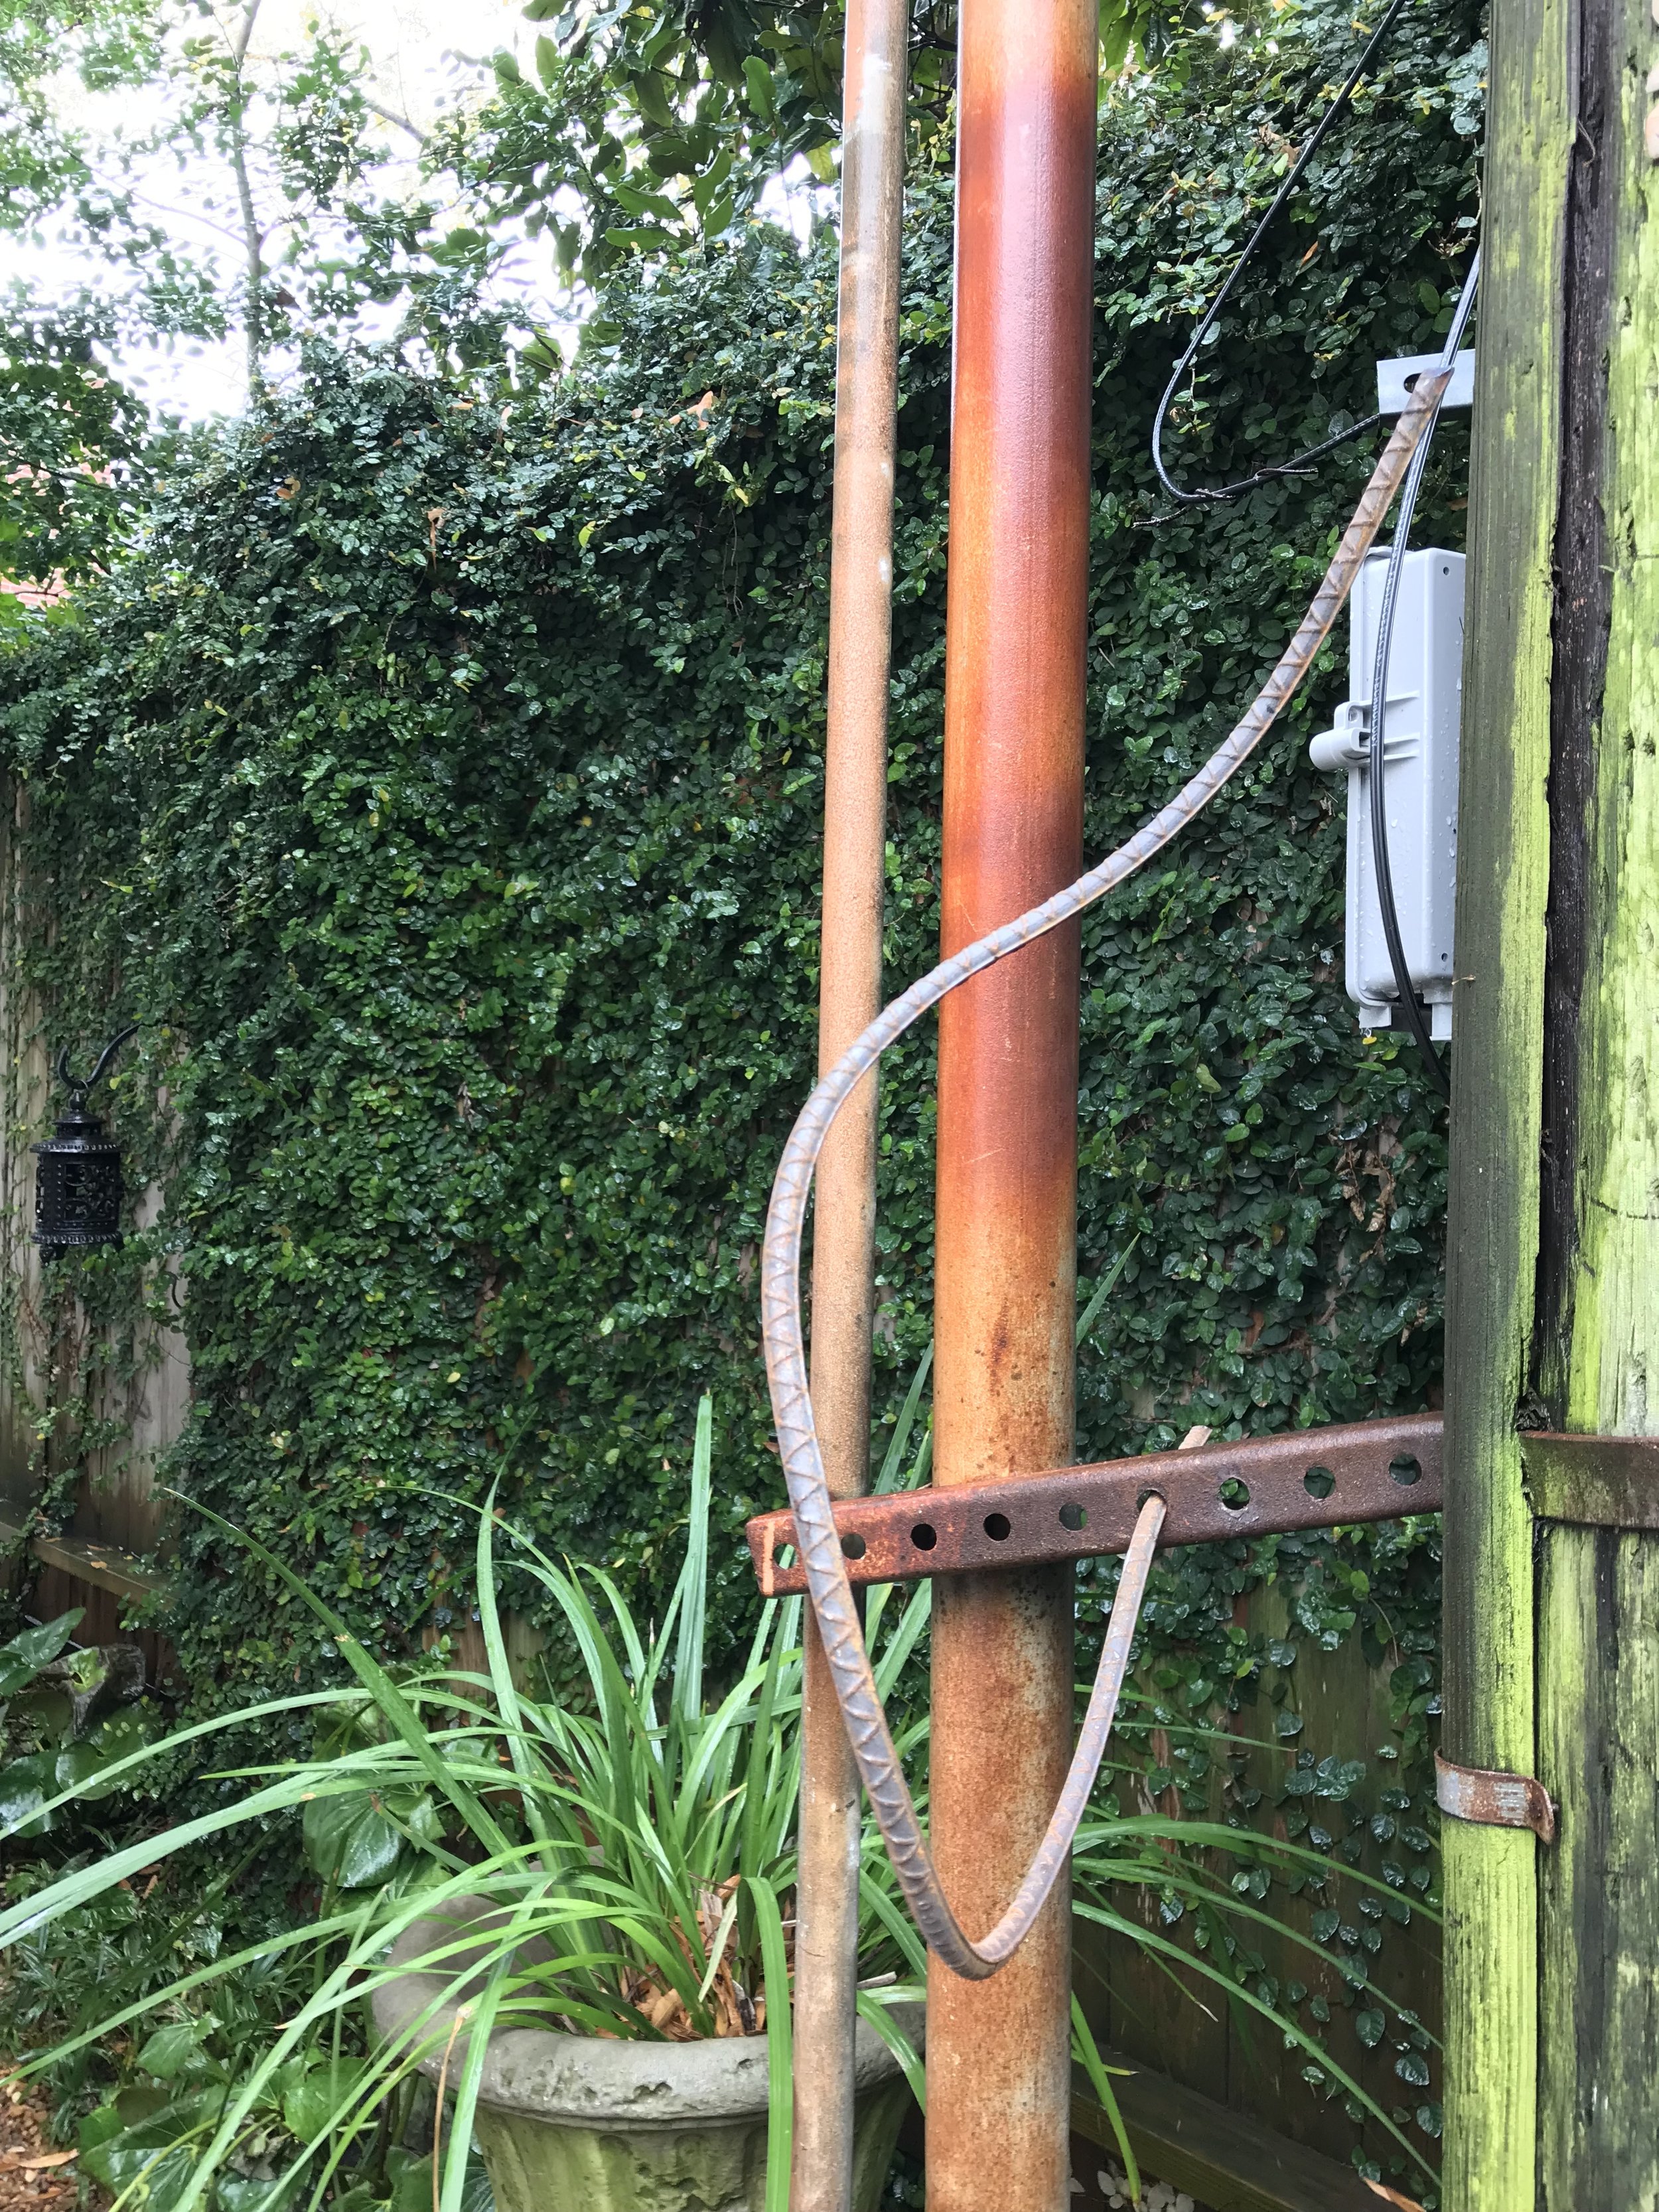
I use this brace that is attached to the utility pole behind my garage to bend my rebar. Sometimes I have the put all my weight on it to bend the bar.
I stick the rebar through the hole and bend it a little and keep sliding the bar and bending until I get a curve I like.
And some times I take it out and stick the other end through and then bend it again.
These are ar ready thank go.
trying different ways to create a strong base
I use magnets to hold the rebar so I can stand back and look. These pieces are for stability but they can’t look like they ar for stability. If the position of the rebar works then I weld a tac to hold it so that I can then look at it without the red magnets. If I still like it I finish welding the two pieces securely.
The red magnet holds the rebar so I can step back.
These pieces are within the 34” and will keep the sculpture from falling forward if it is pushed from the back or from the weight I will be adding to the front.
I am feeling uncertain about what I am doing so I am going to stop for now so that I can look at it tomorrow with a fresh eye.


