Faux bois Wedding gift ❤️❤️#1

January 3, 2018, our son Griffin married his soulmate, Alexandra Groome.

After the wedding at the Houston Arboretum.

After the wedding at the Houston Arboretum.

As a wedding gift, Curtis and I gave them one of my early bronze sculptures “lovebirds”.

Bronze lovebirds welded to rebar.

Bronze lovebirds welded to rebar.


The lovebirds are inspired by my grandparents Imogene Young Travis and Robert Francis Travis, (Granny Gene and Bob-pa). They were married in high school and remained married for 70 plus years. In their El Paso High School yearbook, their senior pictures faced each other and lovebirds were placed in the corners of each of their pictures.

photo of copies of the yearbook pages framed in my house.

photo of copies of the yearbook pages framed in my house.

The second part of the gift is to make them a faux bois bench for the love birds to sit on.

I am going to make each piece of the bench thinking about the two of them and the lessons I want to pass down from my grandparents and from my own marriage. It will be a reflection of the qualities of the love Griffin and Alex committed to each other that day on January 3rd, and will be a symbol of the characteristics needed to maintain a marriage for a lifetime. My plan is to have it completed by their first anniversary. 


Design Considerations: 
1. Griffin and Alex are both environmentalists, so I will recycle as much rebar from other projects as possible.

2. No marriage is ever perfectly balanced, so I will make the bench asymmetrical.

3. It will have arm rests for support - symbols of both of their families. 

4. When things don’t work out exactly as planned, I will keep an open mind and make the best of the situation. The beauty will be in the imperfections as is life.   

5. I will listen to their wedding playlist on Spotify as I work. 

6. Griffin and Alex are very playful. The piece will reflect the joy they embrace life with. 

I started on Thursday, June 15th. Griffin and Alex are both people-people. They are always reaching out to others and welcoming them into their home and world, they love to entertain. So I decided to make the seat of the bench the shape of open arms.

FullSizeRender.jpg

rebar welded into the shape of open arms that will eventually be the seat. 


Next I need to set the seat on jack’s the correct height for comfortable seating. Every couple needs a good support group. 

IMAGE.JPG

Marriage should be comfortable -  The front is slightly higher than the back for comfort. 

IMAGE.JPG

 equality - I use a level to make sure the seat is level from side to side.  

IMAGE.JPG

Grinding the tip of a piece of rebar cut for a leg. 

With small taps I use a sledgehammer to make a gentle curve to a leg.

With small taps I use a sledgehammer to make a gentle curve to a leg.

Next is to creat the armrest and back of the bench. 

Four legs and two arm rest are welded to the seat.

Four legs and two arm rest are welded to the seat.

Griffin and Alex are very fun loving and not inhibited at all to have a good time. The vines/branches that make up the back will embrace this side of them. 

FullSizeRender.jpg
IMAGE.JPG

A little sketch of the armature and how it will look with concrete on it so far. 

I might need to prune the crazy branch on the left side. 
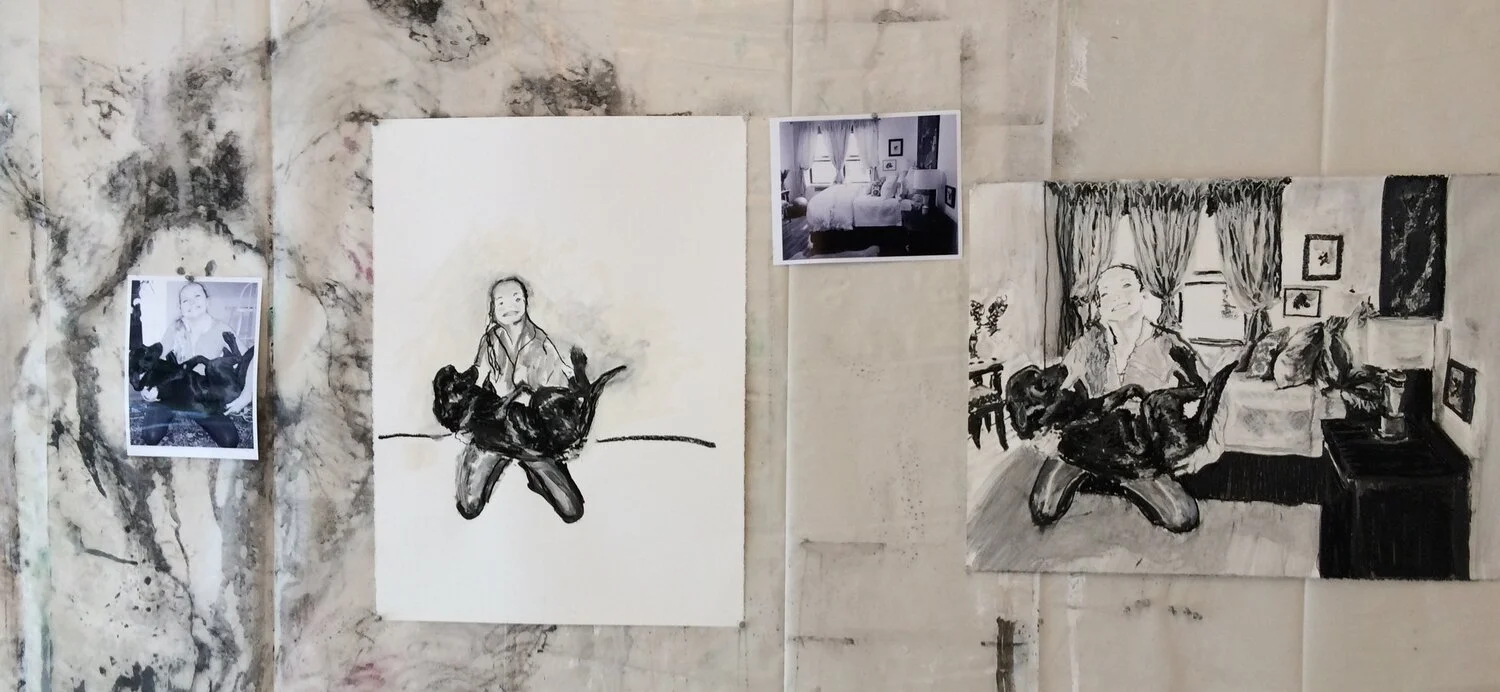
“score” #19 tieing down the lath

The lath is what holds the concrete or plaster to the figure. Concrete liquefies with movement so the lath has to be tied securely, it can not have any play.

The tools  I use a hammer to manipulate the lath and to smash the sharp edges of the cut lath. The pliers are used to tie or twist the ties to secure the lath to the armature. The clippers are used to cut the lath. 

The tools  

I use a hammer to manipulate the lath and to smash the sharp edges of the cut lath. The pliers are used to tie or twist the ties to secure the lath to the armature. The clippers are used to cut the lath. 

IMAGE.JPG

Materials 

Small piece of cut lath and stainless steel wire.  

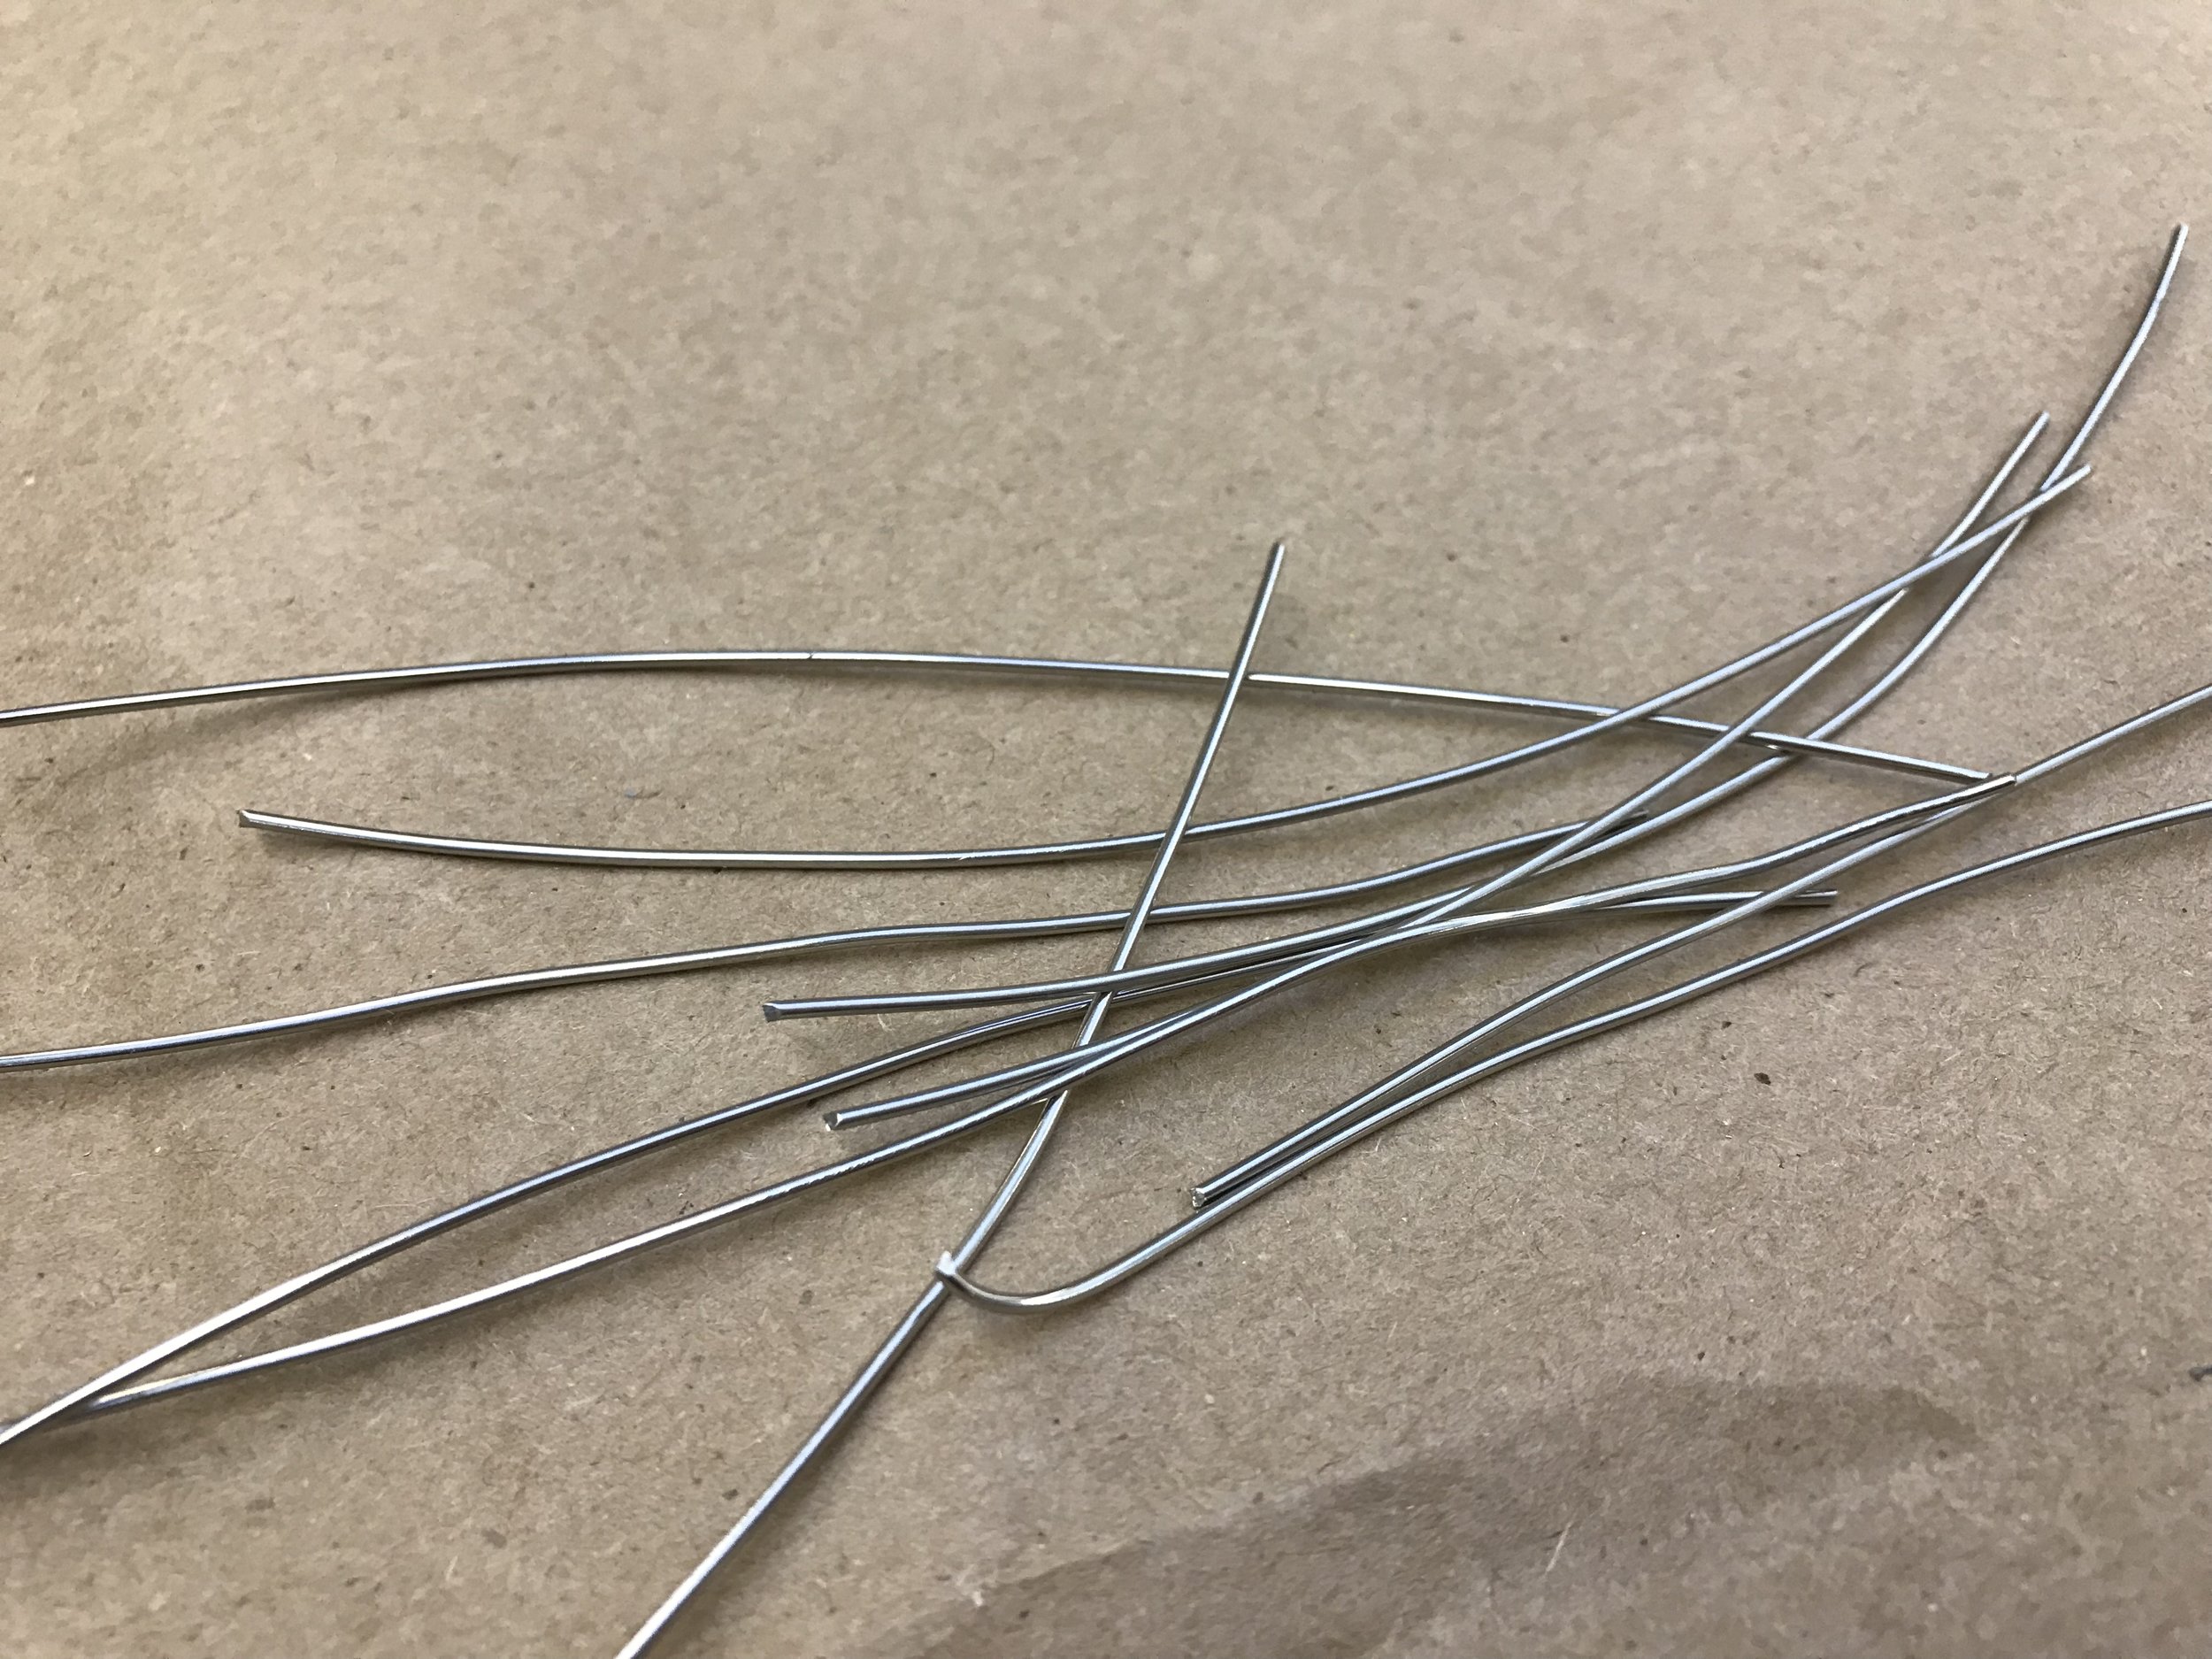
The Stainless steel is cut into small pieces that is used to tie the lath to the rebar. 

The Stainless steel is cut into small pieces that is used to tie the lath to the rebar. 

Lath tied down with small piece of stainless steel.  

Lath tied down with small piece of stainless steel.  

FullSizeRender.jpg

The tie is clipped and the sharp end is folded under. 


IMAGE.JPG

Lath ties to the rebar

“Score” #18 the lath

I know have supports on the ground and I am comfortable that the piece is not going to fall on me. In the end I may cut them off. Right now they stabilize the piece and they are not visually distracting to me. 

Now to start adding the lath.  


I started with the right arm and hand.  

I started with the right arm and hand. 


Jumping around I next added his right coat tail  then his left arm.  

IMAGE.JPG

Left arm  


IMAGE.JPG

Left back of his jacket  


1/16/2018


working on the folds in the fabric of the left pant leg. 

working on the folds in the fabric of the left pant leg. 

“score” #17 un doing

1/14/2018 


The rebar bar I attached to provide stability to the piece (so it will not fall on me) is visually distracting me. I anticipate the sound will engulf him from head to toe but it needs to start from the instrument and hands and then expand out. I just st can’t start from the outsideand work back to the instrument.  I am going to cut off the pieces I attached for stability and re attach them more discretely. 


IMAGE.JPG

before Cutting off the distracting pieces. 


IMAGE.JPG

The reattached pieces are flat on the ground and only in the direction I think it might fall. 


“Score” #16 making it safe


January 11, 2018

This winter has had many events. All good events that have distracted me from working on this piece.

Today, I get back to work. 

Step 1- Right now, I am welding on it in my garage home studio. However, I will need to be able to get it into the doors at my Glassell studio when it is completed. The widest door opening is 34” maximum. I can go wider, but the depth will have to be within 34”.

My second concern is stability. Right now, it is stable and balances on its own, even with the wooden violin in the proper position. The energy of the music will project primarily forward. Since it is steel and concrete, it will be very heavy and has to balanced, even if accidentally pushed from any side. So, before I can do anything else, I have to widen the base in order to make it safe.

It is raining today, so I will cut a bunch of random lengths, grind the ends to a point inside. When it stops raining, I will take them outside where I bend them.

IMAGE.JPG

Rebar cut a variety of lengths.  


FullSizeRender.jpg

On a grinding wheel I grind both ends of each piece into a point.


IMAGE.JPG

I use this brace that is attached to the utility pole behind my garage to bend my rebar.  Sometimes I have the put all my weight on it to bend the  bar.  

I stick the rebar through the hole and bend it a little and keep sliding the bar and bending until I get a curve I like.  

IMAGE.JPG
IMAGE.JPG

And some times I take it out and stick the other end through and then bend it again.  


FullSizeRender.jpg
FullSizeRender.jpg

These are ar ready thank go.  


trying different ways to create a strong base  

trying different ways to create a strong base  

I use magnets to hold the rebar so I can stand back and look. These pieces are for stability but they can’t look like they ar for stability. If the position of the rebar works then I weld a tac to hold it so that I can then look at it without the red magnets. If I still like it I finish welding the two pieces securely.   

IMAGE.JPG

The red magnet holds the rebar so I can step back.  

FullSizeRender.jpg

These pieces are within the 34” and will keep the sculpture from falling forward if it is pushed from the back or from the weight I will be adding to the front. 


FullSizeRender.jpg

I am feeling uncertain about what I am doing so I am going to stop for now so that I can look at it tomorrow with a fresh eye.


“ Score” #12 armature/fingers to hold the violin.

IMG_6562.JPG

Here is a pattern I made to Help me gauge how big each finger section should be. 


IMG_6564.JPG

Here I have tacked the first and second joints.  

Once I decide if I like the placement of each joint then I will strengthen the welds.   

FullSizeRender.jpg

The fingers on both hands seem to be ok. Hopefully when the lath and concrete are added I will still be happy.